DO NOT MISS
>>Follow our Facebook page for updates! >>Join our Craftwell Design Team: Apply Now!
Showing posts with label cut n' boss. Show all posts

July 12, 2018

Elegant Baby Shower Favors

Hi friends, Linsey here today sharing my latest Craftwell project with you! I always love the idea of making my own party favors for special events and occasions and the Cut'N'Boss electric embosser and die cutter is the perfect tool for such a project. With summer in full swing, I was feeling wedding and baby shower vibes so I decided to create some pretty party favors for either of these special occasions. These would also work great for a Sunday brunch or afternoon tea with the ladies, placing one at each table setting for an elegant extra touch.
I chose cardstock in an array of pink and purple shades, then dry embossed each piece with the Teresa Collins Bella Rose Embossing Folder. Next, I die cut each piece with a treat/favor box die, then assembled accordingly. Both sides of each box are wrapped with rose gold sequin string and secured in the back. To adorn each box, I added Wild Orchid Craft Cherry Blossoms Mixed Pastel Colors and Wild Orchid Craft Bead Berry Spray Clusters White.
To complete, I die cut 5 mini tags from the Teresa Collins Tabs and Tags Project Dies set and added a clear sticker sentiment to each one, then tied each tag to a floral cluster with Ivory Burlap String. Fill with candy, chocolates or a small gift of choice. These favors are sure to delight and impress your guests, making them feel super special, too. I'd love to receive one, how about you? :)
Thanks so much for stopping by today. I hope you've been inspired to create with the awesome Cut'N'Boss or any of the awesome products Craftwell has to offer! Until next time, happy crafting!

March 22, 2018

DT: Live for Today Wall Hanging

Hi,
This is Veronica from vicky's scrapping passion, sharing with you my next post for Craftwell. For this project I decided to use a crayon/resist technique for embossed tags, more details here: Snapguide


Craftwell Tools: Cut N' Boss and Teresa Collins embossing folders: Woodgrain Cottage and Bella Rose. For more supplies and steps to make this wall-hanging, please head over my Snapguide. 

Here are some more close looks:


Here you can appreciate better the resist technique:


Here is a better look of the shine across the whole wall hanging from the spray inks:


I will be using the embossed tags as a mat for an special picture I took of my children reading their favorite books.

I hope you enjoyed my first craft for Craftwell and follow my blog as well: vicky's scrapping passion.

Many blessings

Vicky Tovar

November 24, 2016

Black Friday Sales!!!

Check out these Great Sales for your Black Friday shopping extravaganza!

The sales will be on Monday, 11/21 to Monday, 11/28.

  • $1 for any eCraft SD card
  • $5 for any embossing folder (A6, A4, Letter, Universal)
  • $5 for tool kits
  • $20 for travel bags
  • $79.99 for eBrush Standard Bundle
  • $129.99 for Cut'n'Boss + (4) BONUS Random Embossing Folders
  • FREE shipping for orders of $100 or more
  • FREE eBrush with purchase of $150 or more

Wow a dollar for each SD card!!

$5.00 for each folder..


October 31, 2016

Grateful Motherhood by Sukie Dhillon


Hello!  This is Sukie and today I have a project to share focusing on "mom life".   I think it is extremely important to focus on the positive in my life.  Being a working mom with tons of daily obligations, I like to take the time to focus on the best part of my day.  One of the ways to do this is to keep a gratitude journal and with Thanksgiving right around the corner I thought it was the perfect time to create one.
My project started with a simple journal I had in my stash and I selected some fall papers from the DCWV Autumn Leaves stack for the cover.  I used my electronic cutting machine to cut out some leaves, the "grateful" title and a scalloped circle.  The Teresa Collins Herringbone embossing folder was used to emboss the scalloped circle for some added texture.  A strip of coordinating washi tape and some tulle were the perfect embellishments for the cover.
Once the cover was finished, I decided to cut a few decorative elements to add to some of the pages. The die cut pieces are from the Teresa Collins Thankful Pocket Dies, they were absolutely perfect for my journal.

All of the die cuts were transformed with my eBrush which adds so much depth and dimension.  The eBrushed leaves are so colorful and unique based upon the color of the Sharpie pens used on each leaf.  I added a few leaves to the inside of my journal too.  I plan to use the tag as a bookmark so I embellished it with a matching paper clip, button and some Totally Navy Trendy Twine.
The die cuts were adhered to a few pages leaving most of them free for journaling. I think this will be a fun way not only to document the positive in my life but also to have the family contribute during the Thanksgiving holiday.  The journal can be a great tool for memory keeping and even adding pictures.  The little kids in the family can even draw pictures. The finished journal would make such a great gift for the grandparents.
Thanks so much for stopping by!  Have a wonderful day!

May 30, 2016

Masculine Journal by Mitsyana Wright

Hello, Crafty Friends!!

 I am so excited to start the new week with Craftwell's new sponsor... Latina Crafter!! I really love the assortment of Stamps and stencils! And today, I'll be using their fabulous stamps with Craftwell's awesome dies, to make this masculine journal and matching pen set for my husband. Awhile back he asked me for one but I never got around to making him one till now... I think I'll surprise him with a just because gift! Because who doesn't like surprises, right?!!


Supplies Used
Cut'n'boss (Craftwell)
Teresa Collins Pocket Dies- Noteworthy, Memory Collection, Thankful Holiday,  (Craftwell)
Anchor Stamp Set (Latina Crafter)
Hey Sailor Stack (DCWV)
Gold Metallic Foil Board (Grafix)
Mega Runner (Xyron)
VersaFine Onyx Black (Imagine Crafts/ Tsukineko)
Composition Book 
Ballpoint Pen
Paper Crimper (Fiskars)


 First, I started by cutting two sheets of patterned paper from the Hey Sailor stack, to measure 9.75"x 7.25". I want this to be really sturdy and stick in place so I ran both sheets through my Xyron Creative Station using a permanent adhesive cartridge. This way I had edge to edge adhesive coverage.

Then, I peeled off the protective backer and applied to my composition book. I used the corner and the edge of the book as a guide so the paper would adhere straight. Then, I rounded off the corners with a scissors.

To cover the spine of the composition book, I cut a 2.5"x 9.75" strip from coordinating paper on the same stack.


To decorate the front of my book, I used my Cut'n'boss machine and Teresa Collins pocket dies, from the Lover's Lane set, out of more patterned paper from the Hey Sailor stack. 

I also die cut these Teresa Collins pocket dies, from the Memory Collection & Noteworthy sets, to die cut gold metallic foil board.


To get more from my dies I like to cut them apart. I cut the doily die in half and tuck the cut edge under other elements. I also cut the numbers apart. Sometimes dies are too long to fit onto a surface and in these cases I'll either trim off the excess or cut them down and rearrange the cuts so that they do fit.


I love using paper stack that not just come with gorgeous sheets of patterned paper but also include sheets with decorative panels you can cut out. these make for awesome pocket page inserts or lovely coordinating embellishments!

I cut out this sailboat form one of these panels. Next, I ran that panel and my die-cuts through m Xyron Creative Station. Then I applied them onto my book front.


That sail boat went perfectly with one of the passages from the Anchor stamp set from Latina Crafter!


I cut out more gold foil paper and used it to frame my passage that I stamped with VersaFine Onyx Black ink. I cut out strip of more coordinating paper and snipped a fishtail to each, just one one side. I ran all my pieces through my Xyron Sticker Maker and mounted my elements onto my book cover.

Now, I just had to make a matching pen to go with my journal... and you know what?? They  are super easy to make!!

Take a ball point pen, you need the kind that easily unscrew on one end, and take your pen out of the barrel.

Then, cut a strip of paper measuring .5"x 3.75" from any of the paper scraps I used from my book cover. Then I ran it through my paper crimper, lengthwise. This help curl over and insert into the barrel. Trim off any overhanging paper that doesn't fit the length of the barrel. 
Insert pen through paper and back into the barrel and screw pen back together.

Tah-dah... Matching Pen!!!


And, here is the finished Journal and matching pen set...


I hope you all enjoyed this project!!

See you all next time!
&
HAPPY CRAFTING!!
~Mitsy

Please visit my personal blog at www.upontippytoes to see more inspirational projects!
May 6, 2016

Ole' Sabor Card by Tyra Babington


Happy Friday Friends! Let's keep the celebration going with another card I made using the Ole' collection from Sabor!

TG-SaborxCraftwell-eng 
 Let's revisit the supply list again:Sabor Craftwell Birthday Card Supplies
Supplies:


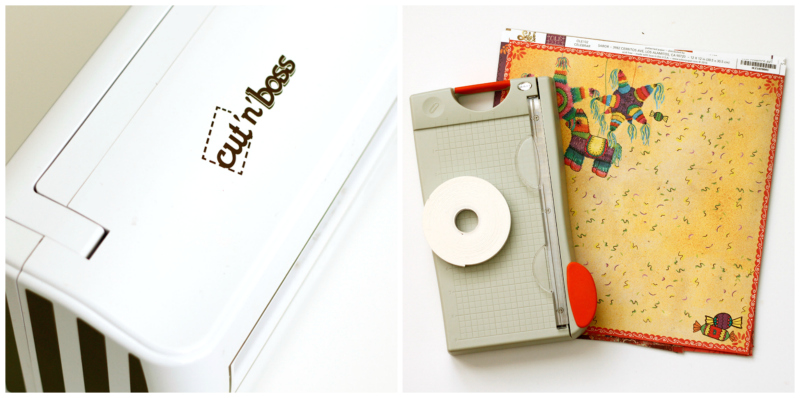
    Craftwell Cut n' Boss
    Birthday Theme Steel Cut Die
    Sabor Ole' Collection
    Paper Trimmer
    Foam Tape
    Scissors
      First, select one sheet of the Dulces 12 x 12 paper and cut to (1-2) papers sized to 8.5 by 5.5. inches. I trimmed along the zig-zag and candy lines to create a natural border for the card. Turn paper lengthwise and score at the 4.25 inch mark and fold to create a card. Next, use the Cut 'N Boss to create a banner from the beautiful Sorpresa paper and attach with foam adhesive squares. Use additional foam adhesive squares to attach the "Happy Birthday" sentiment to the card. Let's take a look at the card I created:

        Tyra Babington for Craftwell _Sabor_Celebration_Card_Birthday 06052016

      Sabor's paper so so easy to incorporate into a variety of projects. I didn't alter the collection much, allowing the beautiful designs to take center stage. Thanks so much for stopping by!

      May 3, 2016

      Tips & Tricks Tuesday: DIY Stamps

      Hello Lovely Crafters, Emily here! Tips & Tricks Tuesday is now in full swing, and I am delighted to bring you one of my favorite techniques used with my Cut n' Boss.

      MAKE YOUR OWN STAMPS

      Yes! Imagine turning your entire collection of cutting dies into complimentary stamps for all of your crafting projects. It is simple to do and requires very little to get started.

      Supplies:

      Cutting Dies of Choice
      Adhesive Backed Foam
      Acrylic Stamp Block


      STEP ONE

      Place cutting die and foam on your Cut n' Boss platform, creating the following sandwich:

      Thin Metal Dies
      Platform D (Bottom)
      Magnetic Shim
      Thin Metal Cutting Die (Blade Up)
      Adhesive Backed Foam
      Platform A
      Platform B
      Platform A (Top)

      Steel Rule Dies
      Platform A (Bottom)
      Cutting Die (Blade Up)
      Adhesive Backed Foam
      Platform A


      STEP TWO
      Feed your sandwich through the Cut n' Boss.

      STEP THREE
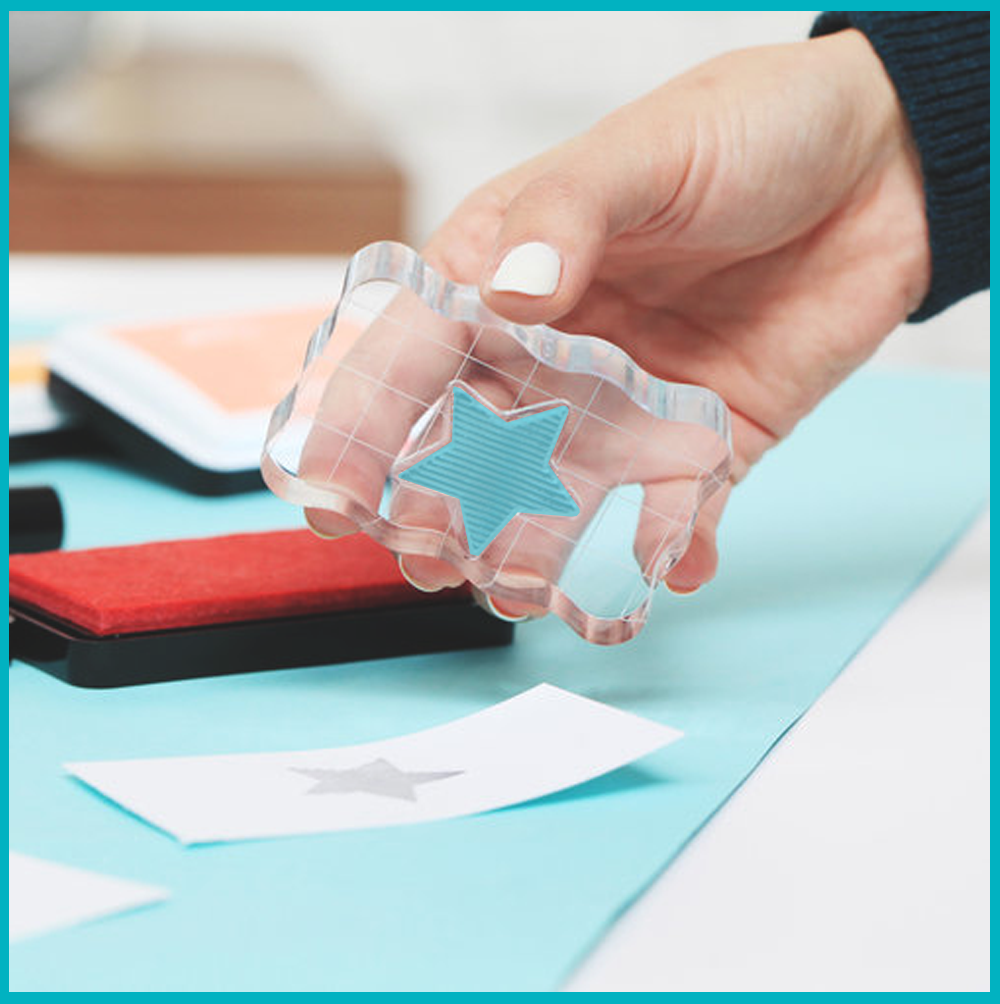
      Remove the sandwich from the machine and release the foam from the cutting die. Peel back the adhesive backing and adhere to your acrylic stamp block.

      STEP FOUR
      Ink your stamp with a medium of choice and have fun stamping! Your cutting dies are now your new stamp collection! YAY!


      Thank you for joining me in this Tips & Tricks Tuesday! Now get crafting!


      April 15, 2016

      Fabric Key Holder Love by Tyra Babington


      Hello It's Tyra and I want to share this die cut fabric tag and key holder with you! 

      Supplies: Craftwell Cut 'N Boss,sewing machine, steel cut dies, fabric scraps, interfacing, embroidery floss, needle, buttons, steel hardware. 

      Patchwork Keychain Supplies version 2 CraftWell Tyra Babington


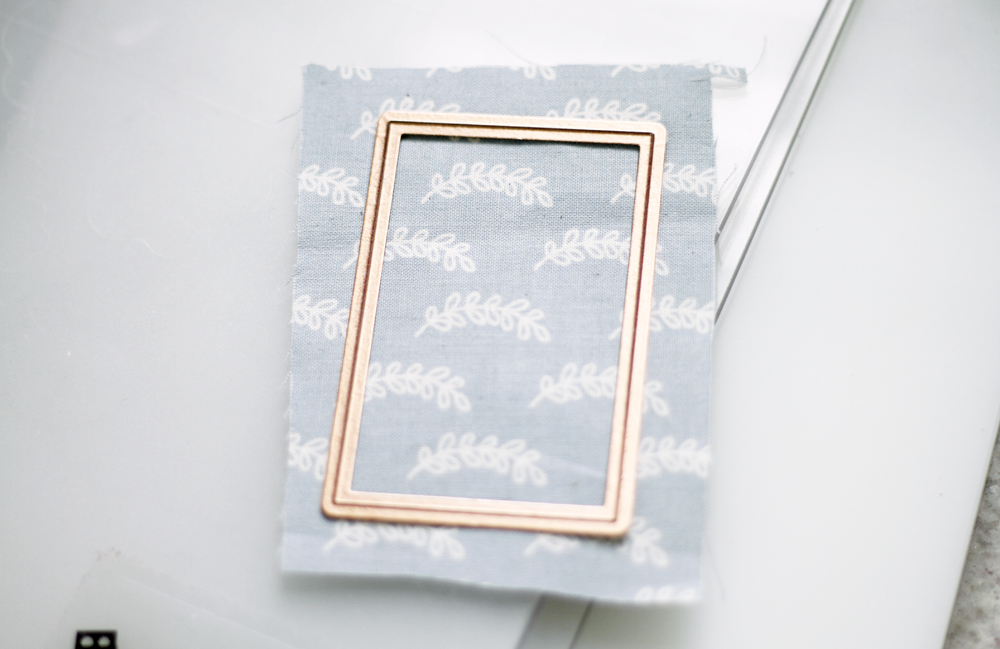
      Step 1: Select the dies you want to use to create the fabric tag. Using the size of the steel die as a guide, cut out fabric and interfacing to a size slightly larger than the steel die. Fuse the interfacing to the fabric according the the instructions enclosed with the interfacing (save every scrap of interfacing because I guarantee you'll be using your Cut 'N Boss to make more!).  


      Patchwork Keychain Cut Interface CraftWell Tyra BabingtonPatchwork Keychain Cut Interface 2 CraftWell Tyra Babington


      Step 2. Use the Cut 'N Boss to die cut all of your fabric pieces! Hooray! No measuring required!


      Patchwork Keychain die cut CraftWell Tyra Babington


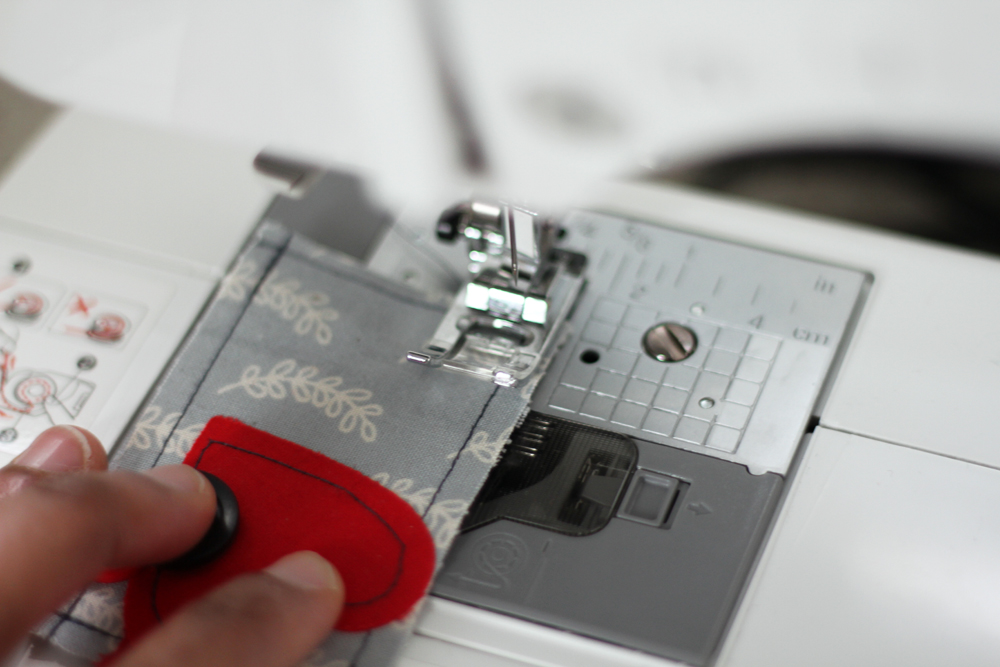
      Step 3: Assemble and sew all fabric pieces together! Sew on fabric embellishments or add buttons using a needle and embroidery floss. Use an additional piece of fabric to attach the metal key ring to the fabric fob. Optional: For a more polished look, place the "right sides" of the fabric together and sew together using at max a 1/4 inch seam allowance. Leave a small opening on one side of the fabric tag and use an object like a chop stick or bone folder to push the fabric through the opening, exposing the right side of the fabric. Push the corners out so they are nice and pointy. Iron the key fob along the seam. Sew close the opening. Sew on additional fabric embellishments or add decorative buttons. Use an additional piece of fabric to hide the opening and attach the metal key ring to the fabric tag.


      Patchwork Keychain Step Sew CraftWell Tyra Babington


      I wanted to create something super simple and easy, not requiring a lot of fuss. I hope I have inspired you today! Thanks so much for stopping by!


      Patchwork Keychain Feature CraftWell Tyra Babington
      '
       
      Copyright © 2014 Craftwell Blog. Designed by OddThemes - Published By Gooyaabi Templates