
MAKE YOUR OWN STAMPS
Yes! Imagine turning your entire collection of cutting dies into complimentary stamps for all of your crafting projects. It is simple to do and requires very little to get started.
Supplies:
Cutting Dies of Choice
Adhesive Backed Foam
Acrylic Stamp Block

STEP ONE
Place cutting die and foam on your Cut n' Boss platform, creating the following sandwich:
Thin Metal Dies
Platform D (Bottom)
Magnetic Shim
Thin Metal Cutting Die (Blade Up)
Adhesive Backed Foam
Platform A
Platform B
Platform A (Top)
Steel Rule Dies
Platform A (Bottom)
Cutting Die (Blade Up)
Adhesive Backed Foam
Platform A

STEP TWO
Feed your sandwich through the Cut n' Boss.
STEP THREE
Remove the sandwich from the machine and release the foam from the cutting die. Peel back the adhesive backing and adhere to your acrylic stamp block.
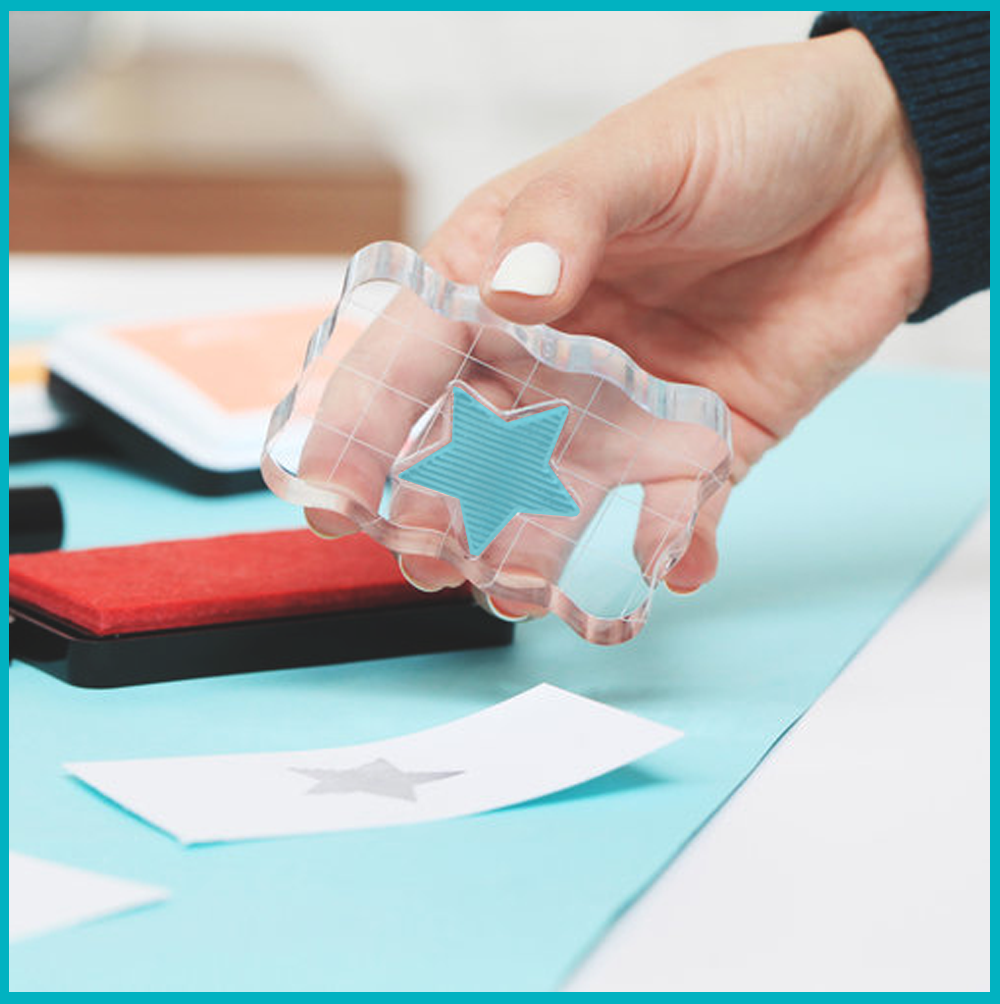
STEP FOUR
Ink your stamp with a medium of choice and have fun stamping! Your cutting dies are now your new stamp collection! YAY!
Thank you for joining me in this Tips & Tricks Tuesday! Now get crafting!


Post a Comment