
Hi All!!
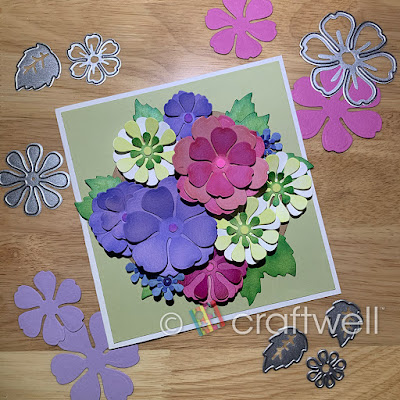
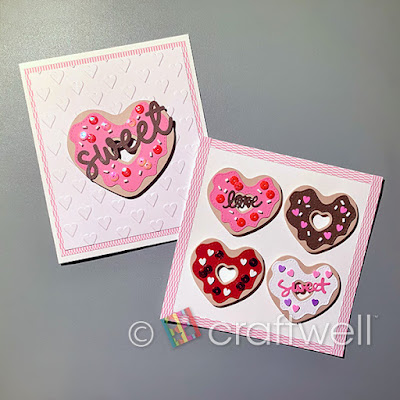
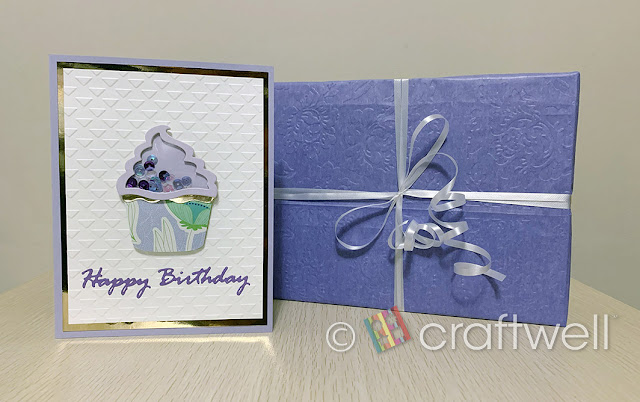
Katie here with my 3D flower bouquet card and can be used for any occasion.
Materials
Craftwell eBosser
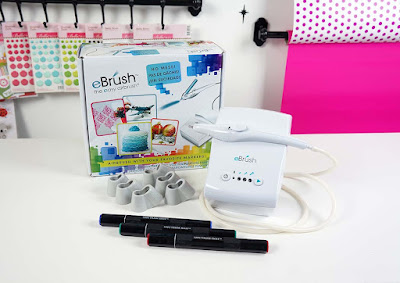
Craftwell eBrush Airbrush System
Sharpie markers
Flower die set from Amazon
Nail Art pieces (used the circles)
Cardstocks
Glue gun
Elmer's glue stick
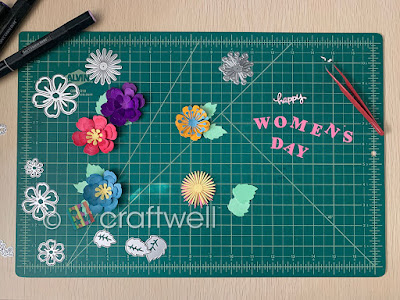
The flowers and colors got inspired by spring flowers I had found on a google search when I needed some ideas. You can do the same.
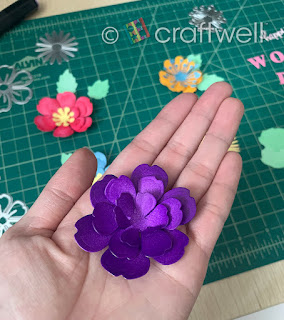
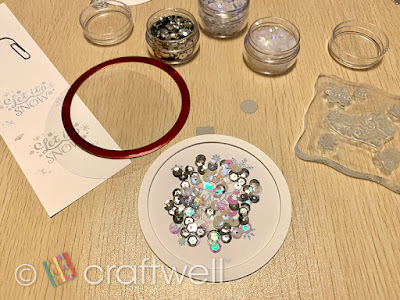
First, I used the eBosser to cut out all the different flower shapes with different cardstocks that I picked out.
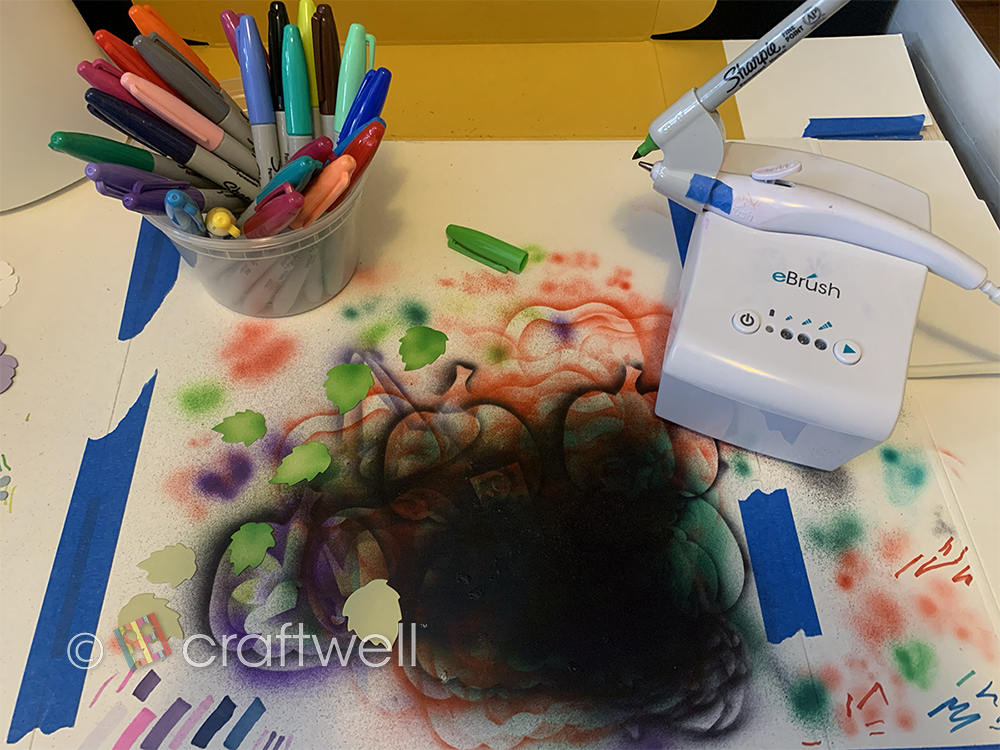
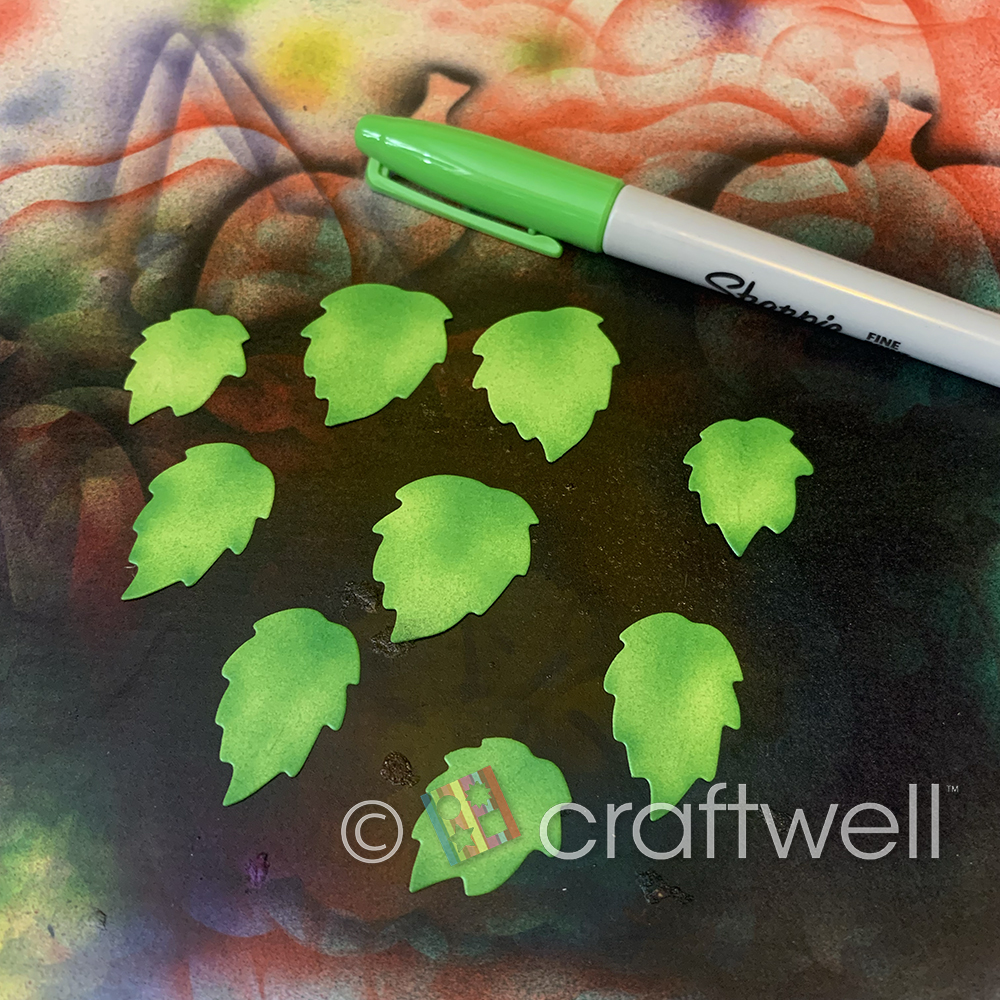
Used the eBrush and Sharpies to color the flowers and leafs.


When placing the flowers near each other, I wanted to have them overlapping each other and made little cardstock cylinder pieces to give some flowers different heights.
You'll be able to see what I mean in the photos below:


What do you think?
This card can be used for Birthdays, Anniversary and even Mother's Day.
I hope you all liked my project and got inspired. Until next time!
- Katie


 '
'