Hello It's Tyra and I want to share this die cut fabric tag and key holder with you!
Supplies: Craftwell Cut 'N Boss,sewing machine, steel cut dies, fabric scraps, interfacing, embroidery floss, needle, buttons, steel hardware.

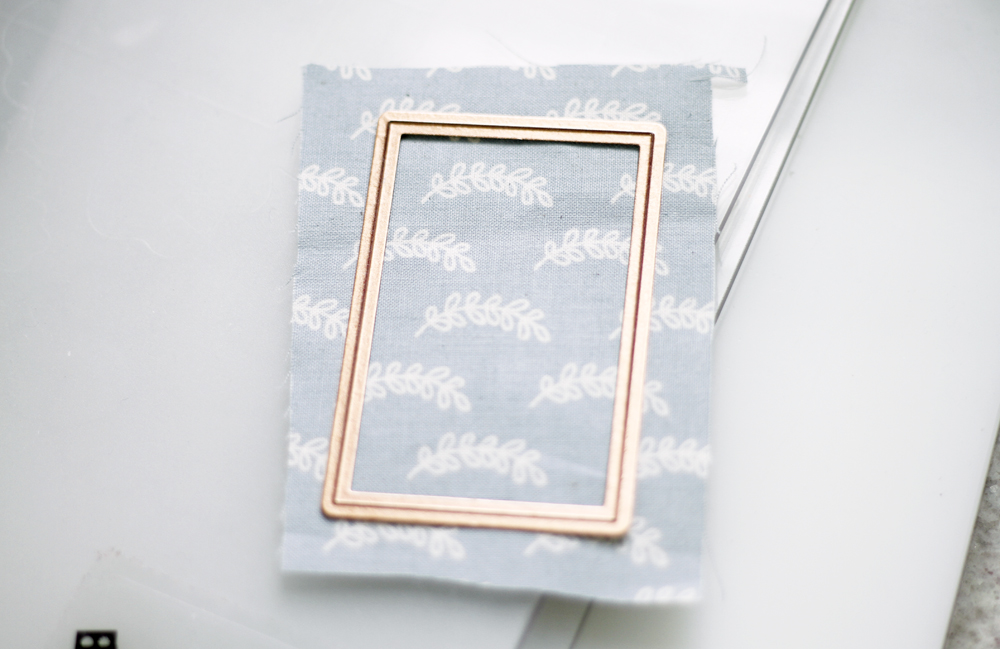
Step 1: Select the dies you want to use to create the fabric tag. Using the size of the steel die as a guide, cut out fabric and interfacing to a size slightly larger than the steel die. Fuse the interfacing to the fabric according the the instructions enclosed with the interfacing (save every scrap of interfacing because I guarantee you'll be using your Cut 'N Boss to make more!).


Step 2. Use the Cut 'N Boss to die cut all of your fabric pieces! Hooray! No measuring required!

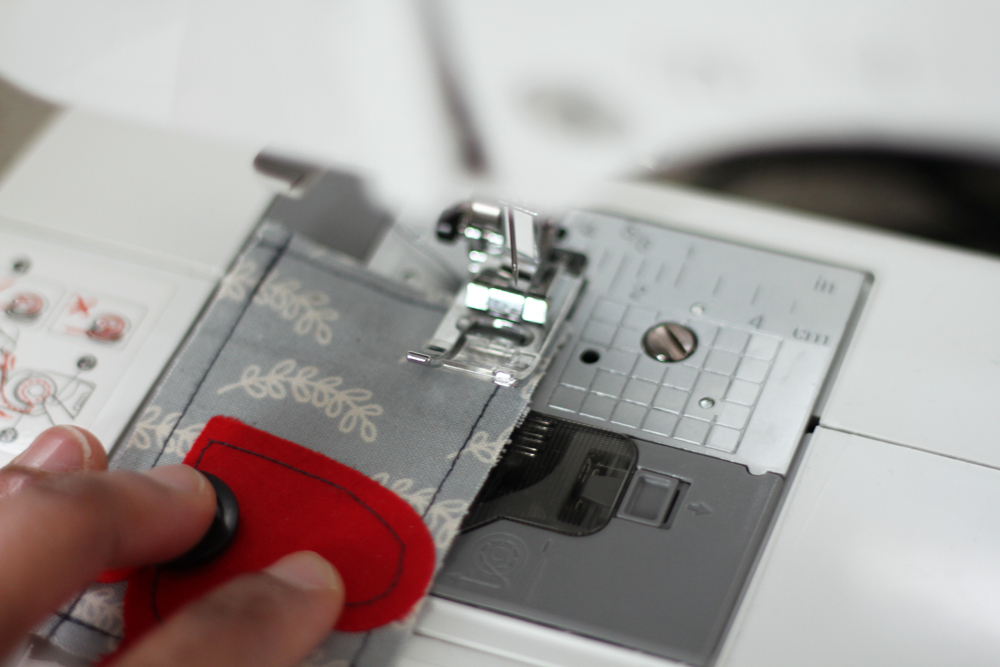
Step 3: Assemble and sew all fabric pieces together! Sew on fabric embellishments or add buttons using a needle and embroidery floss. Use an additional piece of fabric to attach the metal key ring to the fabric fob.
Optional: For a more polished look, place the "right sides" of the fabric together and sew together using at max a 1/4 inch seam allowance. Leave a small opening on one side of the fabric tag and use an object like a chop stick or bone folder to push the fabric through the opening, exposing the right side of the fabric. Push the corners out so they are nice and pointy. Iron the key fob along the seam. Sew close the opening. Sew on additional fabric embellishments or add decorative buttons. Use an additional piece of fabric to hide the opening and attach the metal key ring to the fabric tag.

I wanted to create something super simple and easy, not requiring a lot of fuss. I hope I have inspired you today! Thanks so much for stopping by!


Post a Comment