DO NOT MISS
>>Follow our Facebook page for updates! >>Join our Craftwell Design Team: Apply Now!
Showing posts with label paper. Show all posts

August 13, 2019

Inspiring Altered Canvas


Greetings crafty dolls and guys from Desiree' of Her Own Fairytale with you!
Happy to be back and sharing my latest project with you all!
An altered canvas inspired by a Quote? A poem? A prayer?
All of the above! All I can say is that it's beautiful and came from an author name Susie Larson. As I recently hit one rough spot in life after another, these words inspired me AND reminded me I AM LOVED.

I started off this project with choosing a paper from the Black Rainbow stack from Michael's and it's an 8x10 canvas. It has all this pretty design and was in my craft stash.


I first flipped my paper over, traced around my canvas and cut it out using my paper trimmer. This will make the decopodging easier.


I put down a coat of white gesso on the canvas and let it dry.
Then I painted the canvas with a coat of white acrylic paint and also let it dry.
After giving them enough time to dry, I adhere my paper to my canvas and again let it dry again with all the decopodging.


I printed out the quote I wanted to use then cut it to bits and glued it down to my canvas. I did this by hand for the most part, clearly. Hehe! #HandmadeNotHallmark am I right?


It was then time to have the Snap machine get to Work!
I die cut some sparkles, a moon and I actually fussy cut out a heart from some other paper collection... from the stash of course.


After the dies are cut, they had to be arranged and adhered, right?
So that is what your girl Did! I used some holographic paper scraps, and even recycled some packaging paper by cutting some of the stars out of it. It was so pretty and hate to waste. Oh, I also had to add some beaded hearts and some sequins!
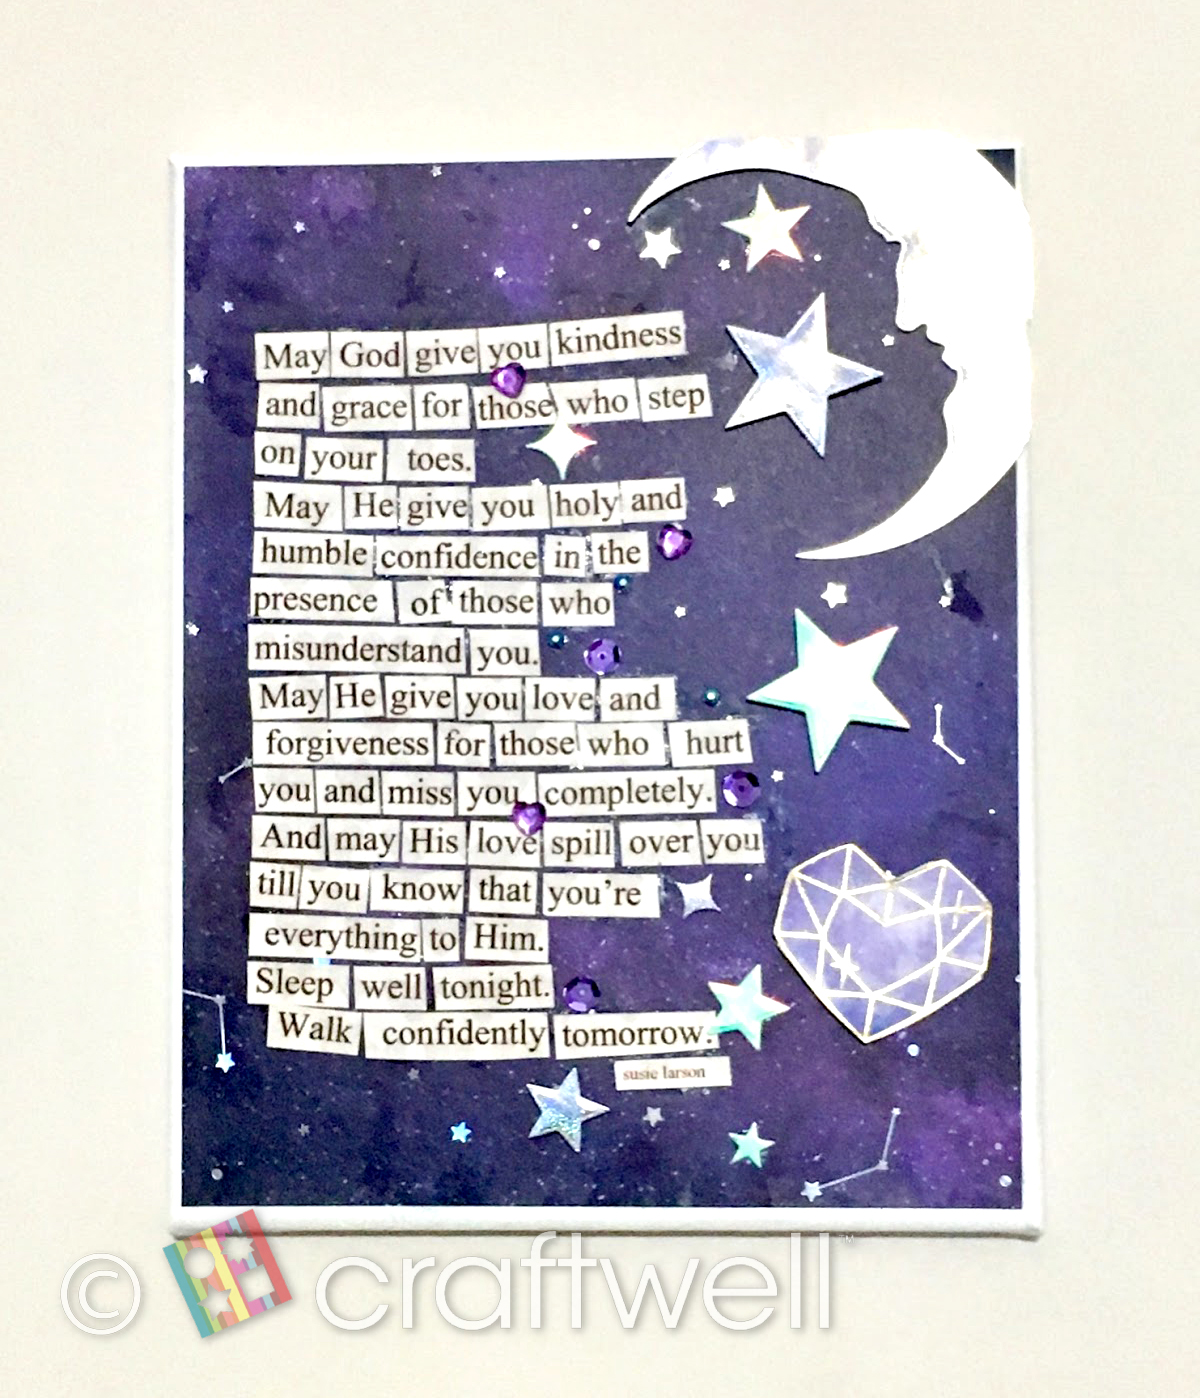


And this was the final product! I hope you LIKE and get INSPIRED! Most of all I hope you remember IF you are going through a rough time, these beautiful words can remind you too that YOU ARE LOVED! Please come back to visit this blog, be inspired by our other members design templates!

Sending you crafty love always!
      ❤

June 10, 2019

A Daddy Loves

June greetings, all you beautiful crafty peeps!
Today I am sharing a 12x12 layout I created featuring
my youngest son many years ago and my hubby!
I started out choosing my pics that was super easy, I adore this set of pics!
Next was to choose my papers, again that was easy!
The cog paper is from an old DCWV stack that has been in my stash forever.
Next I die cut some of my paper using my beloved Snap machine.


Then I cut my pics down to 4x4 and cut some more paper using my paper trimmer to mat my pics on.
I did a little distressing and inking around my mat edges.
After adhering my matted pics to my background paper, I needed to get an idea of where I wanted to place my die cuts. So far loving this!


Next I picked a few embellishments from my craft stash, and finish this layout!


I took my "What makes a daddy?", sticker and placed it on my label die cut and mounted it to alack shadow cut, I made using my electronic cutting machine.
At the bottom of that I took some Tim Holtz, alphas and adhered the word "Love" the bottom.
I made another small embellishment by placing the word proud on a one inch circle using a circle paper punch, then stacking that on another die cut.
I then clustered my embellishments on top of the "live" bingo card. I also clustered some more cog die cuts and placed a genuine tag and a little brad.
I really love that hat pin by Prima! I was hoarding it forever! LOL


And there it is all finished! As always I hope somehow you were inspired by my project!
I also want to sincerely wish all the dads out there an early, but very blessed and happy Father's day!
Specially to those ones who have to do and be everything on their own!
Please come back to the Craftwell blog and visit often!

    ♡- Desiree'

May 31, 2019

Happy 1st Birthday Card

Hi everyone!
My name is Katie and I'm new to Craftwell's Design Team.
For my first post, I made a 1st birthday card using the SNAP machine and here's how it came to be.

Materials: 

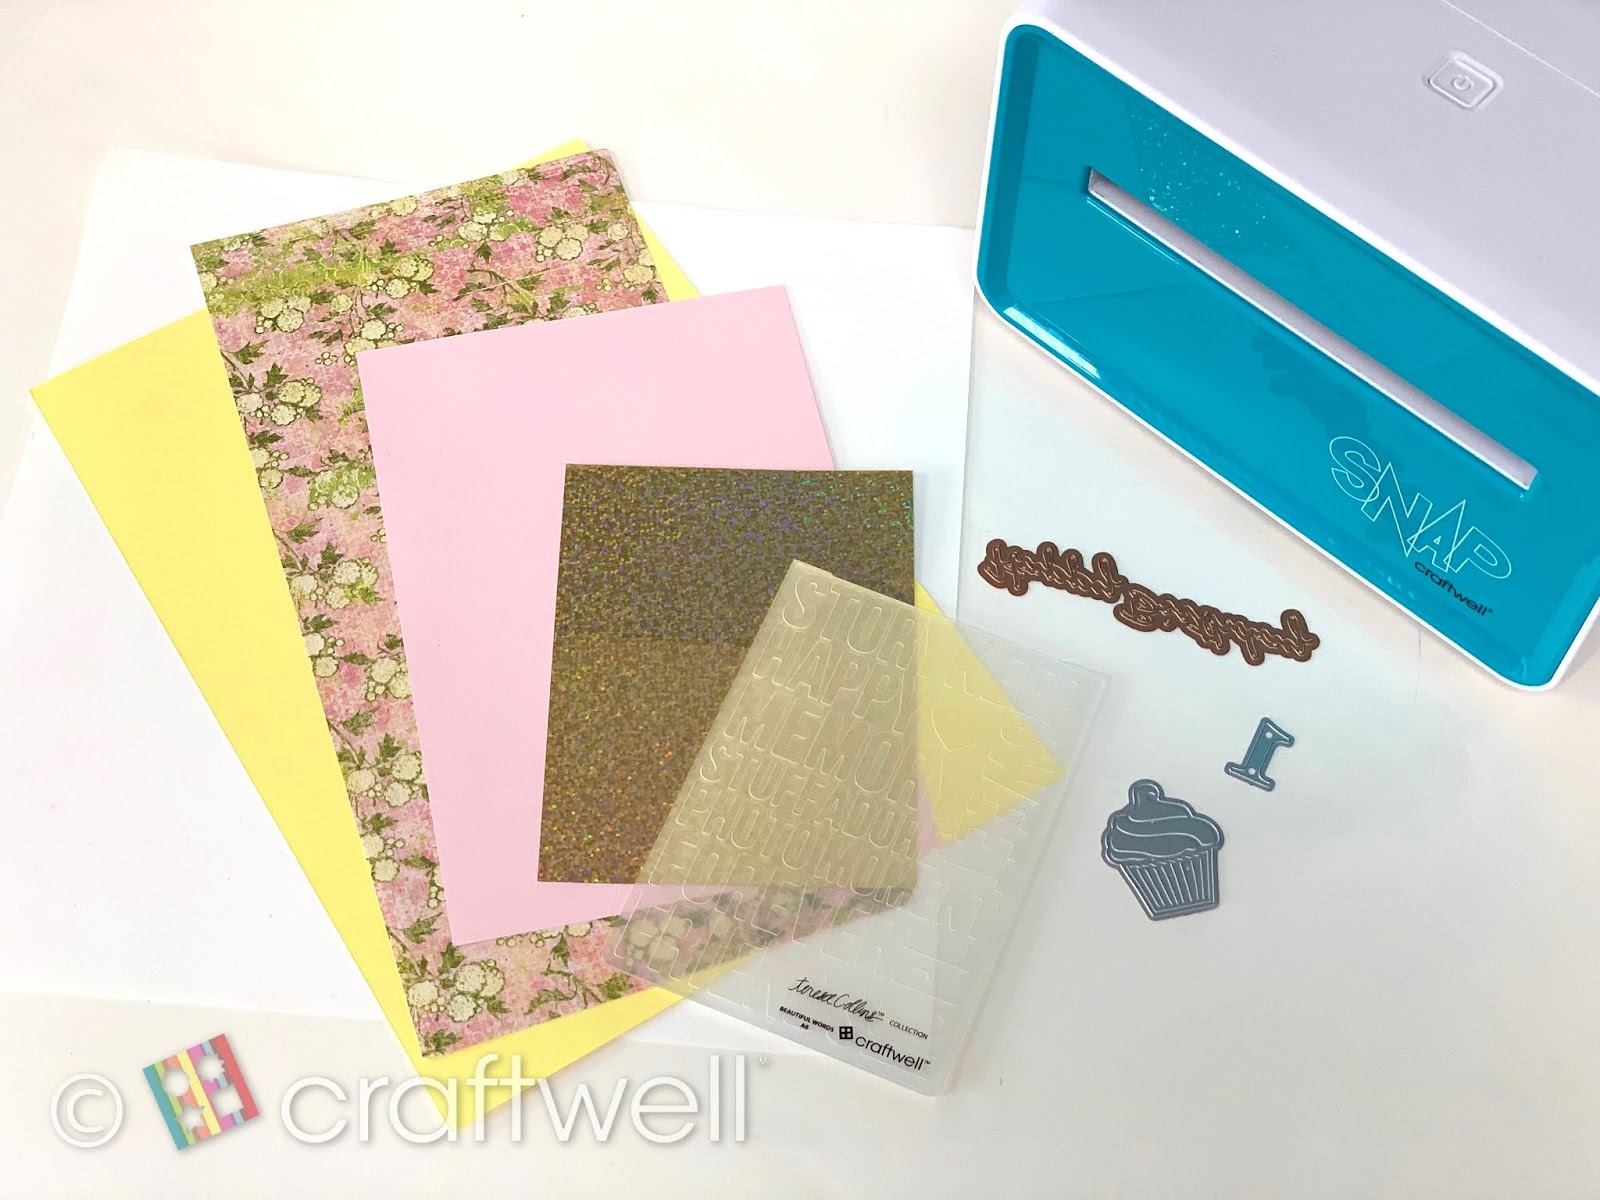
SNAP machine
Leftover paper from white, yellow, flower pattern, light pink and glossy glitter. 
A6 Beautiful Words embossing folder by Craftwell
Cupcake and number by Recollections
Happy Birthday Die by Spellbinder
Clear Glue by Aleene's
3D Foam Squares
Tweezers
Scissors from Craftwell's tool kit

First, we want to start by making the background to the card and cutting it close to the A6 dimensions. I ran the embossing folder through the SNAP and you have your embossed paper.

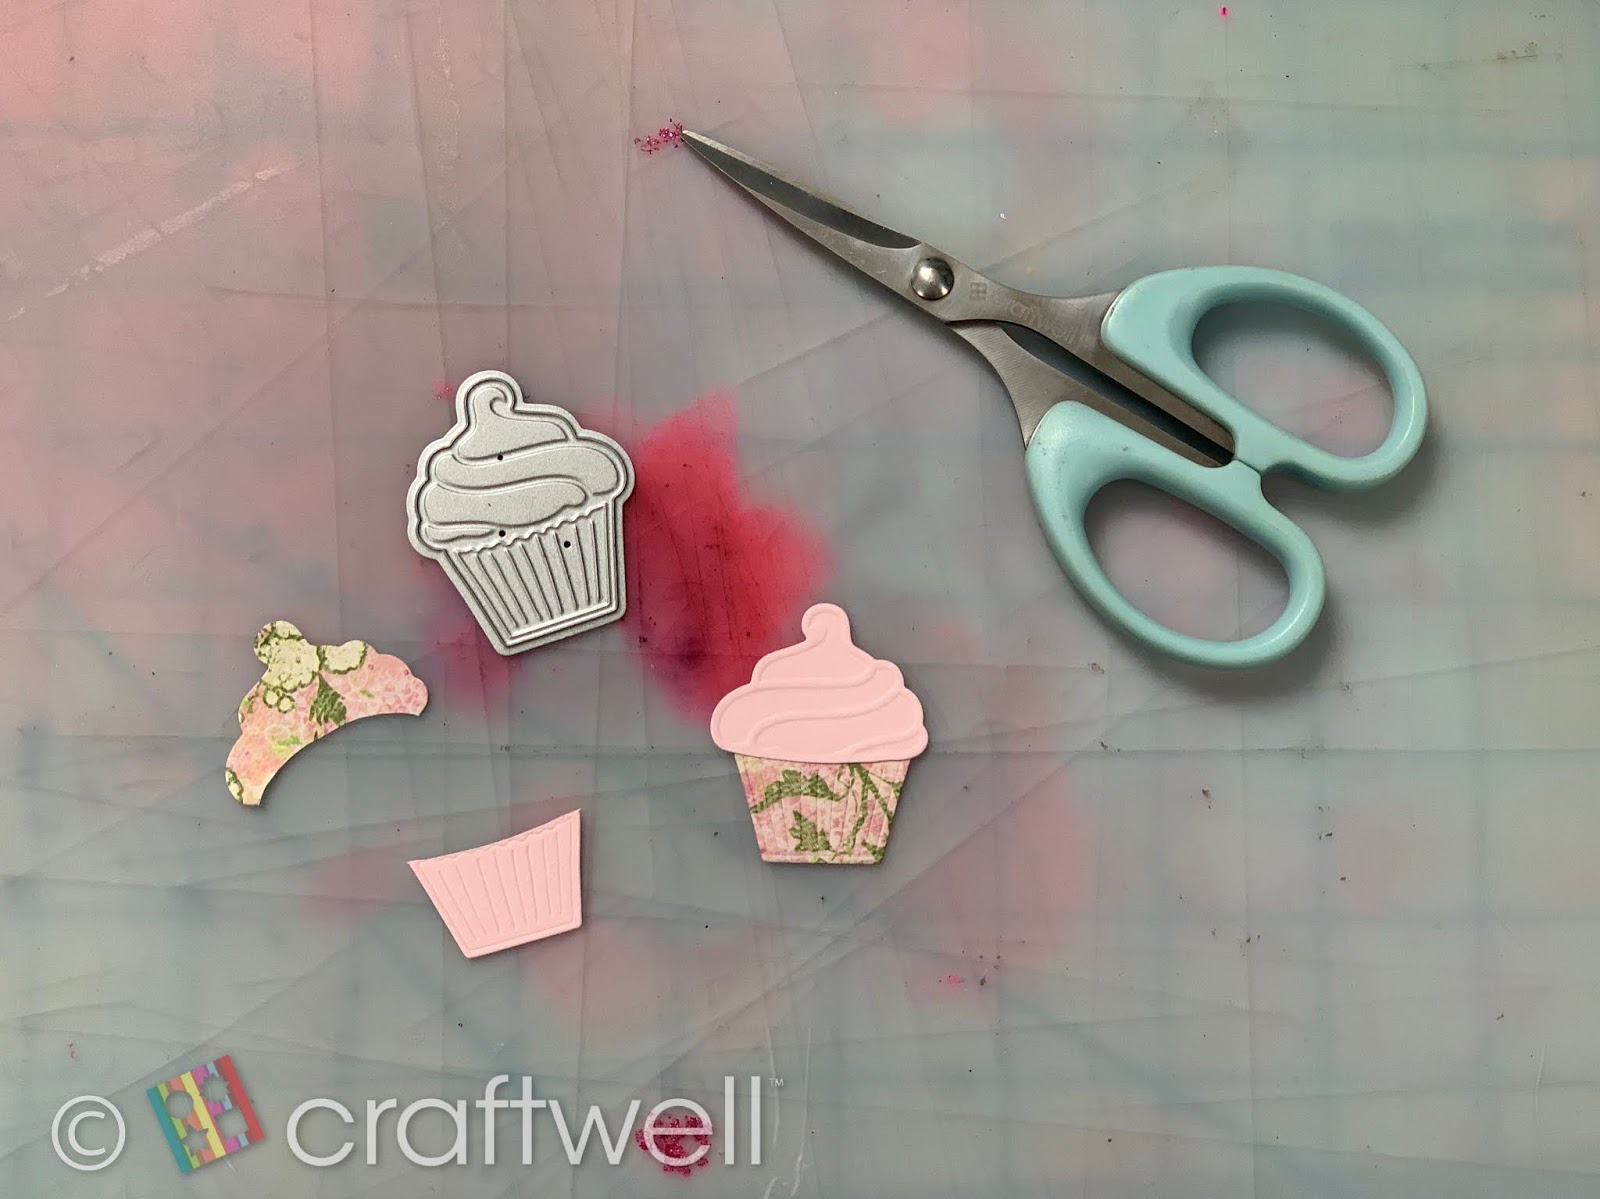
Next, we cut into the flower pattern and light pink paper with the cupcake die.
And do the same with the glossy glittery paper use the number 1 die.

Here comes the fun part! Time to assemble the cupcake, which is really easy and quick. 
So I wanted the frosting to be pink and cut above where the cupcake wrapping would be. I did the same with the other cut out, but did the opposite and cut top where the frosting would be. Make sure you leave a little room so you have space to glue the frosting to it.

I took the embossed yellow paper and glued it to a white folded paper. You can cut it to whatever size you desire, but I just cut it about half a quarter inch more and glue them together. 
Next, I stuck a 3D foam square behind the cupcake and centered it in the middle. You will notice I place the number 1 last because I couldn't decide if I wanted it floating above or place it into the cupcake. In the end, I just glued at the top of the cupcake and I think it looks pretty good there :)

So... I went a little extra and designed the inside. 
Added another layer of yellow paper and a message inside of the card. I used whatever leftover paper I still had and cut out the words "Happy Birthday". And again, you all can design the inside however you want and have fun with it!

The end result of the front and the inside.

I hope everyone enjoyed this tutorial and got inspired for your next card! :)

March 21, 2017

Easy to Make Cake Toppers by Heather Wilson

I made a banana cream cheesecake for a special friend's birthday. This was my first time making cheesecake! Only problem is, you can't exactly use frosting to write "Happy Birthday" on a cheesecake (yuk!) So I put together a fast, easy alternative with my Cut n' Boss.
Materials:
Decorative Paper
Cut n' Boss and die cuts
Scissors
Gluestick
Black Sharpie and Pencil
Toothpicks
Tape
 For the background, I chose a light colored patterned paper. You don't need to use a dark or busy background, otherwise, the words we put on later won't show up well.
 For the words to be facing right, put the die cut right on top of the patterned side. You don't want to deal with the frustration of ending up with backward words!
 Place the die cut on platform A, flat side down. Put your paper on top of this (the back side should be facing up). Remember with die cuts: D is on the bottom, then A (die cut on top of it), B, then A.
 Now stick it all through the slot of your Cut n' Boss and watch it do its magic!
 Here it is cut. I didn't need all that blank space on top, so I folded it before cutting so it would be straighter. However, you can use a ruler if you want to make it perfect...
 Now you need a second (solid)colored sheet of paper for the background. Then use a glue stick and stick it down. Let dry for a bit before cutting it out.
 Prepare to use your best penmanship to do the rest of the words. This is easier and turns out better when starting lightly with a pencil. Get all the spacing and centering worked out with pencil, then go over with a black sharpie.
 Lastly, tape the end of a toothpick(s) onto the back of the paper. You may need two for longer words.

And there you go: a quick, simple, and inexpensive way to spice up someone's birthday dessert!
 
P.S. The cheesecake was delicious!

March 1, 2017

Sweet Succulents

Lia Griffin has a fabulous set of patterns for some succulents.  I used the pattern from her site to create this mini. 
2017-02-21 20.30.27 copy
You'll need:
paper (8.5 x 11 sheet)
eBrush, adapter
markers
glue
glue dots
twine
mini clay pot
Spanish Moss
hot glue gun

Cut the petals.*  Using the eBrush and markers color the paper.  I started with a light gray paper with green undertones from my stash.  Color as desired, layering colors from light to dark.
2017-02-18 14.06.02 copy

2017-02-18 15.42.30 copy

2017-02-18 14.29.51 copy


Assemble as directed in the tutorial.  I wanted my succulent to be small and more compact - so I left 2 clusters out. 

2017-02-18 15.41.57 copy

Wrap the twine around the clay pot - just under the rim.  Secure with a dab of glue if needed.  Fill with Spanish Moss and with a bit of hot glue, secure the succulent in place. 
2017-02-21 20.30.41 copy
Hoping your crafting time is coming up shortly!  Have some fun with some creative paper play, the eBrush and markers.

May 6, 2016

Ole' Sabor Card by Tyra Babington


Happy Friday Friends! Let's keep the celebration going with another card I made using the Ole' collection from Sabor!

TG-SaborxCraftwell-eng 
 Let's revisit the supply list again:Sabor Craftwell Birthday Card Supplies
Supplies:


    Craftwell Cut n' Boss
    Birthday Theme Steel Cut Die
    Sabor Ole' Collection
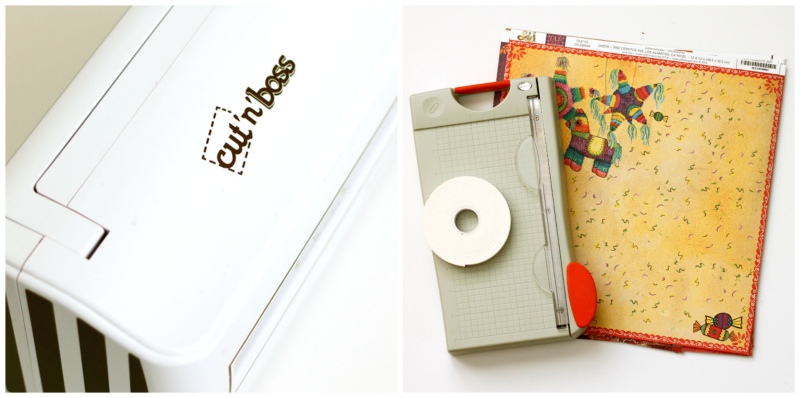
    Paper Trimmer
    Foam Tape
    Scissors
      First, select one sheet of the Dulces 12 x 12 paper and cut to (1-2) papers sized to 8.5 by 5.5. inches. I trimmed along the zig-zag and candy lines to create a natural border for the card. Turn paper lengthwise and score at the 4.25 inch mark and fold to create a card. Next, use the Cut 'N Boss to create a banner from the beautiful Sorpresa paper and attach with foam adhesive squares. Use additional foam adhesive squares to attach the "Happy Birthday" sentiment to the card. Let's take a look at the card I created:

        Tyra Babington for Craftwell _Sabor_Celebration_Card_Birthday 06052016

      Sabor's paper so so easy to incorporate into a variety of projects. I didn't alter the collection much, allowing the beautiful designs to take center stage. Thanks so much for stopping by!
      '
       
      Copyright © 2014 Craftwell Blog. Designed by OddThemes - Published By Gooyaabi Templates