DO NOT MISS
>>Follow our Facebook page for updates! >>Join our Craftwell Design Team: Apply Now!
Showing posts with label decor. Show all posts

March 27, 2018

"Life is Good" Wall Art Decor by Karen Jiles


Hi there,

It’s Karen, sharing this “Life Is Good” Wall Art Décor created with the “So In Love” embossing folder and the Cut N Boss machine. I coordinated the embossing folder with a sanding bar to expose the deep embossed impressions of the hearts in the folder. I also added a bling layer, flower and die cut from the Lovers’ Lane Pocket Dies Collection. The “Life is Good” Wall Art Décor measures 6 x6.  I’m adding a tutorial below.
Supplies:


Wall Panel

Pink White Core Cardstock

Bling Adhesive Sheet

Sanding Bar

Beaded Bottle Cap

Gesso

Flower

Antique Gem Pins

Hemp

Silver Paint

Trimmer

Mini Attacher


 Step 1: Place full sheet of cardstock into the “So In Love” embossing folder. Close the folder and insert into Cut N Boss by Craftwell. 


Step 2: Remove the embossed cardstock from the Cut N Boss and the embossing folder and trim it down to layering size for your panel. 


Step 3: Sand the embossed cardstock with sanding bar to expose the white core.

Step 4: Cut bling sheet down to laying size and adhere to panel. Layer the embossed cardstock onto the bling sheet. Set aside.


Step 5: Attach flower layers together with Mini Attacher and apply gesso to flower using a foam brush. Let dry.


Step 6: Adhere beaded bottle cap to center of flower and adhere flower to the wood panel.


Step 7: Die cut the “Life is Good” sentiment from the Lover’s Lane Pocket Die Set using the Cut N Boss machine. 

Step 8: Adhere sentiment to the wooden panel and add hemp to the flower. Continue embellish as desired. 


Thanks so much for stopping by today and I hope that this Wall Art Décor has inspired you!

Karen

December 12, 2016

DIY Gilded Birch Tree Centerpiece

The holidays are fast approaching & nothing screams winter wonderland more than birch tree decor!
And thanks to Dixie Belle Chalk Paints & eBrush Siphon, I can make a festive, eye-catching centerpiece with a distressed catch-all dish for mints & such!

For this project, I absolutely fell in LOVE with Dixie Belle chalk paint in Fluff!  It was the right shade of bright white with a gorgeous matte finish that birch tree bark is known for.

 You Will Need:
+ Window & tile cleaner
+ Various twigs from outside
+ Scrap transfer foil
+ Exacto knife
+ Plastic serving plate & dessert plate, black
+ Faerie lights (optional)
+ Hot glue gun
+ Cut'n'Boss (for ornaments)
+ Teresa Collins cutting dies, Thankful Holiday & Girl's Best Friend (for ornaments)


1.  Assemble your twigs in a way that you like.  The arrangement can be in any way possible, but I took some time to make sure the placement looked as natural as possible.  Then hot glue them into place.


2.  Use an Exacto knife to cut hole in the center of the plastic serving plate large enough for the base of the main twig to fit through.  Glue the smaller dessert plate, upside down, underneath the larger plate.  Cut an 'X' into the smaller plate as well, push the twig into the hole and hot glue in place.


3.  Mix (1) part window cleaner & (1) part Dixie Belle chalk paint.  Normally it would be a 1:2 ratio, but I wanted the paint to pool into droplets on the plastic plate.  When the paint dries onto the plate, it will look like distressed ceramic.


4.  Paint the entire tree & plate.  I painted the first layer & waited a few minutes until the paint almost completely dried.  Then I painted another layer, waited again and airbrushed the final layer.  Layering will give you better coverage on the final piece.  If you notice the plate, the pooled paint gives a very nice texture.


5.  To create a gilded birch centerpiece, I used my hot glue to add some dabs of glue on various parts of the branches.  When the glue was still hot, I used scraps of my rose gold transfer foil to add speckles of foil.  Look at some reference for birch trees & birch bark to get an idea of what it should look like.


6.  Lastly, as a optional measure, feed the faerie lights through the bottom of the plates at the base of the birch tree, and twist around the trunk and its branches.  Cut a small notch on the side of the small dessert plate rim to act as a placeholder for the wiring to feed neatly through.  Cut some black cardstock ornaments with the Cut'n'Boss to decorate.


TADA!  Hope you enjoy your holidays this year! ;)

-Judith

December 8, 2016

Living Room Mantle by Claire Campanella

It's time to decorate my living room mantle for Christmas!


I used:
4 glass vinegar bottles
4 sprigs of faux flowers 
Several twigs
2 round glass candle holders
2 silver platters
E-brush
Printout of 'T'was the Night Before Christmas' poem
Painters tape
Double sided tape
Apple cinnamon candles

I went to the dollar store and got a few glass vinegar bottles, round glass candle holders and silver trays. I used the E-brush to spray the bottles silver, gold and green. One bottle I wrapped in a colored printout of 'T'was the Night Before Christmas poem' and secured it with double sided tape.

I used painters tape on one of the candle holders to make a stripe wrapping around the entire glass. In the bottles, I placed a few faux sprigs of flowers and a couple of real twigs. 


In the candle holders I lit the apple cinnamon candles that smell incredible. I had so much fun doing this project and it really created a fabulous Christmas feel.

November 22, 2016

Feather Magic by Heather Wilson

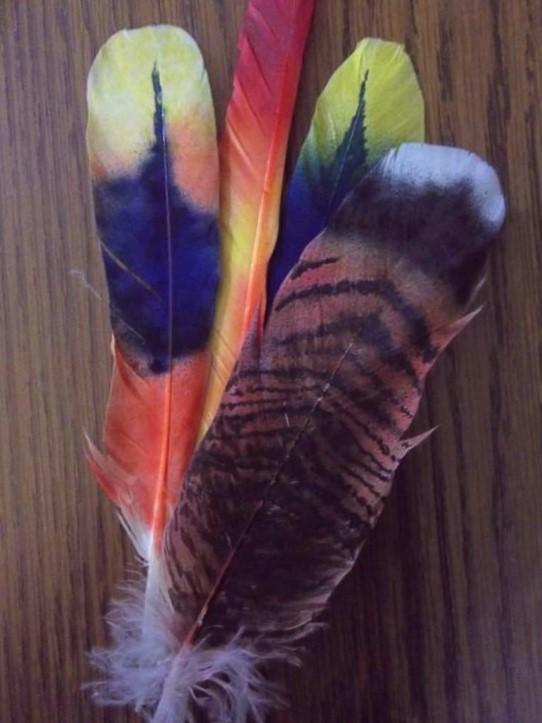
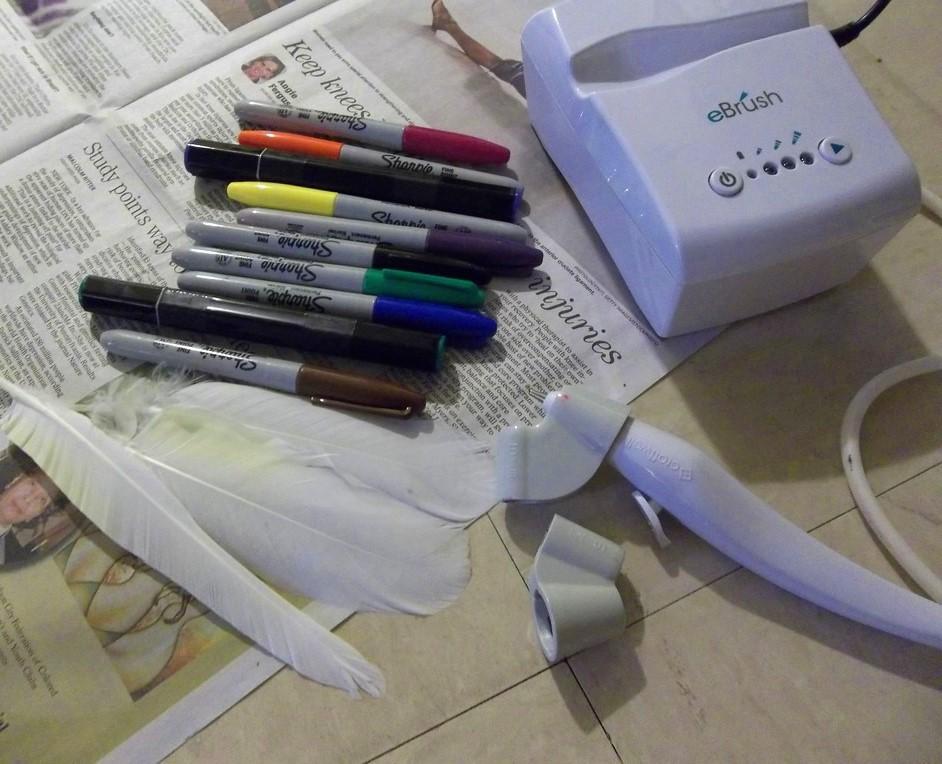
I absolutely love feathers; I have collected a huge amount of them over the years. However, I wanted to try to create my own colors and patterns that can’t be achieved by dying them in liquid. Well, thanks to the ebrush, I was able to make turkey feathers to decorate with for thanksgiving! Here’s how…

Materials:
White feathers, natural or store bought
Ebrush
Permanent markers (brown, orange, and black)
Newspaper
Candy! (crafting makes me hungry…)

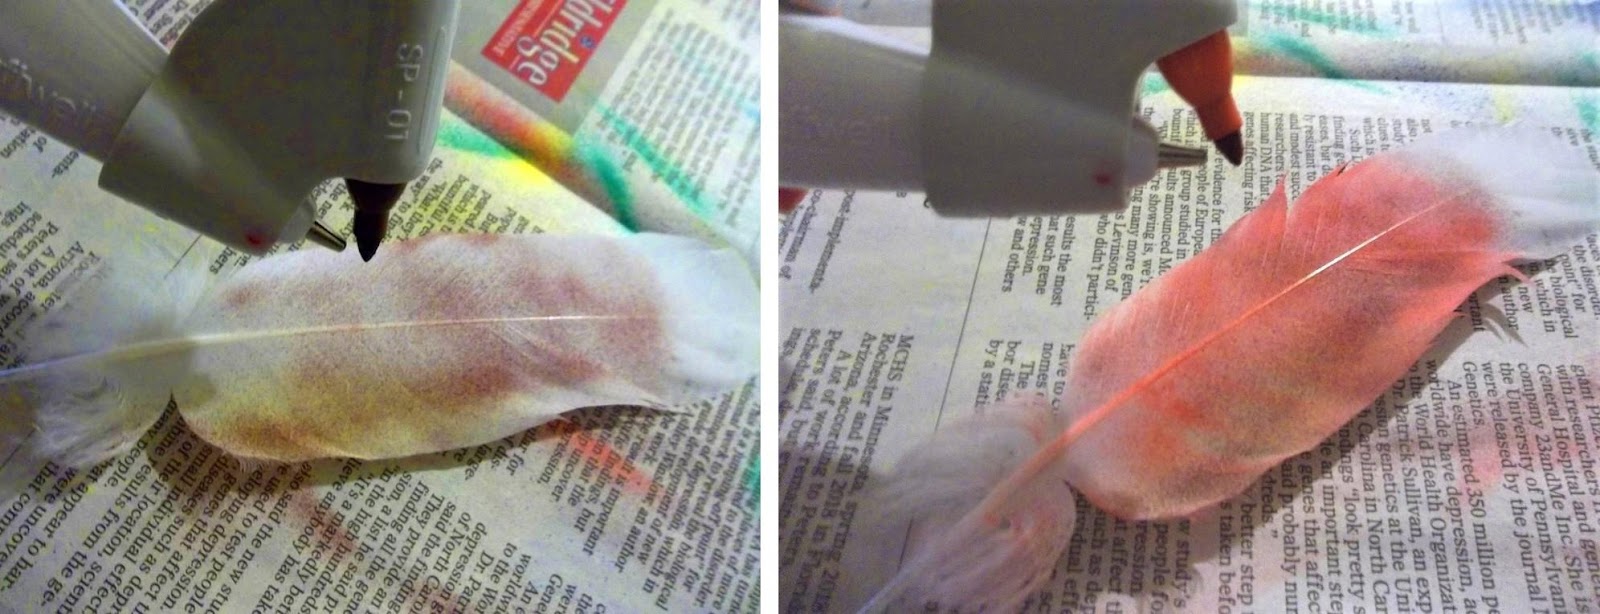
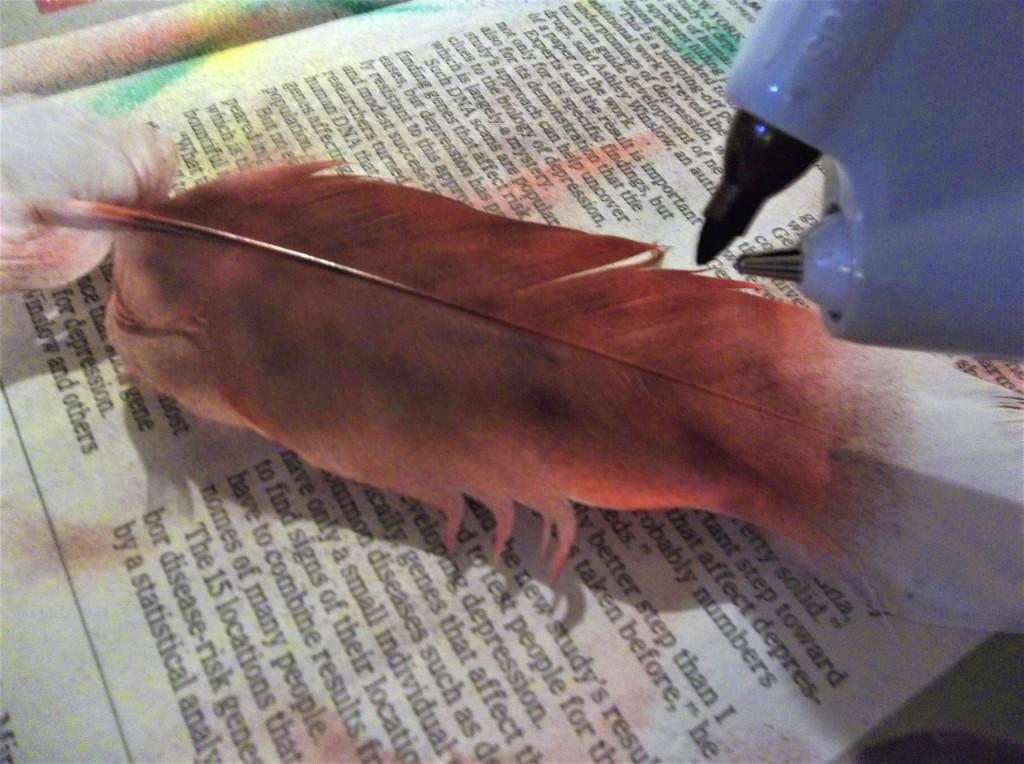
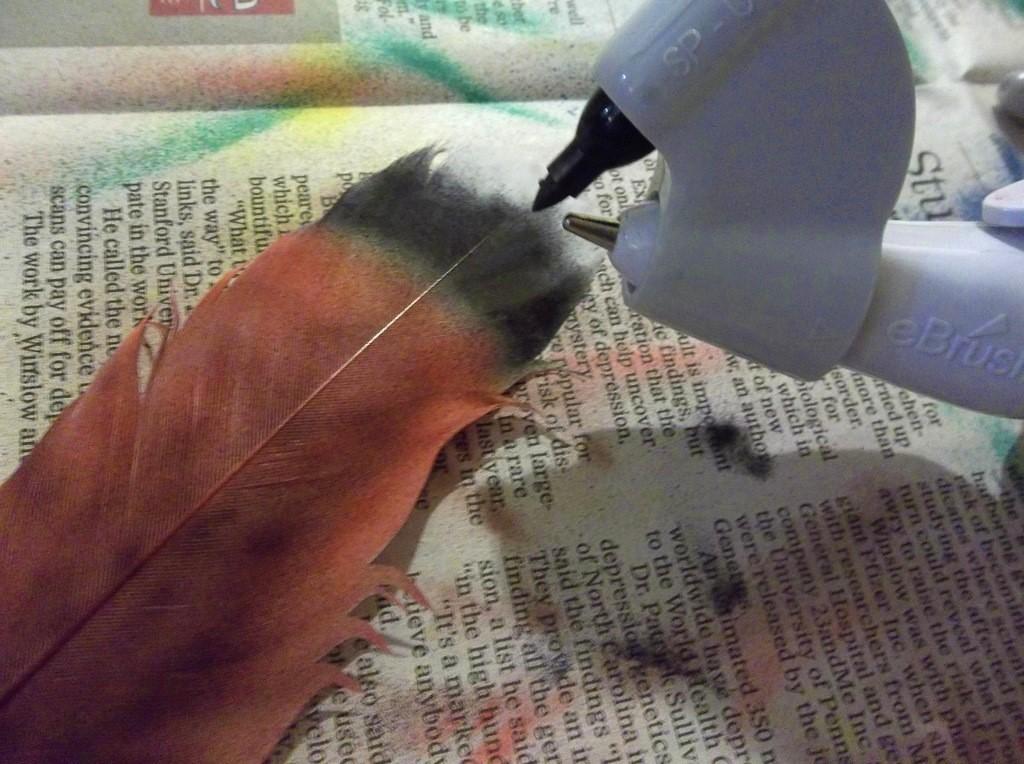
First of all, you will need to find a picture of a turkey feather to look at as a reference while you work. This will help you keep track of where to place color and patterns for your feather. Then start airbrushing the first layer lightly with a brown marker, but be sure to leave the tip white! To get even coverage, slowly move your ebrush lengthways up and down the feather. Go over the brown with a layer of orange, then brown again.
With a yellow sharpie, put a slight bit of yellow right where the brown and white meet. Now with a black sharpie, you’ll ebrush a thick black bar between the brown and white.
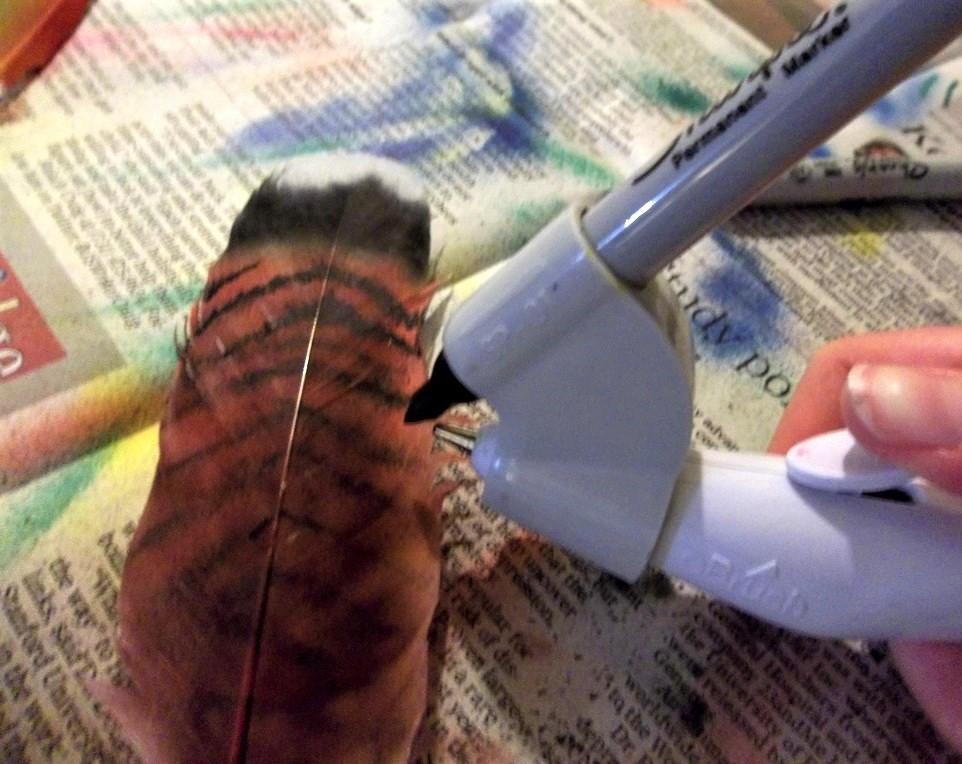
Next comes the tricky part; making stripes. You will want to practice striping on paper with your ebrush to test before doing the actual feather. To get the stripes, hold the ebrush (with a black sharpie in it) at a slight angle to the vein of the feather. Be careful not to make the lines too thick as you work.
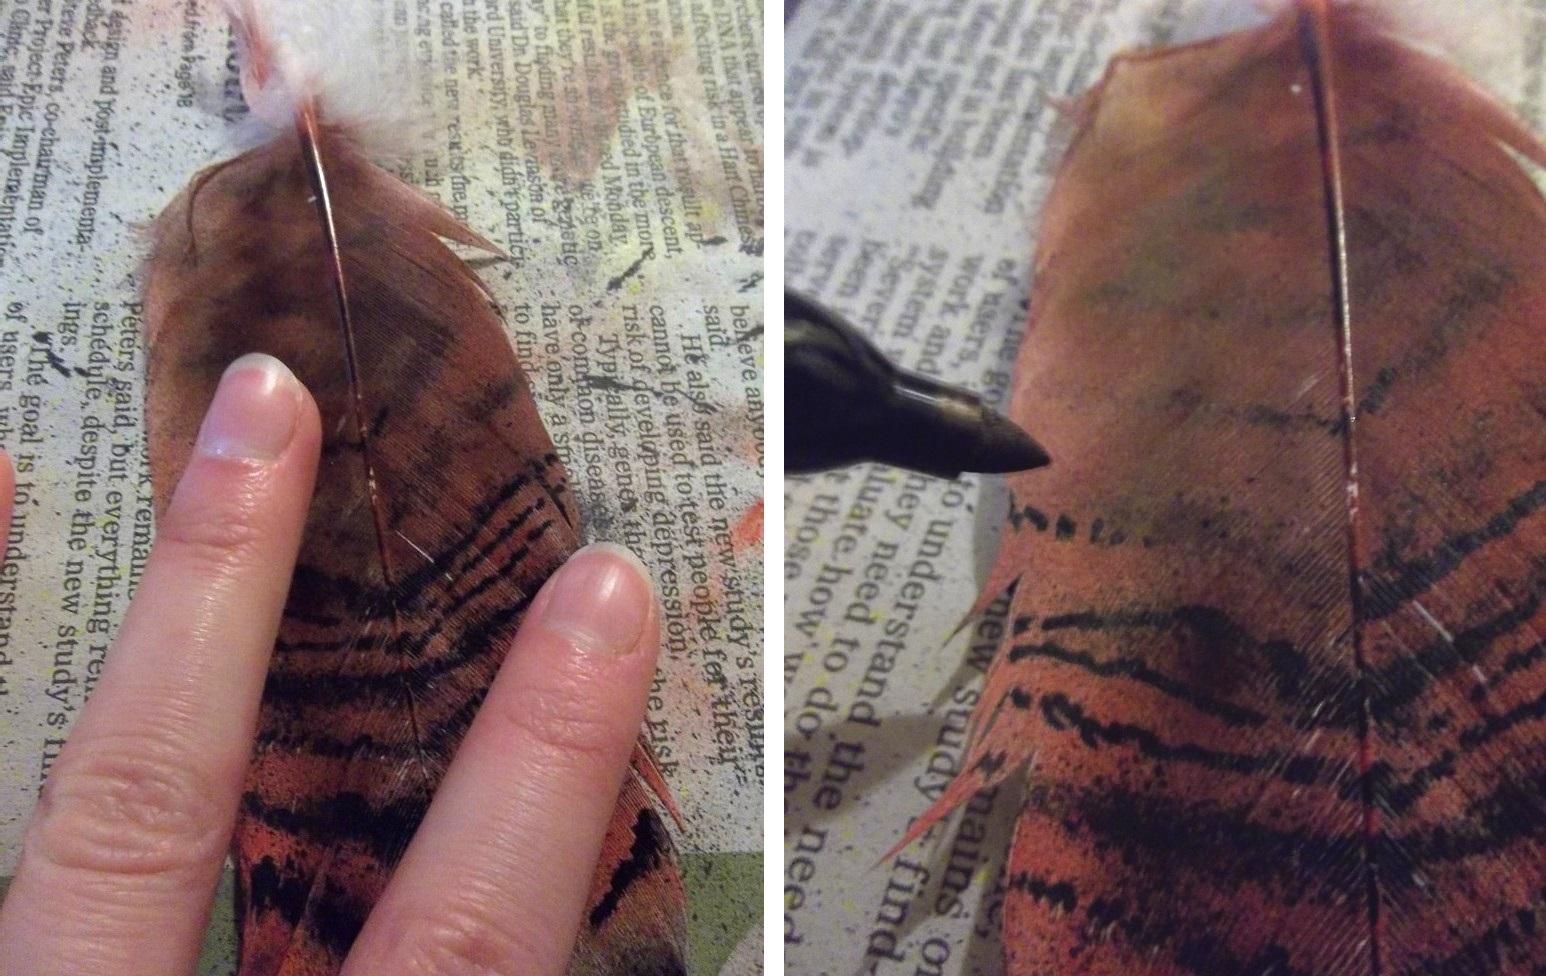
The airbrushed stripes will be light, so the next step is to define them some more by drawing lines directly onto the feather with your sharpie. To keep the feather firmly in place, place your fingers on each end of the barbs as pictured below. Taking your black pen, gently draw in clearer lines over the airbrushed ones. Drawing on a feather is a bit different from drawing on paper; instead of drawing a continuous line (which will just spread the barbs apart) hold your pen at an angle and gently tap in your stripes. Note that the stripes towards the top are thicker and gradually get smaller going down. Some places will need finer lines between them, especially towards the bottom of the feather.
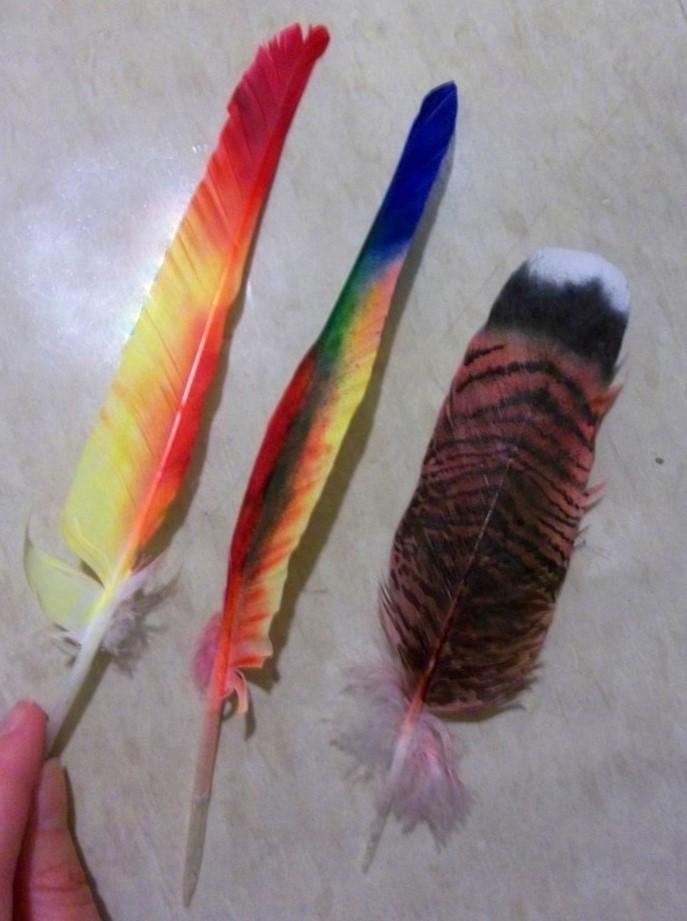
Now you have a nice turkey feather to use any way you wish, whether it’s to decorate a centerpiece or use for making a miniature turkey! The ebrush can also be used to make other patterns, below are parrot feathers I made using the same technique but without the striping.
Tip: Always start with your lightest color and save the darkest for last!


November 11, 2016

Freebie Friday! Dinner Table Goodies!

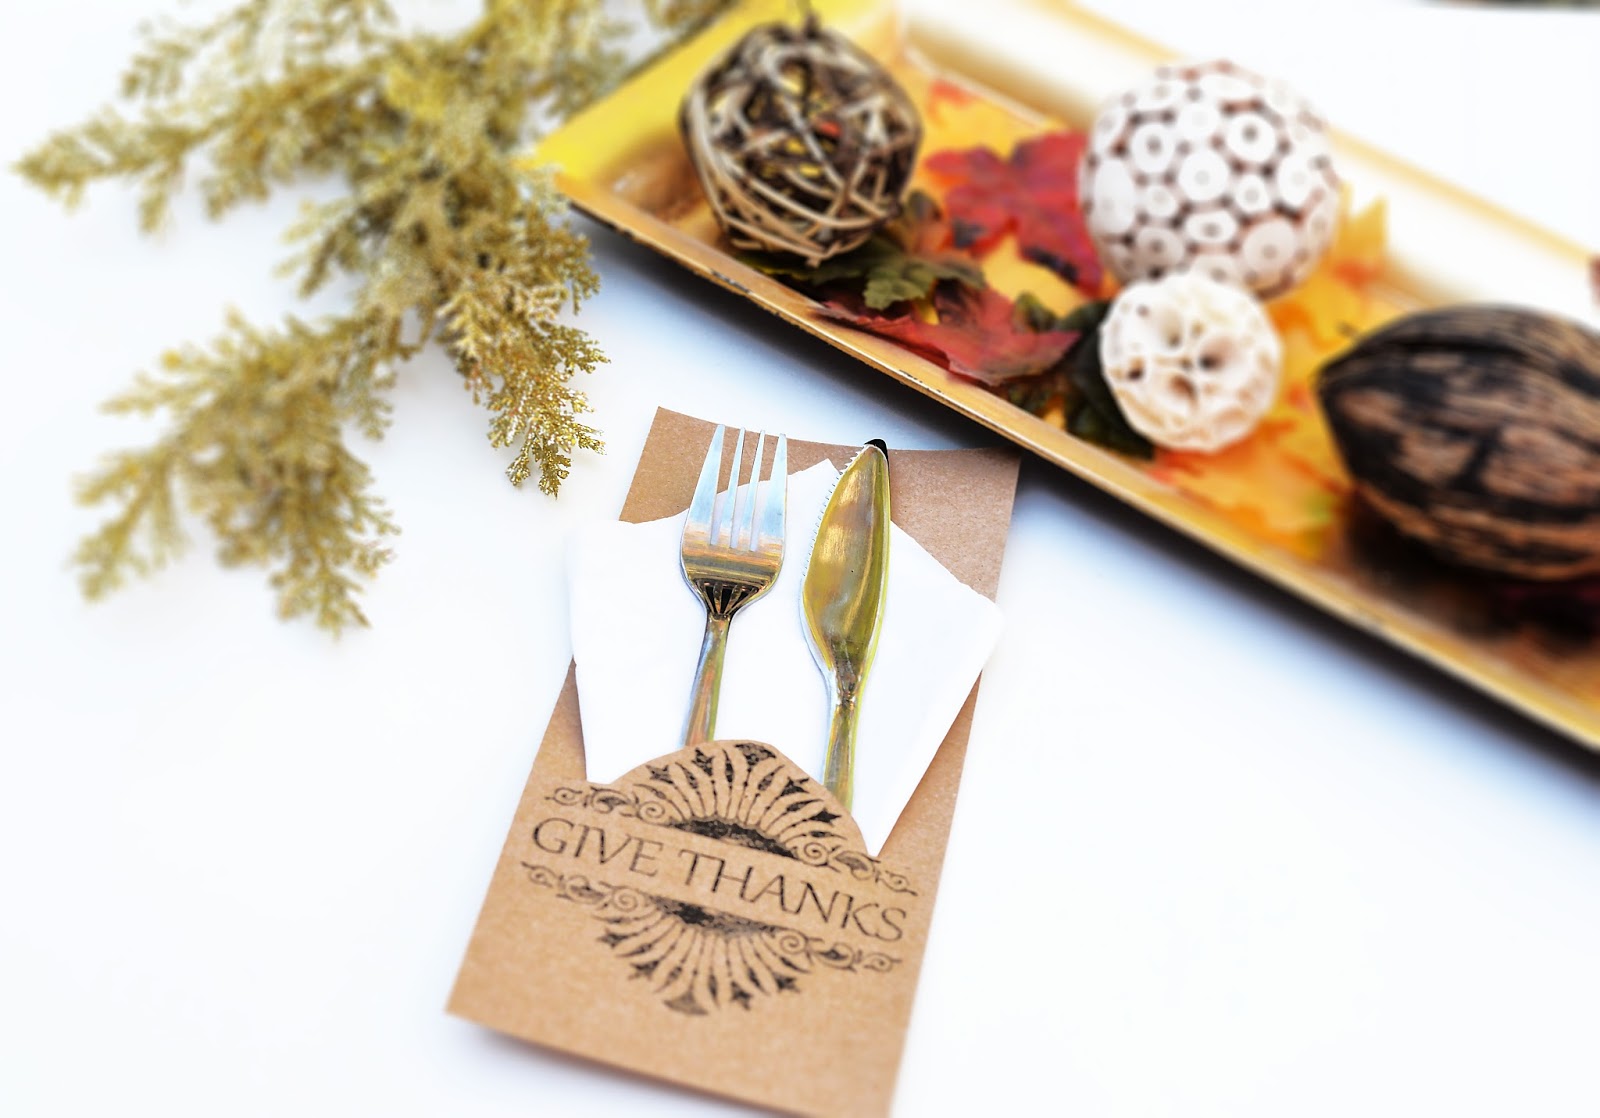
Thanksgiving is right around the corner, and this free printable will spruce up your dinner table with very little effort.  Make a big impact in little time!!

Simply download the free printable here.

Once downloaded, the file is already sized for a standard 8.5" x 11" Letter Size printer page.  I used brown kraft paper to add a shabby chic look.

After it has printed, simply trim into three separate panels.


Use an Xacto blade to cut along the top of the design as shown in green on the picture below. Do NOT cut all the way to the edges.  You want to make a pocket.


Once cut, simply insert a napkin and silverware.  Your table will be darling!


May 31, 2016

Tips & Tricks Tuesday: DIY Party Decor


Hello Crafty Friends!

Welcome to Tips & Tricks Tuesday! Today we venture into the world of DIY Party Decor that requires very little time or money but creates a big impact. With the summer season closing in upon us, it is time to arm ourselves with tricks to make each warm weathered event a smash.


Visit the blog tomorrow and the remainder of this week for amazing projects featuring products by Latina Crafters!

Xoxo,
Emily


April 3, 2016

Craft Corner DIY Video Episode 13

Craft Corner DIY Video Episode 13


Emily Rudolph and puppy sidekick Gotham bring you some easy DIY projects using your eBrush and Cut n' Boss.


March 25, 2016

Easter Home Decor

Ebrush Design Team: Yolie Burke Week 11 Cycle 3


Happy Easter! This is Yolie with Team eBrush sharing an Easter Home Decor project.

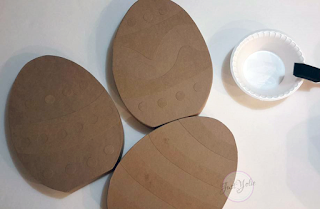
I took Easter eggs and painted them with acrylic paints; white, purple and yellow.


I then used the eBrush with Sharpies to add some more color.


I decorated with lace ribbon and rhinestones.


The Easter eggs are 18" in height and I purchased them last year after the Easter sale for .15 each.  So be on the look out after season sales.  I decorated 6 of them, this trio sit on my mantel.


Thank you for visiting and Happy Easter!


'
 
Copyright © 2014 Craftwell Blog. Designed by OddThemes - Published By Gooyaabi Templates