
I absolutely love feathers; I have collected a huge amount of them over the years. However, I wanted to try to create my own colors and patterns that can’t be achieved by dying them in liquid. Well, thanks to the ebrush, I was able to make turkey feathers to decorate with for thanksgiving! Here’s how…
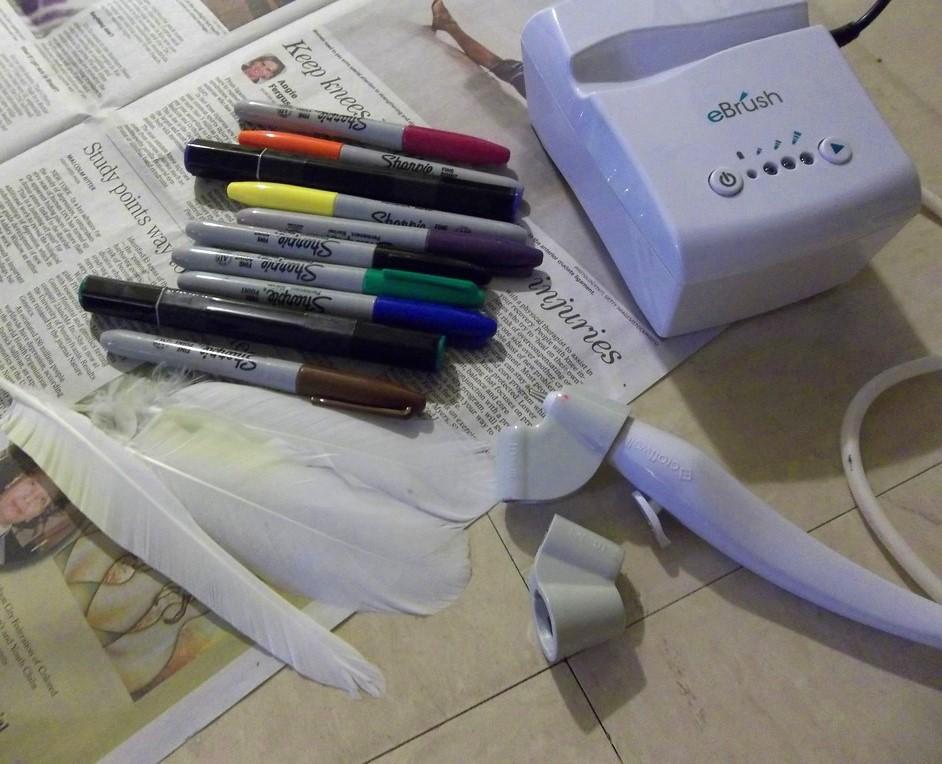
Materials:
White feathers, natural or store bought
Ebrush
Permanent markers (brown, orange, and black)
Newspaper
Candy! (crafting makes me hungry…)
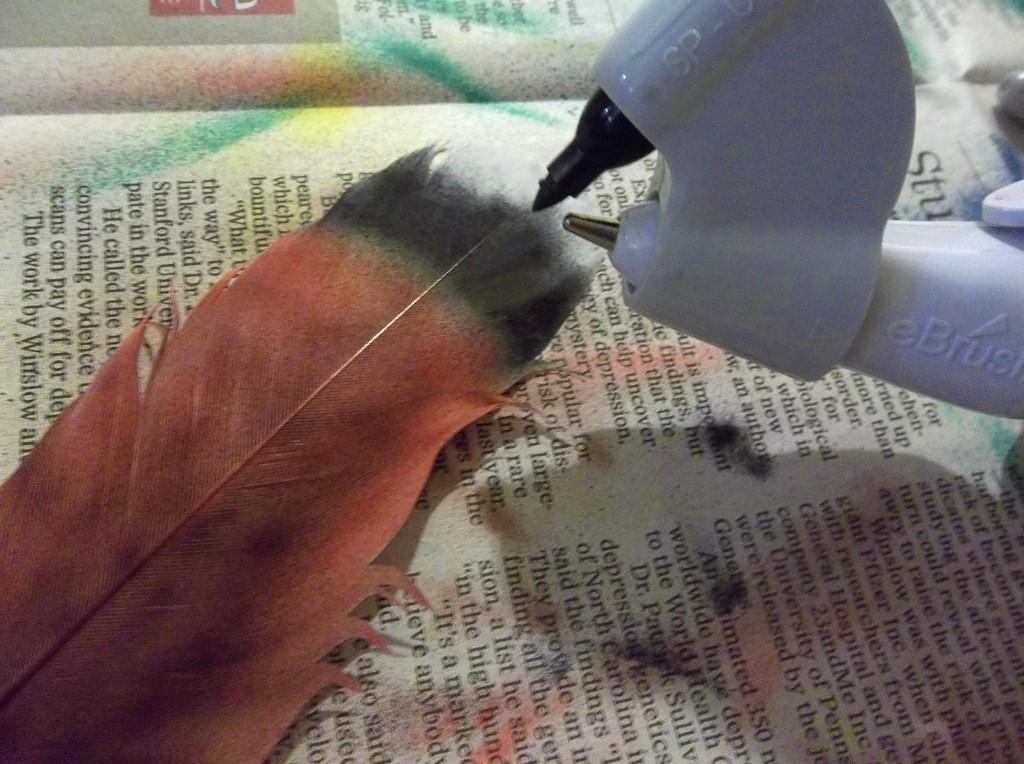
First of all, you will need to find a picture of a turkey feather to look at as a reference while you work. This will help you keep track of where to place color and patterns for your feather. Then start airbrushing the first layer lightly with a brown marker, but be sure to leave the tip white! To get even coverage, slowly move your ebrush lengthways up and down the feather. Go over the brown with a layer of orange, then brown again.
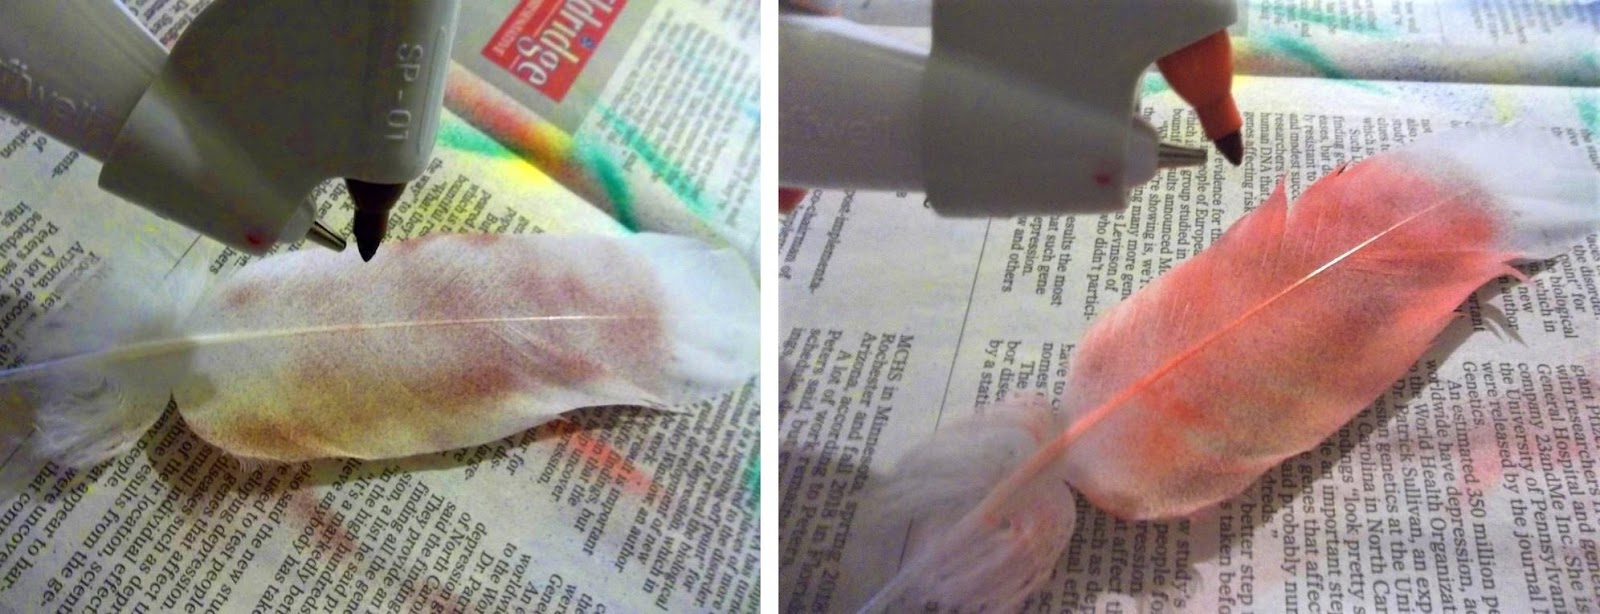
With a yellow sharpie, put a slight bit of yellow right where the brown and white meet. Now with a black sharpie, you’ll ebrush a thick black bar between the brown and white.
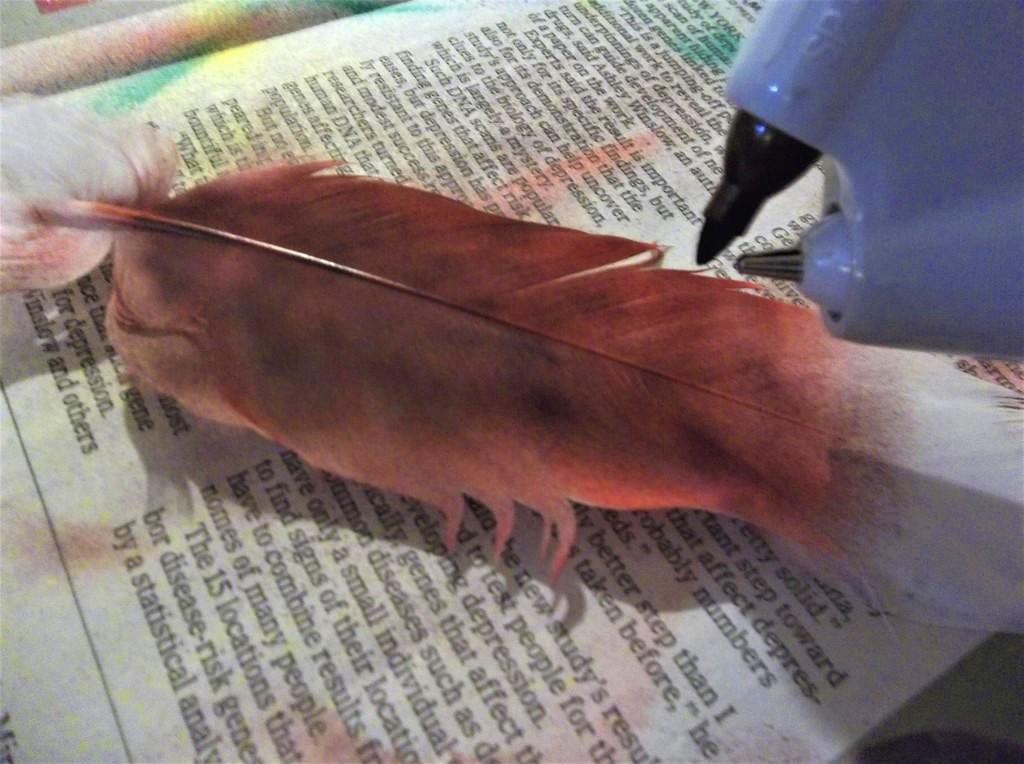
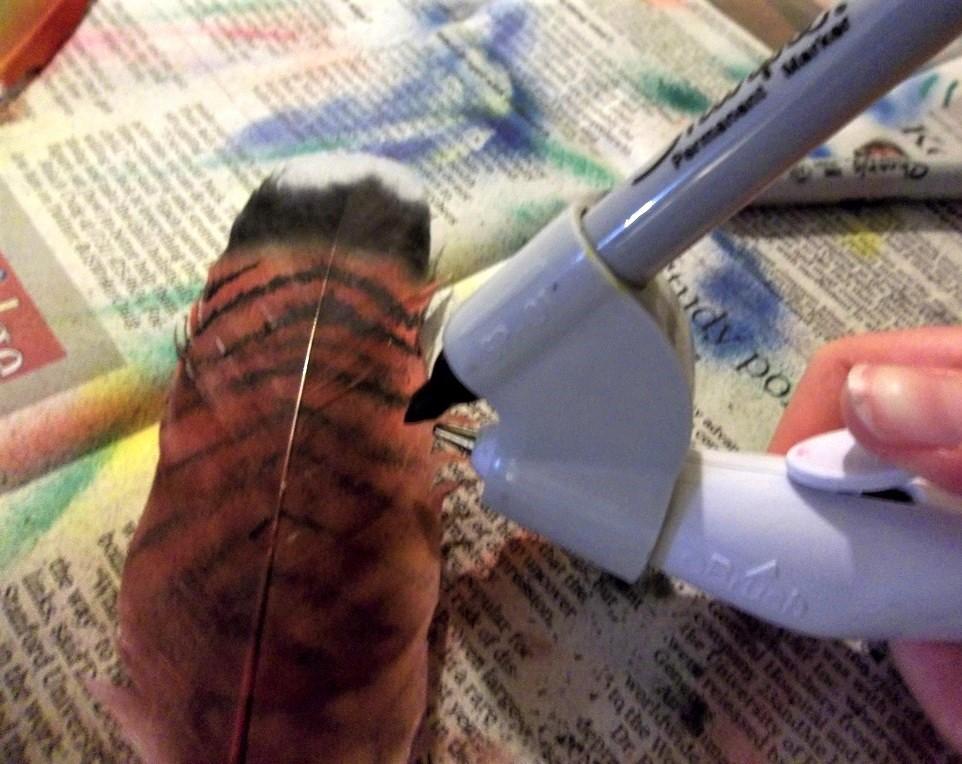
Next comes the tricky part; making stripes. You will want to practice striping on paper with your ebrush to test before doing the actual feather. To get the stripes, hold the ebrush (with a black sharpie in it) at a slight angle to the vein of the feather. Be careful not to make the lines too thick as you work.
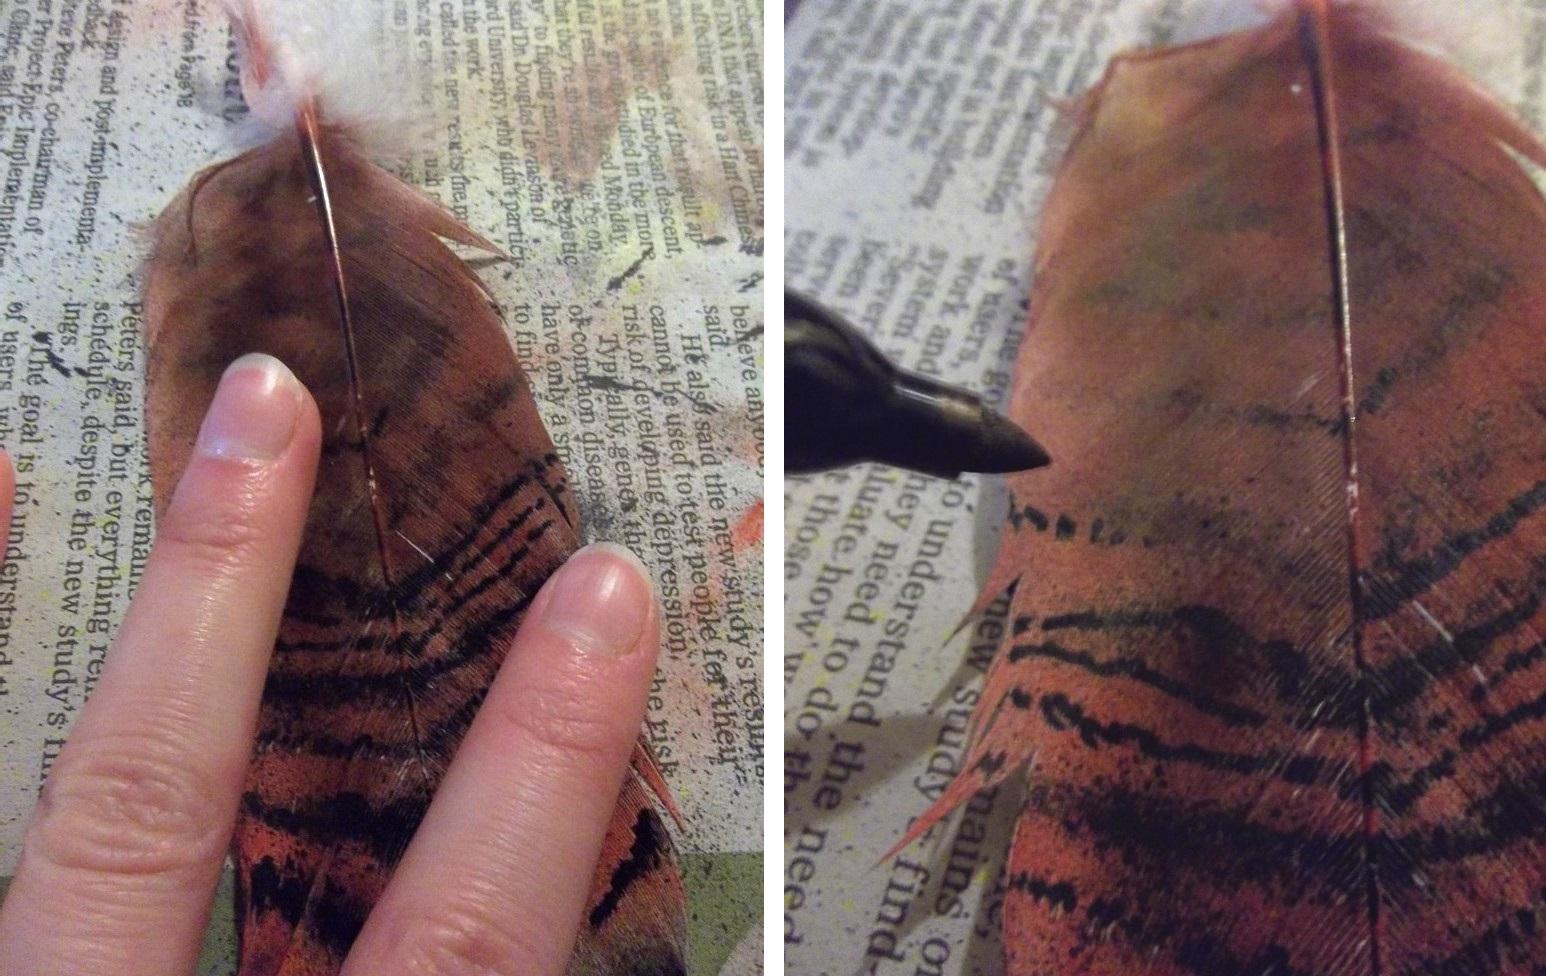
The airbrushed stripes will be light, so the next step is to define them some more by drawing lines directly onto the feather with your sharpie. To keep the feather firmly in place, place your fingers on each end of the barbs as pictured below. Taking your black pen, gently draw in clearer lines over the airbrushed ones. Drawing on a feather is a bit different from drawing on paper; instead of drawing a continuous line (which will just spread the barbs apart) hold your pen at an angle and gently tap in your stripes. Note that the stripes towards the top are thicker and gradually get smaller going down. Some places will need finer lines between them, especially towards the bottom of the feather.
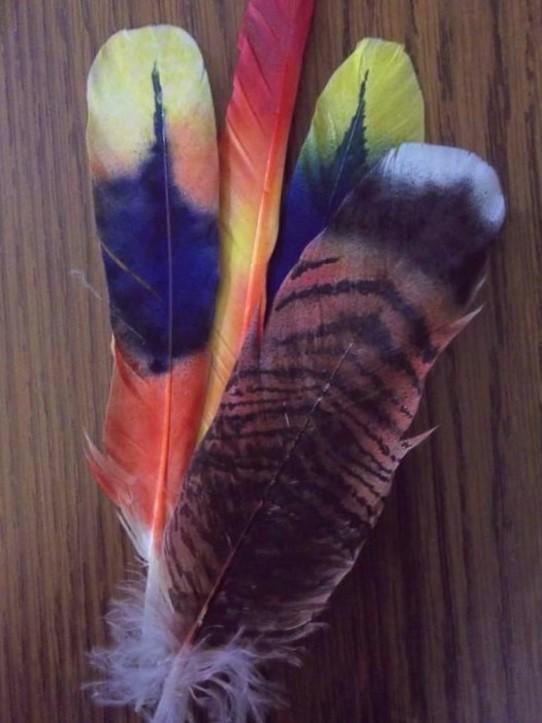
Now you have a nice turkey feather to use any way you wish, whether it’s to decorate a centerpiece or use for making a miniature turkey! The ebrush can also be used to make other patterns, below are parrot feathers I made using the same technique but without the striping.
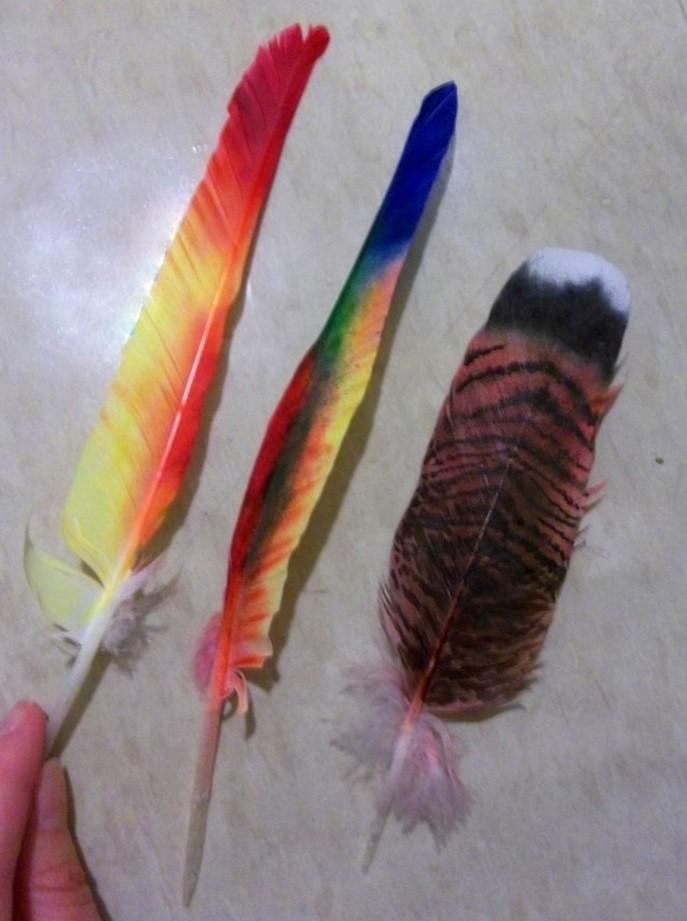
Tip: Always start with your lightest color and save the darkest for last!


Post a Comment