For this post, I made a baby shower card for a gift:
For the inside of the card:
Craftwell Tools:
SNAP die cut machine
Other Companies:
CTMH Archival ink pad
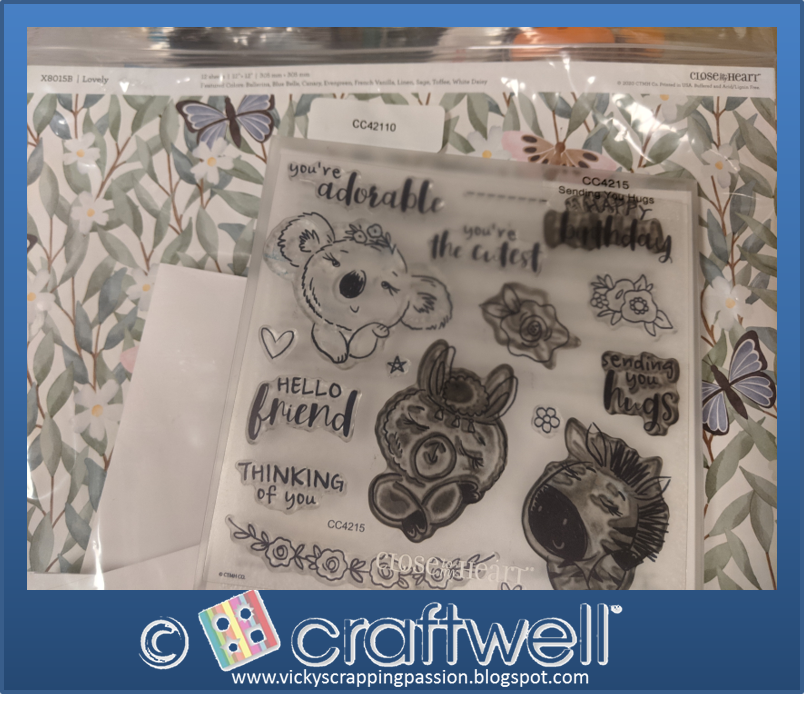
CTMH Sending you hugs card kit (Lovely printed papers, card base, and sending you hugs stamp set)
Gel metallic pens
Latina Crafter rounded rectangle dies
Baby bottle dies, Sizzix
In short:
I used one of the CTMH card kit sketches and cut the paper following the cutting guidelines.
Then, I die cut the stamped sentiments, the llama image, the baby bottle with its layer, and the baby sentiment:
After assembling the card, I went back with metallic markers to add colors to the llama and around the sentiment die cut:
This card was super easy and quick to make mostly because of CTMH card kit instructions. I hope you enjoy it and please follow my blog as well: vicky's scrapping passion.
Hello everyone!! Welcome back to our blog. This is Berina here and I'm sharing this cute baby girl card with a surprise pop-up today.
One of our friends had a baby girl recently and I decided to make a card to welcome the baby. I used a white and soft pink theme for the card. I took an A2 card base and adhered the front with a baby pink panel. I took a white cardstock panel slightly smaller than A2 and adhered it on top. I die cut the Poppy Stamps Diamond background die on a baby pink card stock and adhered it on the white panel. I die cut pink layers using 2 dies from Spellbinders Fleur de Lis die set and layered it with plain white squares. On the smallest white square, I stamped the sentiment Welcome Little One from Tubby Craft - Fancy Sentiments stamp set. I adhered the layers using foam tape. Now I die cut some flowers and leaves using Karen Burniston - Popup flower pot die set and adhered them on the front.
Now on to the inside, I created a pop-up pram. I die cut the cute little pram using the Crafter's Companion - Baby Carriage die and adhered it as a pop-up using thin strips of pink card stock. I die cut a few baby accessories using the Crafter's Companion - Baby Accessories die set and adhered them on the inside of the card.
How do you like my baby card today? Please do let me know in the comments below. Thank you for stopping by. Have a great day.
Hello everyone!! This is Berina here today, with a cute pink card for a cute baby girl!
For the card front, I decided to go with a shaker rattle in pink. I die cut a circle frame using 2 circle dies and made the shaker part. I die cut a tiny circle for the handle part. I added a tiny bow. I die cut a piece of white card stock with one of the dies from the Winnie & Walter Georgette die set. I adhered it on to an A2 piece of pink card stock. I adhered the rattle on to it and stamped the sentiment Congratulations from the Brutus Monroe - Sharon's Script stamp set. Now when you open the card:
It's a pop-up crib on the inside :) Here's how I made the pop-up crib part - I cut thin strips of Brutus Monroe - Brown Butter card stock in few different lengths. Here's the first one, which is for the horizontal piece.
Here's a bunch of small ones, which are for the vertical rods.
Here's 4 of a little longer ones, which are for the corner pieces. These are double the thickness and scored in the middle, lengthwise.
I started by adhering the corner pieces on to one of the horizontal piece, like this.
Then I adhered the vertical bars to the horizontal frame.
I adhered the other horizontal piece to all the vertical bars.
Here's a closer look at it.
I die cut pieces of patterned paper with the same border die from the Winnie & Walter - Georgette die set and adhered it on to the inside of the crib, to imitate the crib bedding. I adhered pieces of patterned paper on to the inside of the card, to imitate wall paper. I then adhered 2 sides of the crib on to the 2 sides of the inside of the card. To make the mobile, I die cut the flowers and butterflies using the dies from Karen Burniston - Accordion Die set on the Brutus Monroe - Watermelon glitter stock. I used a thread to hang them from the pop-up part at the top. I die cut a 'H' using the Whimsy Stamps - Alphabet dies, for the first letter of the baby's name.
Here's another look at the card front:
How do you like this card? Please do let me know!! Thank you for stopping by! Have a great day!!
Hello everyone!! It's Berina here today with a beautiful gate fold card for a beautiful babygirl.
I used the Spellbinders - A2 Scallop Borders die set to create the border. As always, I used my favorite Cut N Boss to cut the dies. It never fails me! I started with a 5.5" x 8.5" piece of card stock. I folded it in to a gate fold and die cut the edge with the plain scallop die from the set. Then I took a piece of pink card stock and die cut the panels with the scallop dies and layered them on the gate folds. I die cut the tag from Spellbinders - Renaissance tags die set. The sentiment is from Tubby Craft - Fancy Sentiments stamp set. I adhered the tag to one of the gate folds. I added a few pearls on the tag.
I love how this card has turned out. What do you think? Do let me know in the comments.





 '
'