

This is Veronica, from Vicky's Scrapping Passion sharing my post for CraftWell.
For this post, I decided to make double scrapbooking layout for my father for Father's day. My father got to meet one of his favorite authors (Jorge Ramos, a Univision journalist) last year, and got his book autographed. That was a dream come true for my father, thus, I decided to give him a famed double layout featuring this meeting:
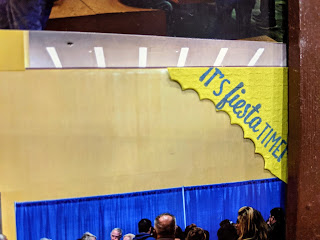
Left page:

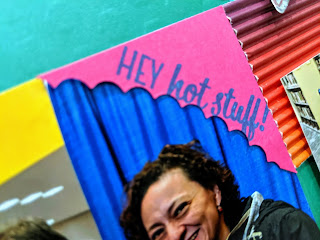
Right page:

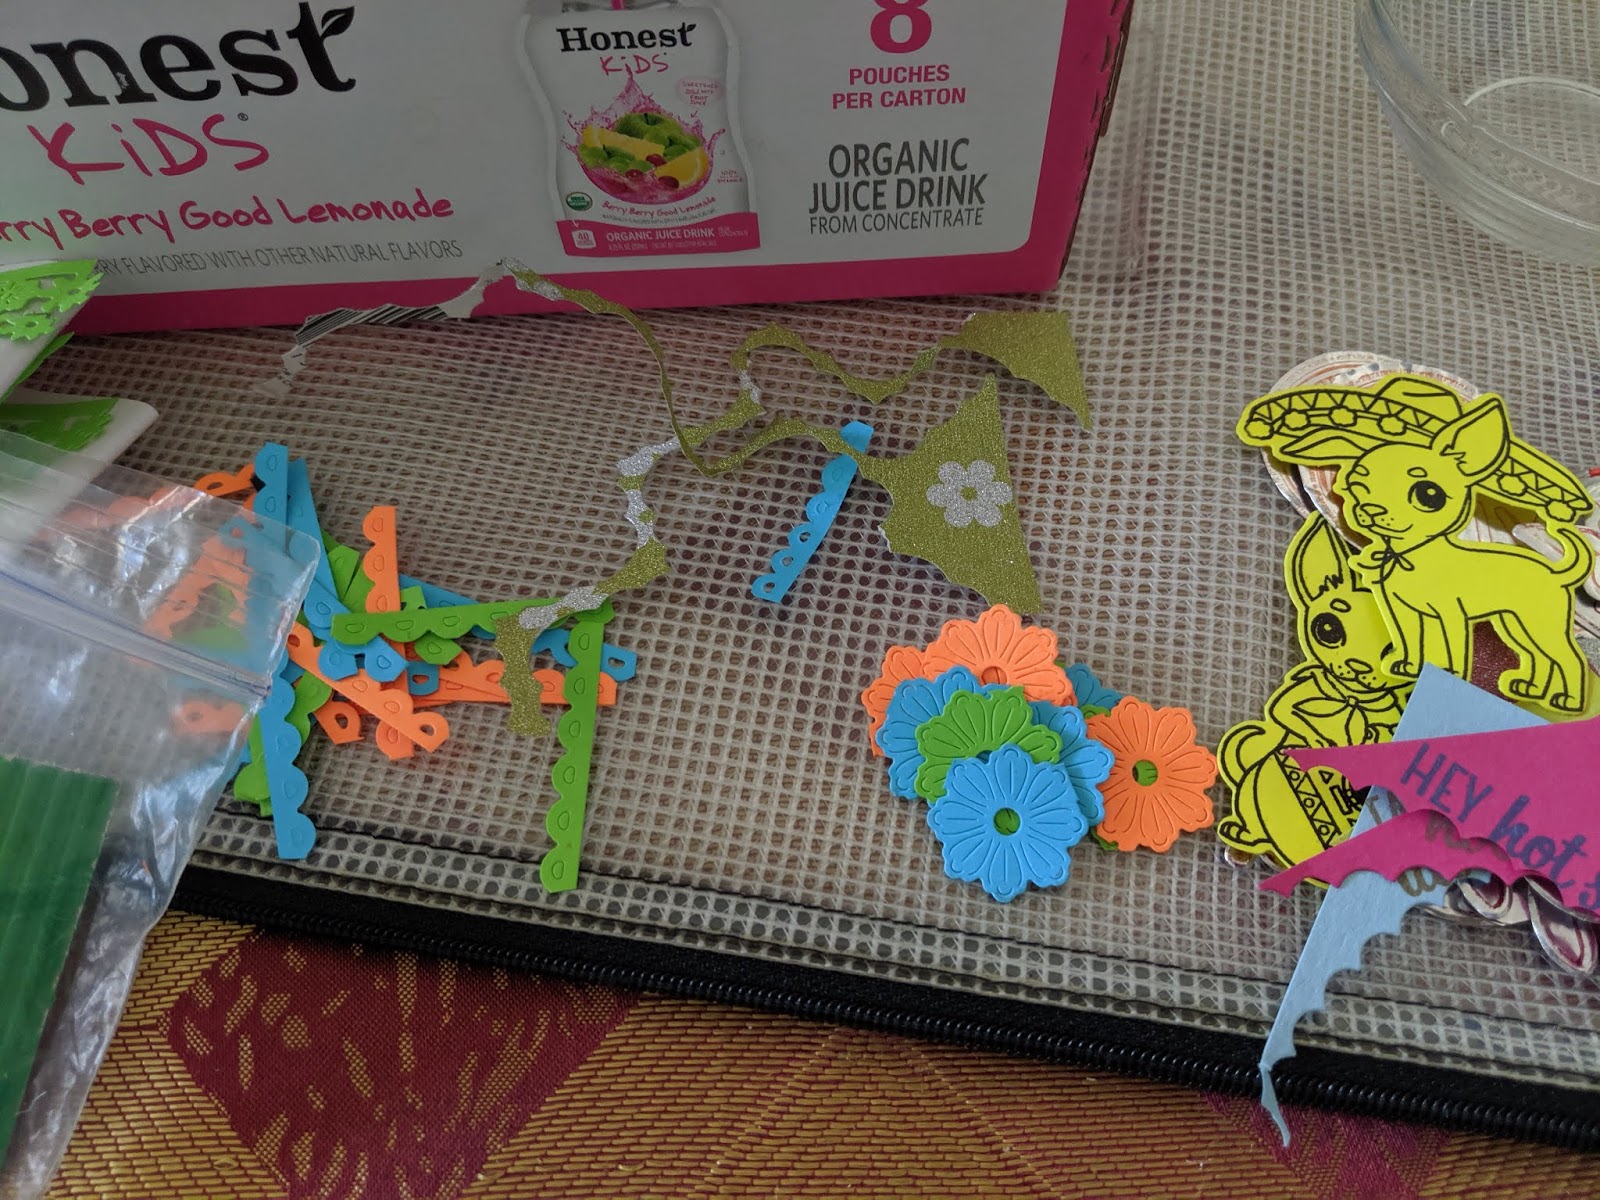
I used many die cuts left over of other projects made for this blog, like the stamped sentiments used for the teachers bookmakers last year:
These metallic peppers were also left over stamped and die cut for a class I thought a few years ago:

I cut a piece of a journaling card from this fantastic Ole line from Sabor Papel paper company:

To frame my vertical pictures I used some leftover squares from the teachers bookmarks:

This metallic banner also comes from the left over stamped and die cut pieces from above. The same with the blue flowers from the borders. I also used paper frill from Doodlebug Design for the borders as well as strips from a dulces patterned paper.


Left page:

Right page:

A closer look at the many details I added:
I used many die cuts left over of other projects made for this blog, like the stamped sentiments used for the teachers bookmakers last year:


My materials:


In hope you enjoyed this picture loaded post and visit my blog for further ideas:


 '
'