
Cut 'n' Boss Design Team: Tyra Babignton Cycle 12
I have a quick and easy tutorial for all of you planner nerds out there! Add a little sparkle to your newly purchased planner using your Cut 'N' Boss and fab papers from Teresa Collins!
Supplies: Craftwell Cut 'n' Boss, Teresa Collins: Signature Collections transparency/clear paper, stickers.
Step 1. Die Cut. Teresa Collins Signature Collection features several clear transparency papers. Use your favorite tag die and the Cut 'N' Boss to die cut several tags using the cutting recipe (creating a sandwich from the bottom up):
D + Cutting Die + Material + A + D+ A
The transparency paper is super think so you may have add scrap paper to the sandwich and run the die and transparency paper through the Cut 'N' Boss more than once.
 Step 2. Embellish. Embellish your newly cut tags with stickers and sentiments offering words of encouragement.
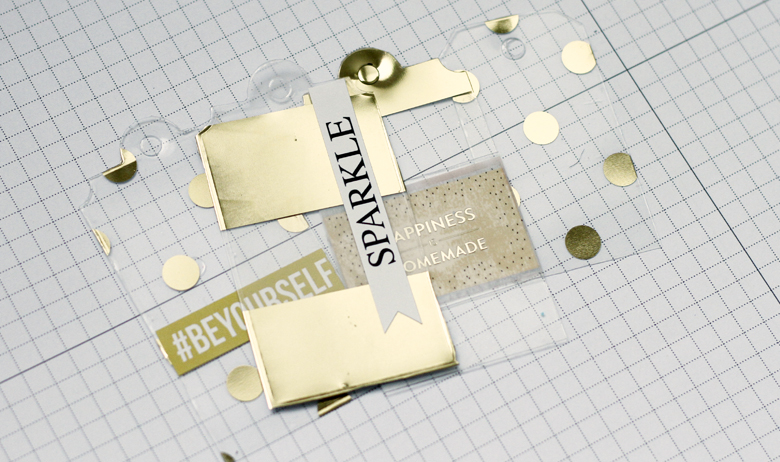
Step 3. Enjoy! Add these tags to your planner as bookmarks or reminders to take a few steps each day towards accomplishing your goals!

 I
Ihope I have inspired you today! Thanks so much for stopping by!
-- Tyra


Post a Comment