
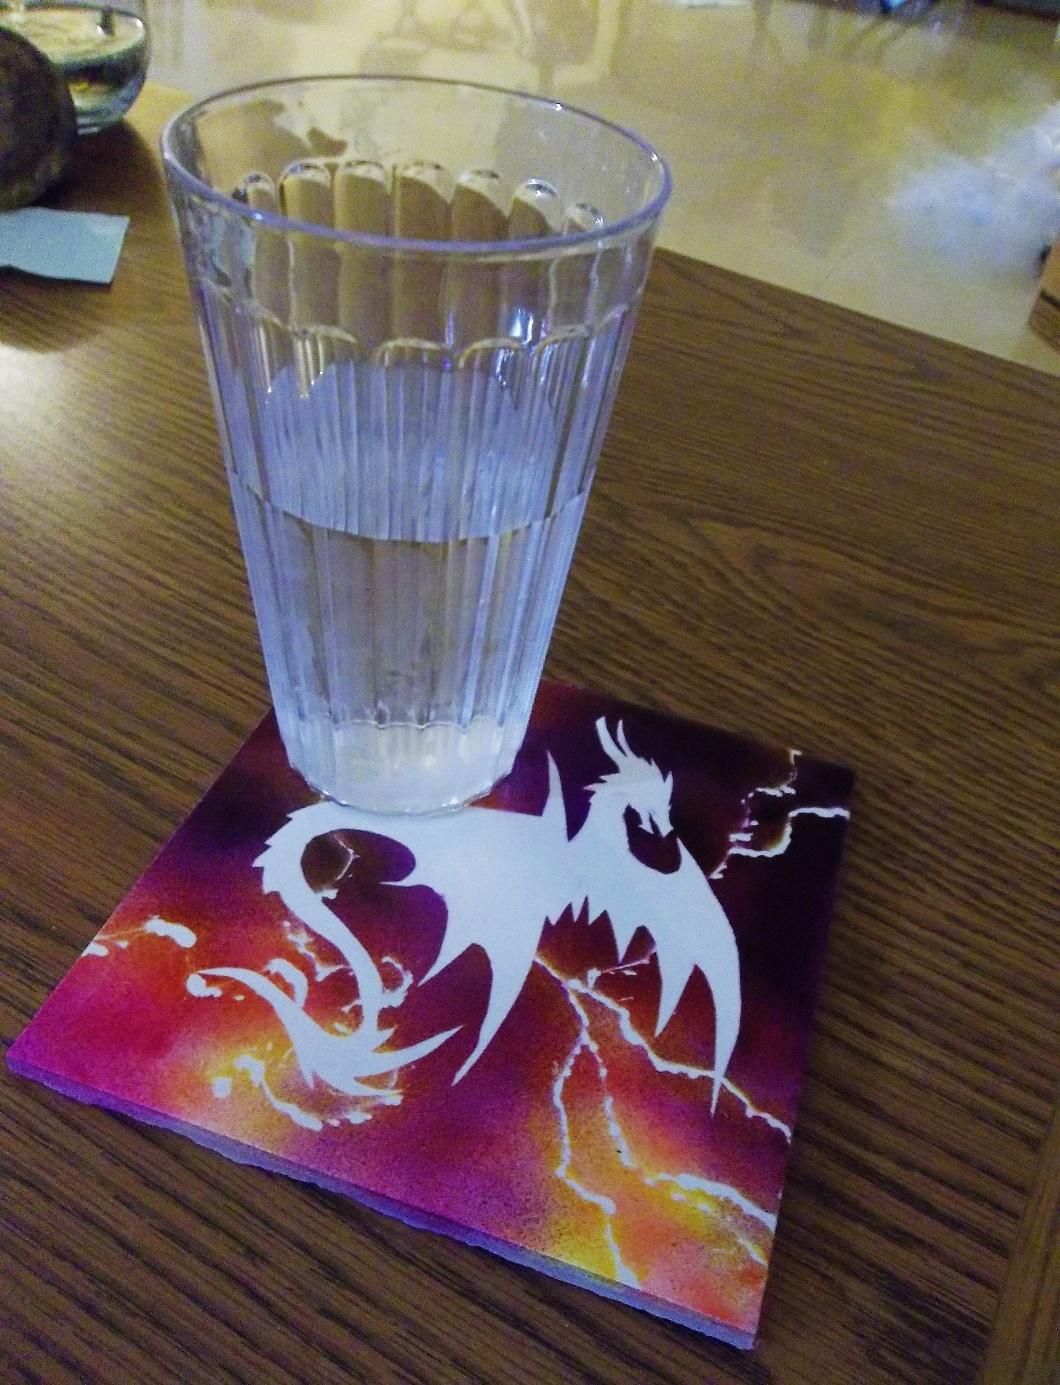
This ceramic tile coaster is a great beginner’s project for those using the eBrush for the first time! I explored different techniques to use on this project that turned out pretty cool. I like to use this coaster to set my cereal bowl on while I sit on the couch! It’s also a fast way to make some small gifts that are not only beautiful, but useful!
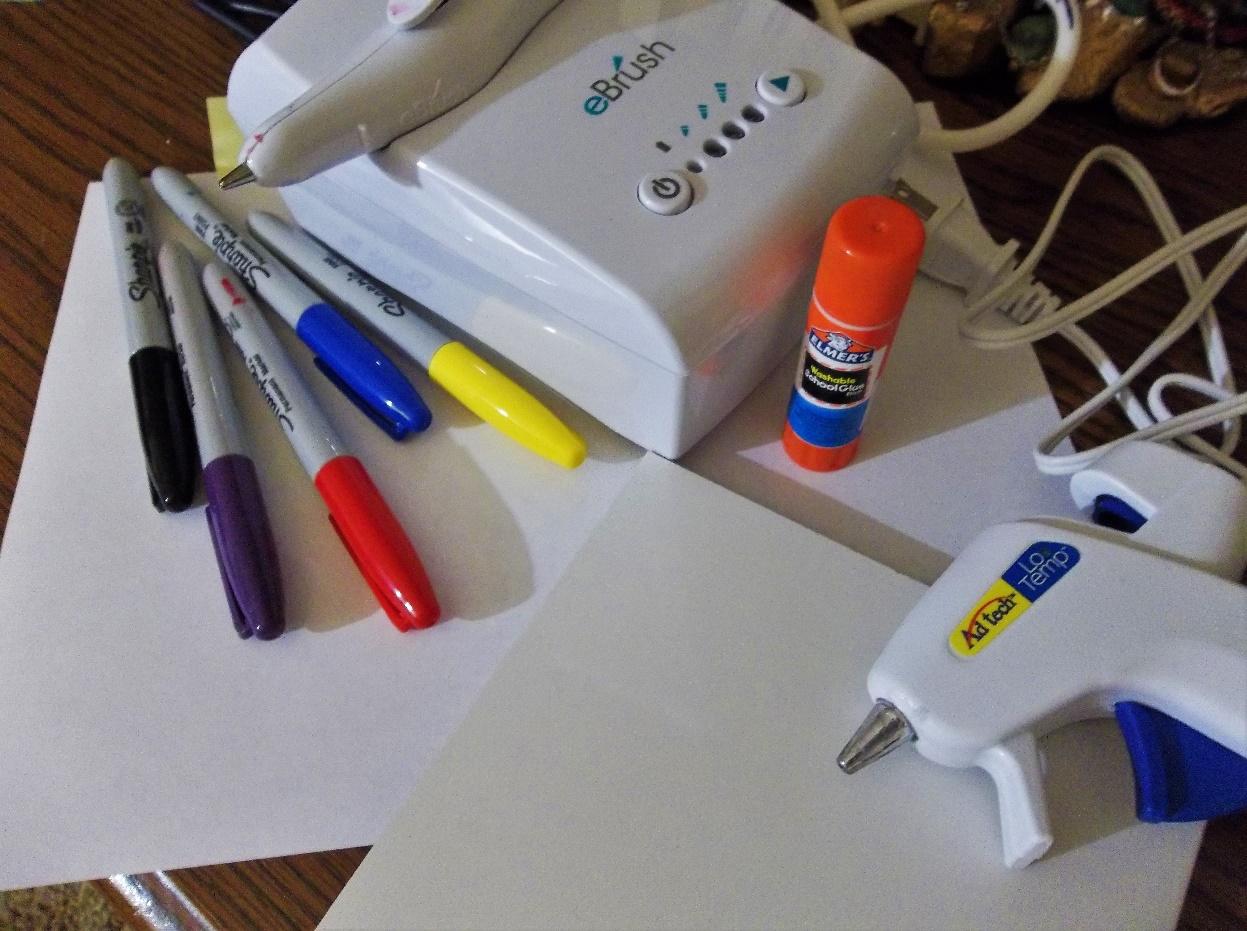
Materials:
eBrush
Permanent Markers
Paper
Scissors or X-Acto knife
Pencil
Ceramic Tiles
Hot glue
Gluestick
Spray Acrylic Sealer
Felt
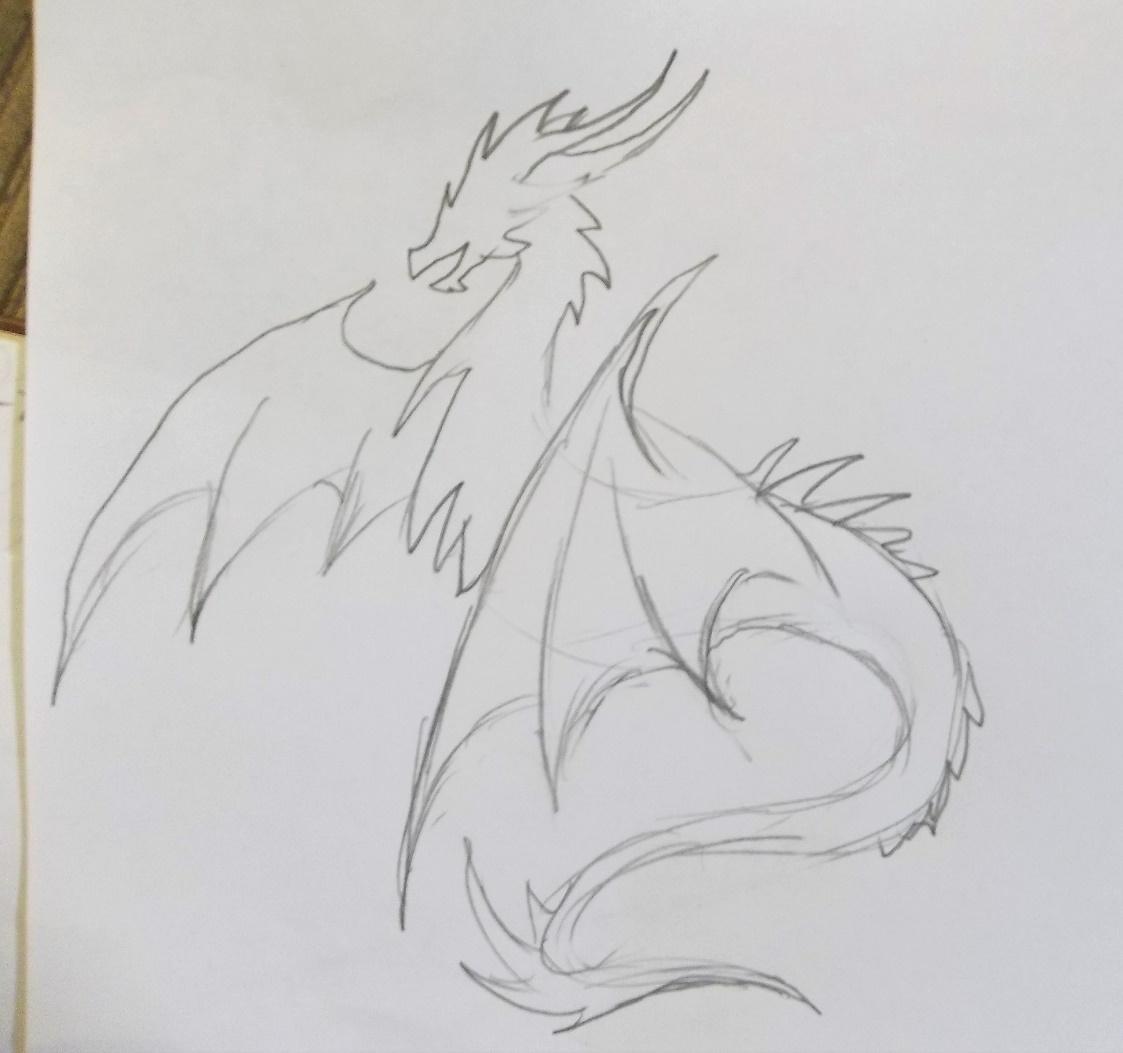
First, you need to choose a picture to use as a template on the coaster. For the dragon, I drew my own design, but you could easily find a picture online to print and cut out for your template. Keep in mind what size your template is and how it will fit on the tile!
Next, carefully cut out your template with scissors or an x-acto knife. For your first try you may want to go for a simpler design that’s easier to cut out.
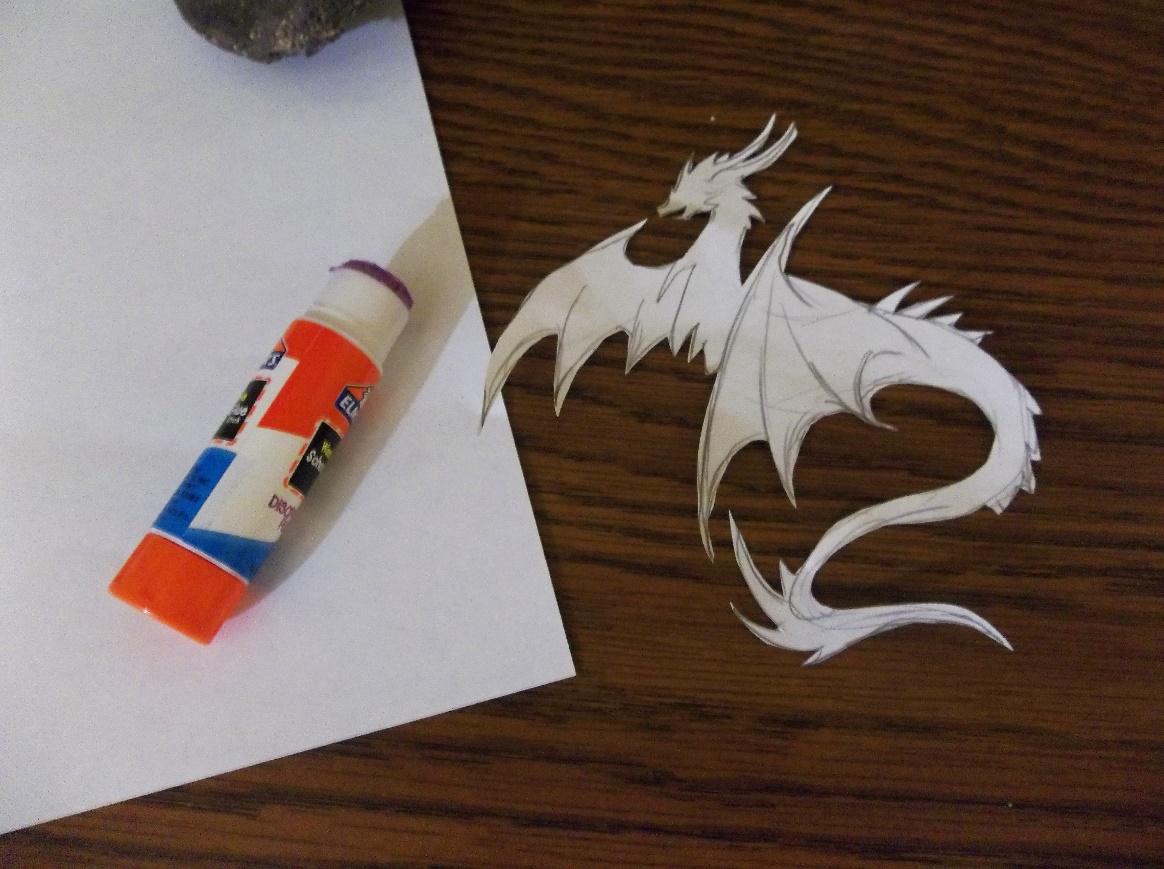
Set your cut-out on a piece of paper and use a glue stick to completely cover one side of your template. Make sure to especially cover the edges so no color gets under your perfect silhouette!
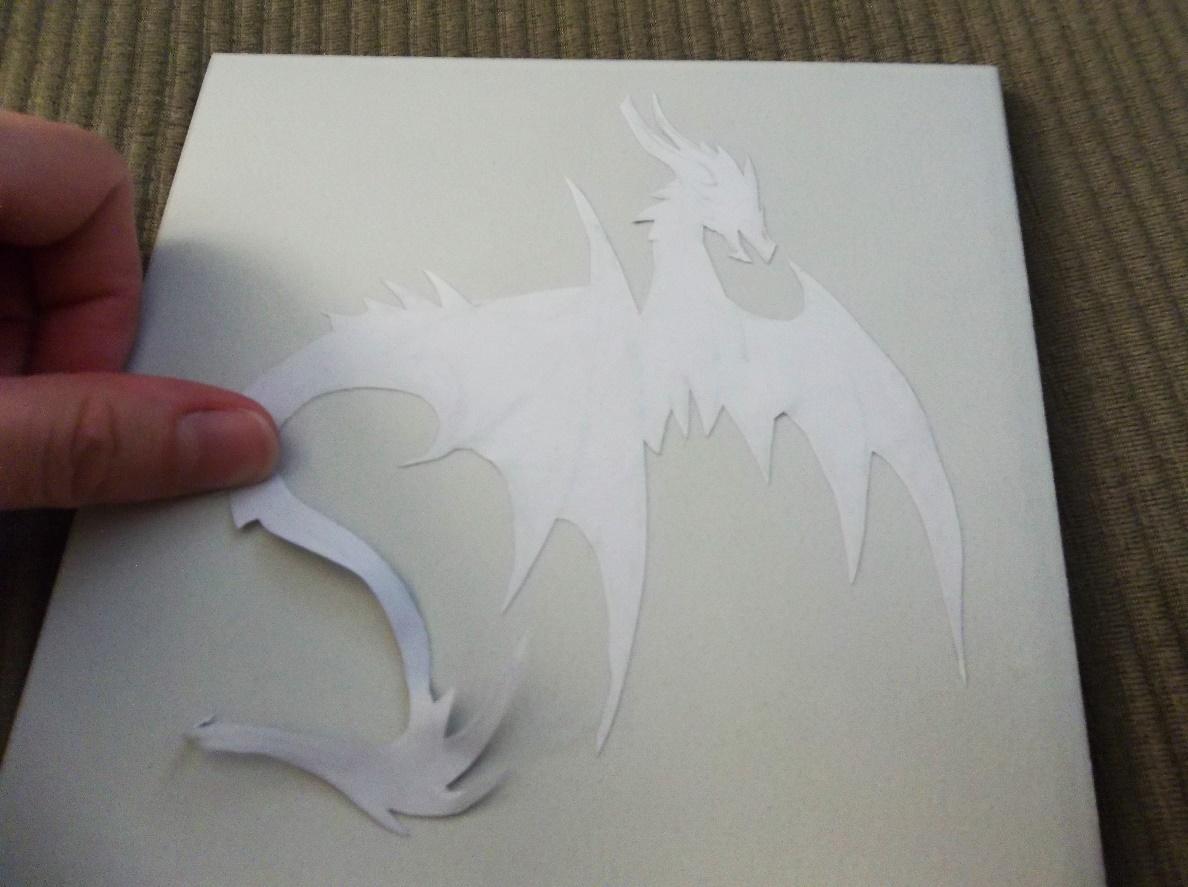
Now carefully center your template onto the coaster. Smooth the paper until there’s no air in the center and press the edges down firmly.
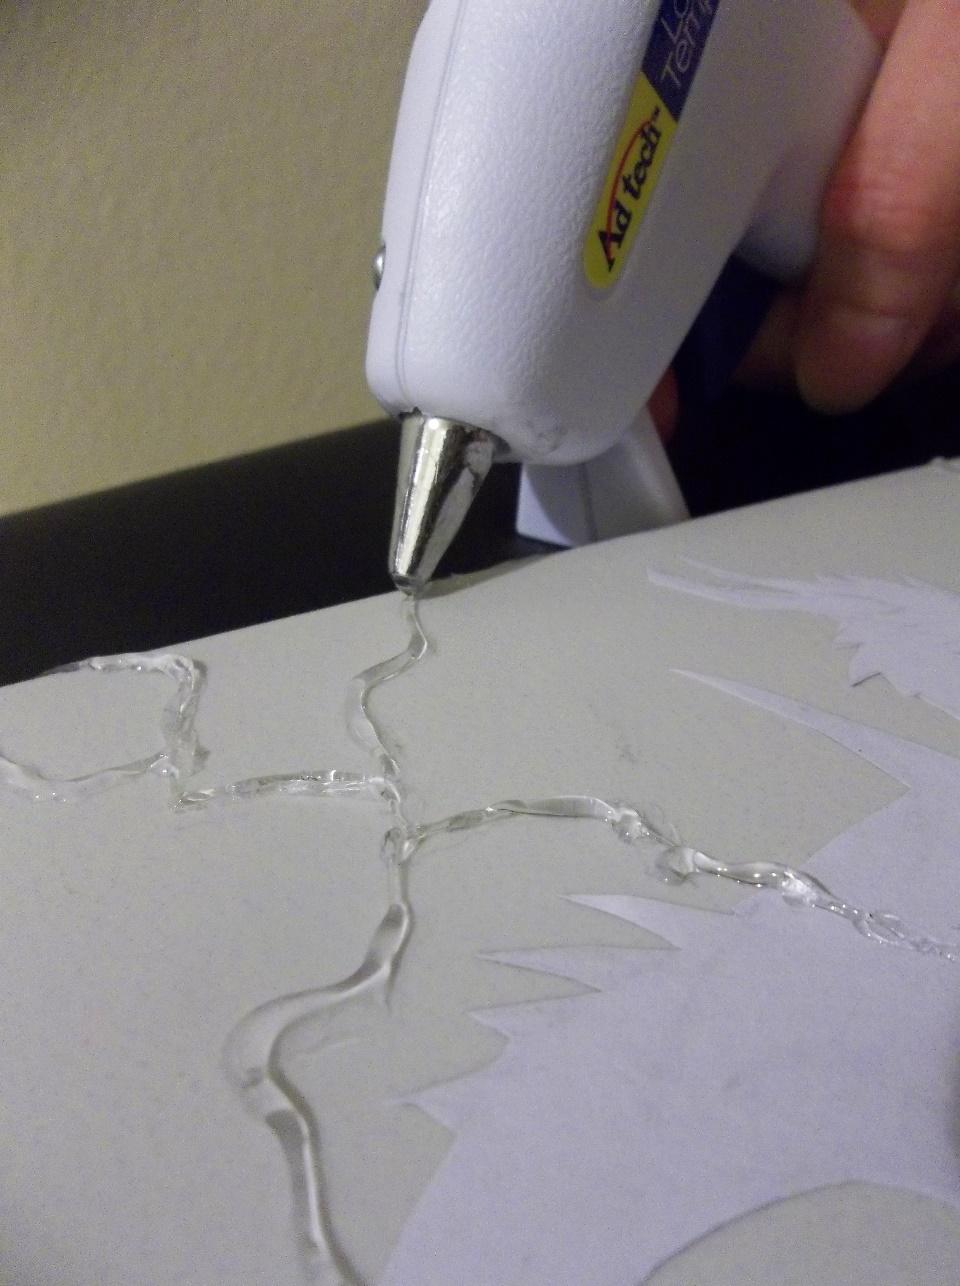
For the lightning effect, you will need a hot glue gun to carefully make thin zig-zag lines on the tile. If you mess up or the line gets too wide, the hot glue is easy to peel off once dried!
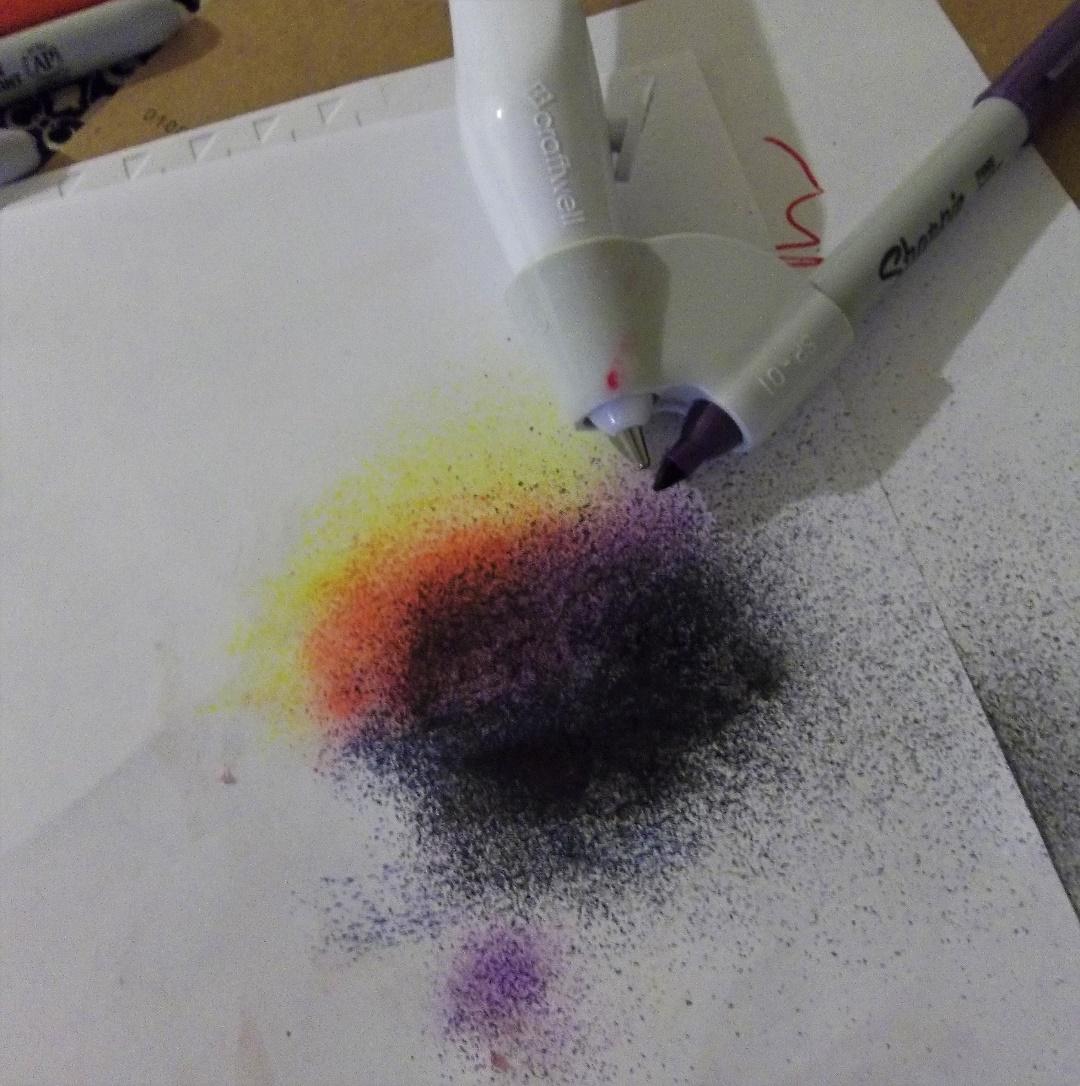
Now it’s time to fire up your eBrush! Take a scrap piece of paper to test out different color combinations before starting on your final piece.
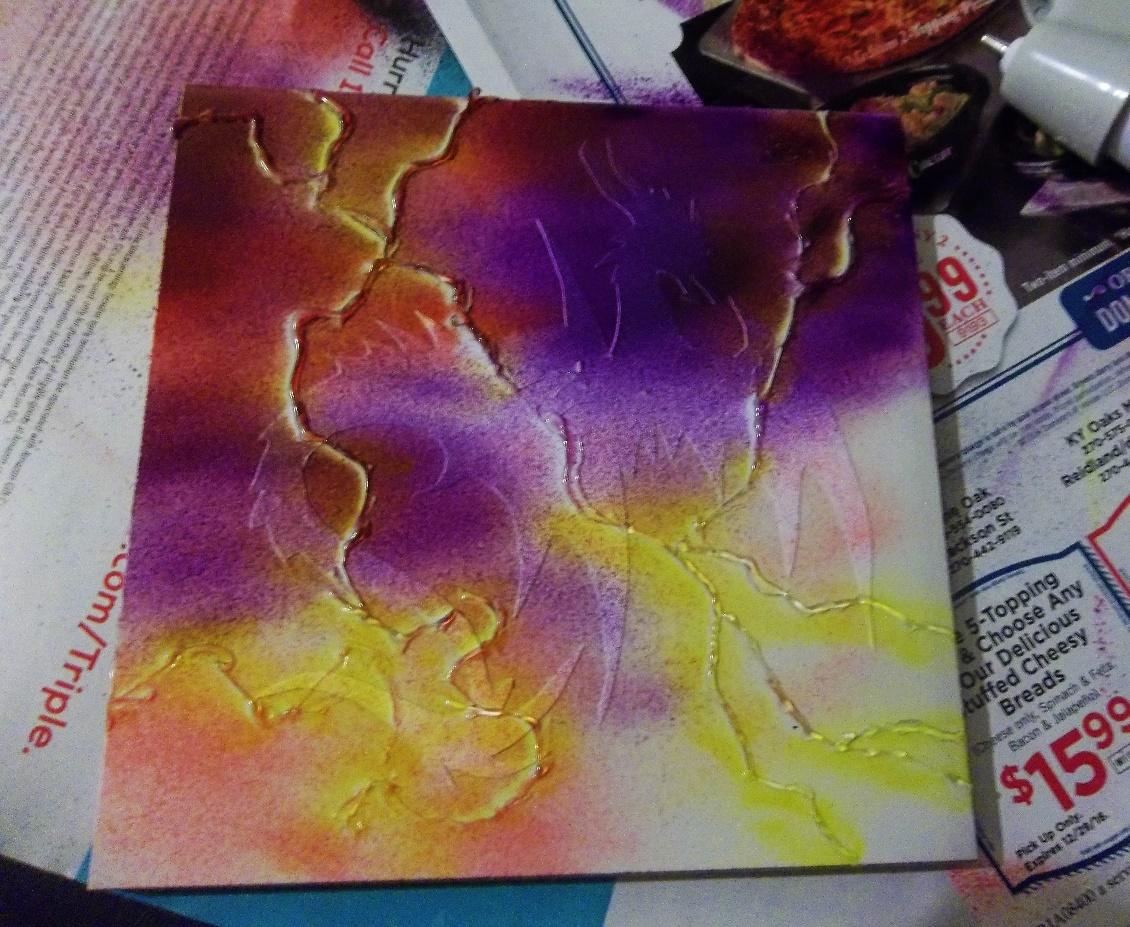
After choosing your color combination, you can now start adding the colors of your sky with the eBrush. To make the lightning appear to glow, I used yellow on the edges of the hot glue and let the colors gradually get lighter towards the bottom of the tile.
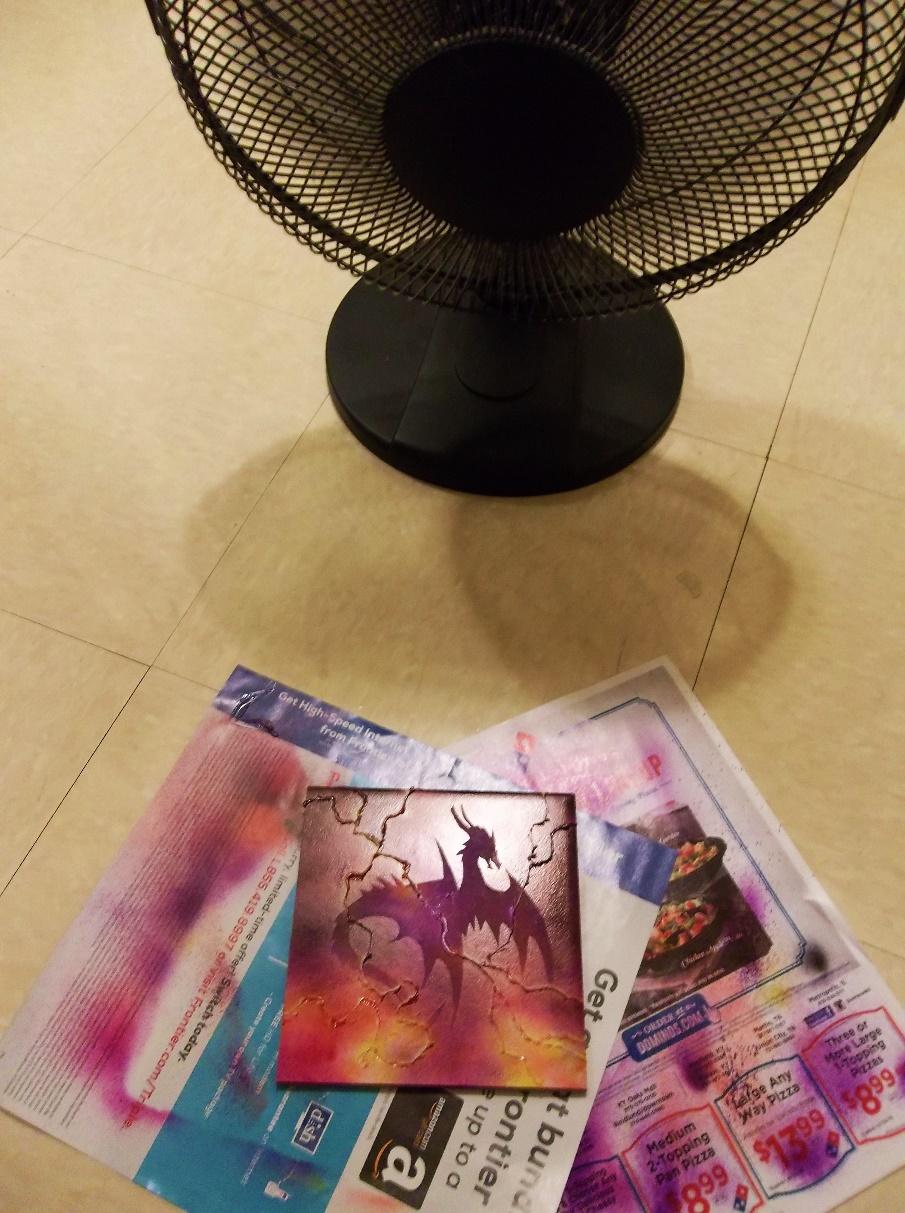
When you’ve finished eBrushing the background, let your tile dry by setting it in front of a fan (I didn’t use a blow-dryer because I didn’t want to risk melting the hot glue.
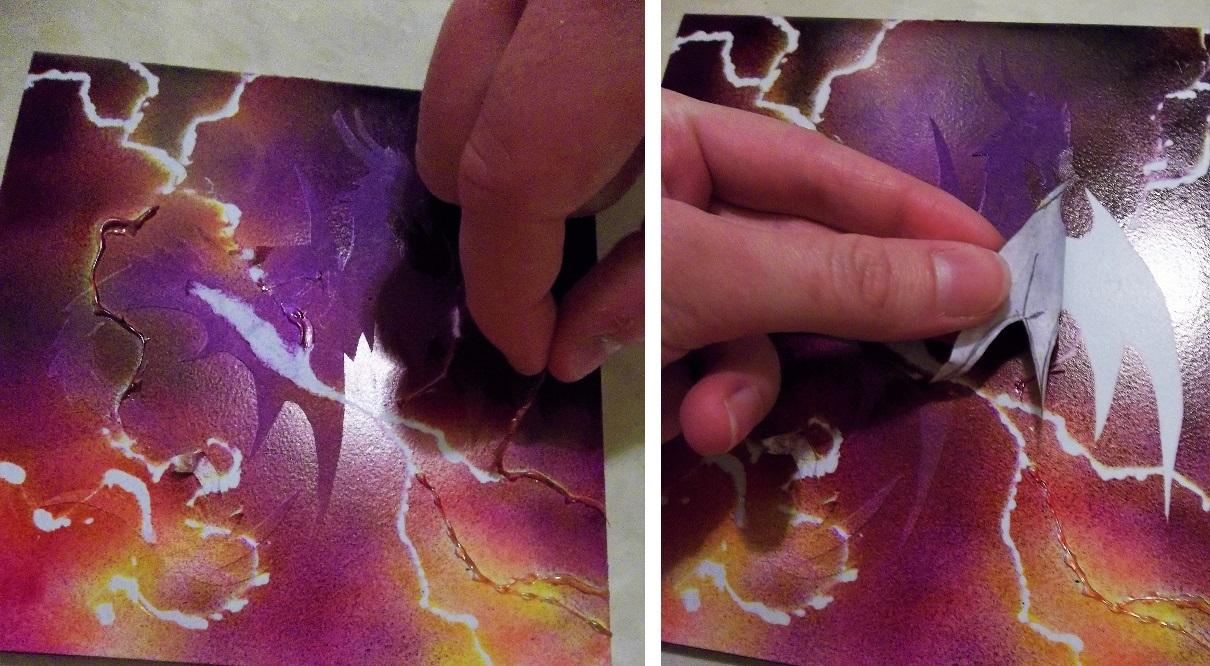
After the tile is completely dry, it’s time for the most fun part! Start by peeling off the hot glue, then the paper (you may have to scrape off some of the paper towards the center but the edges should come up nicely. You will tear the paper doing this so don’t expect to use the same template again!)
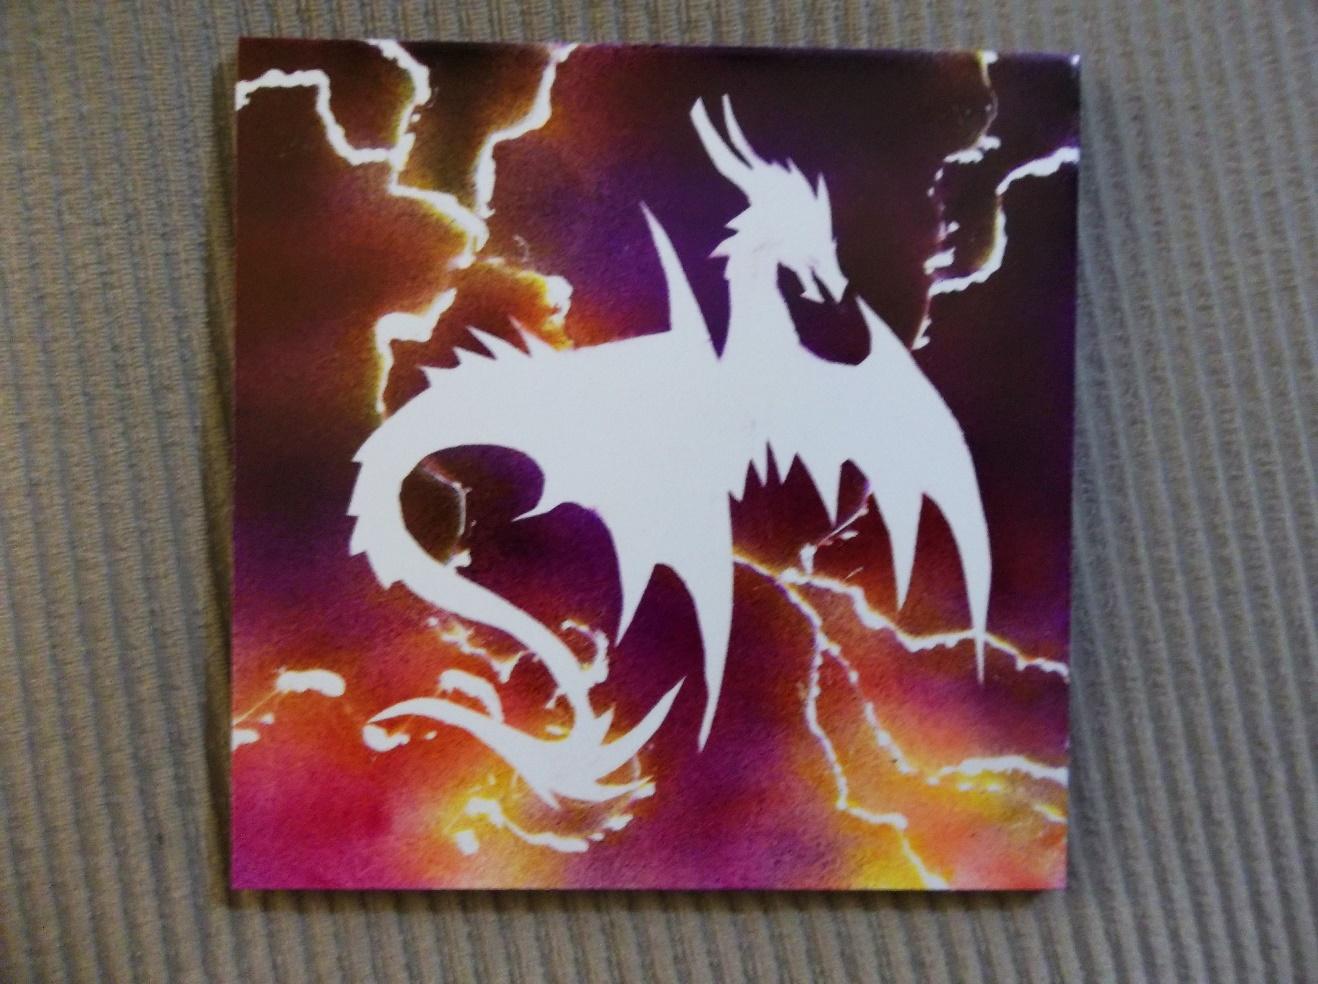
To finish off your coaster, spray it with a clear acrylic fixative and hot glue felt to the bottom of it to prevent scratching up your table.
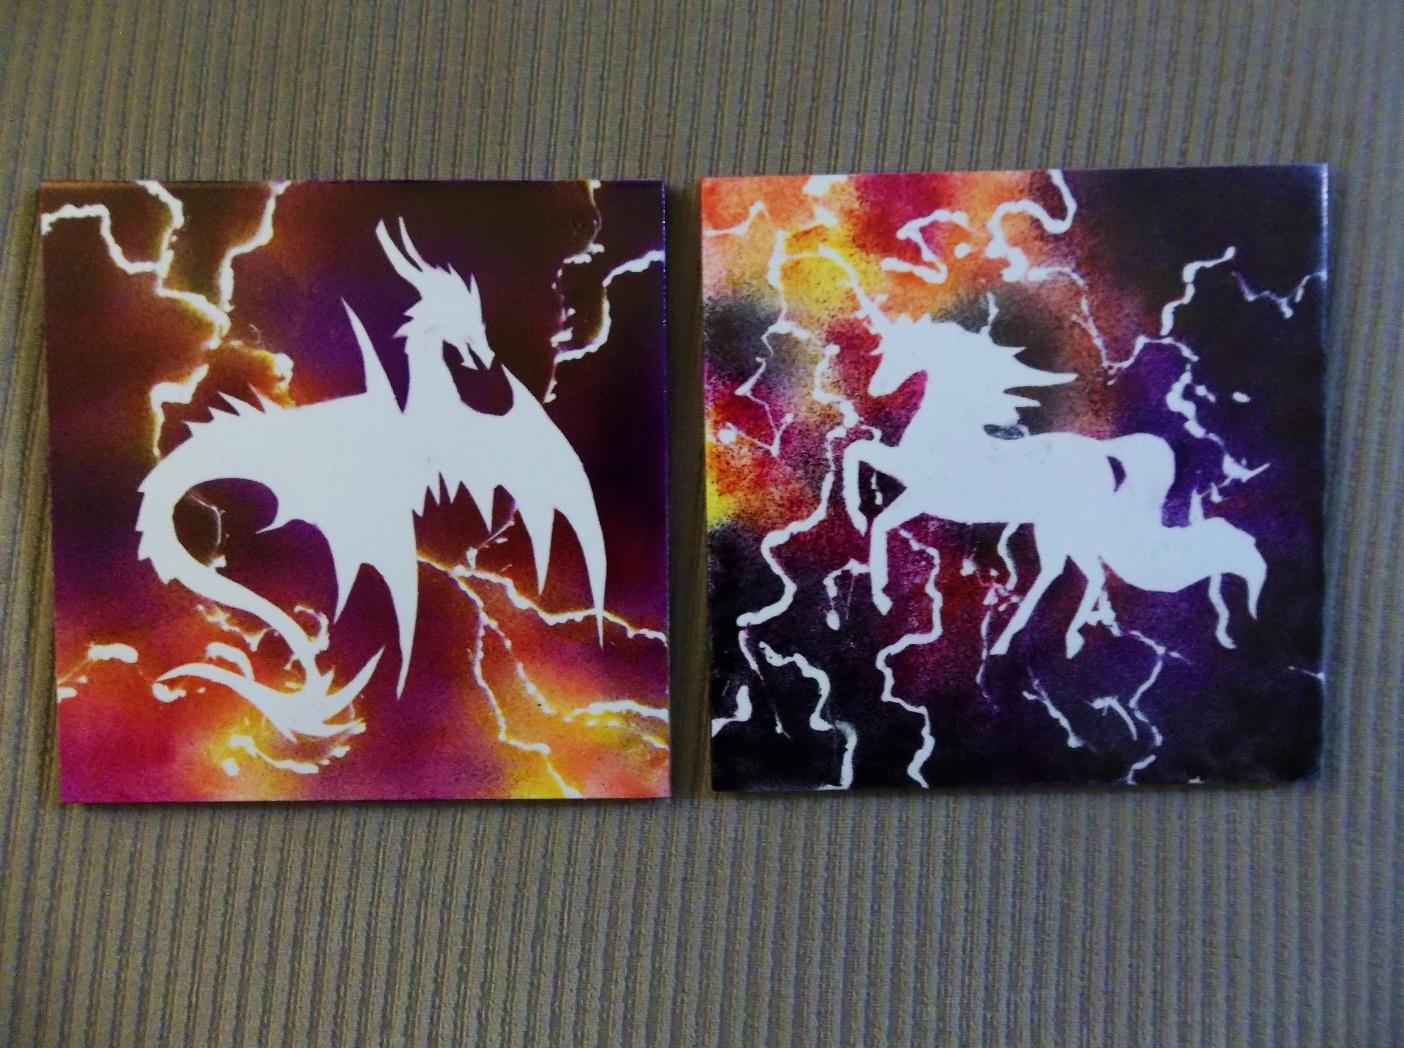
Now you can admire your finished work! Pictured above is another coaster I made of a unicorn.
Other techniques/patterns you can try:
Gluing lace onto the tile
Wrapping it with string
Using the Cut ‘n Boss to make templates
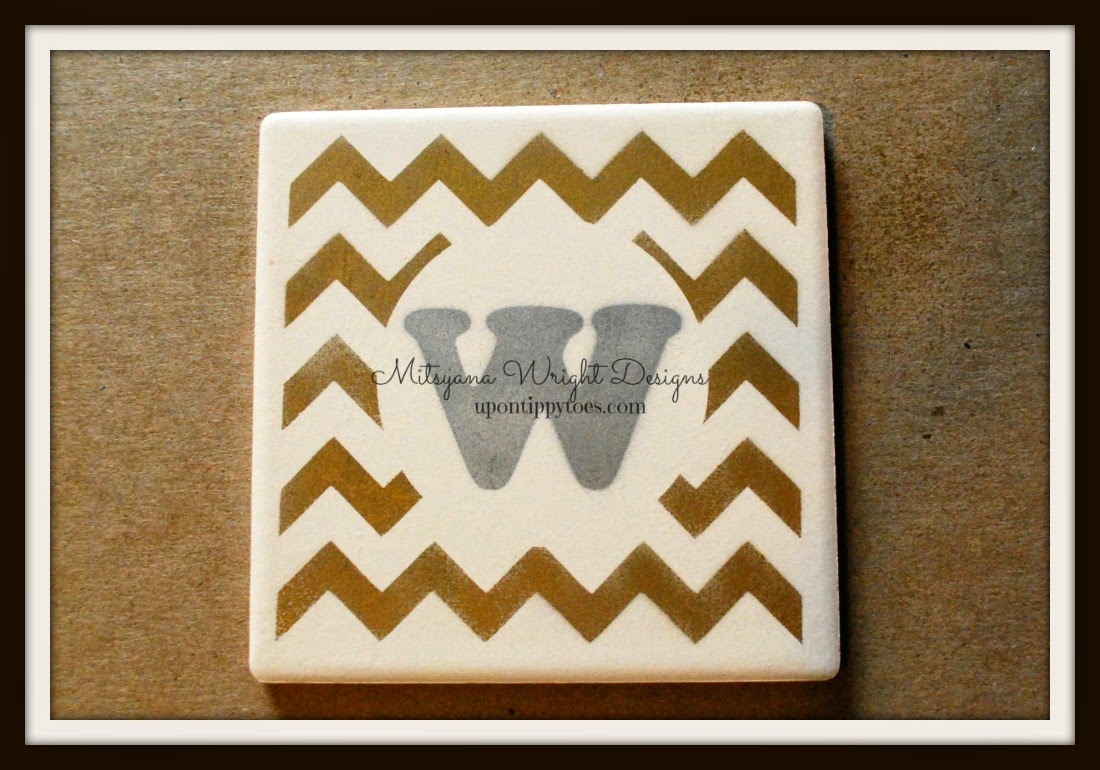
Make stripes or zigzags with masking tape
Gluing found objects like flowers, leaves, feathers, etc.




 '
'