DO NOT MISS
>>Follow our Facebook page for updates! >>Join our Craftwell Design Team: Apply Now!
Showing posts with label scrapbook layout. Show all posts

October 7, 2019

Spooky Ghoul Scrapbook Page


October greetings my ghouls and goblins! Desiree, of Her Own Fairytale,
 here with you! SO excited for the new season and Halloween!!
Also delighted to share an 8x8 Pastel-O-Ween, inspired scrapbook page with you!


I started this project off right! I did a little die cutting with my Craftwell SNAP machine!
The dies I used are from Michaels, it's a cute little set of two dies, I only used one though,
Since I am in-love with Craft Smith's Pinkaboo, paper stack you know I HAD to use it again!


After the die cutting. I did some image cuts on my electronic cutting machine, and then did some paper-piecing too. In this pic I just wanted to take in the vibe I wanted to go for...
Oh and here is when I decided I needed to do some eBrush shading, and which the Sharpie was used.


Things were coming together nicely I thought, I needed some depth, POP DOTS time!!
Also the shading with the eBrush was done on my die cut coffin embellishment, I love it!


I had decided at the last minute that my title needed a little something extra! Yeah!
So I brought out this baby, the WRMK word punch! I love this thing! I punched out the
word GHOUL... coz well, that's the kind of thing you do at Halloween. Right?!


And here she is! The completed scrapbook page! Spooky Ghoul and ALL!
I used some blingy spider stickers also found at Michaels.
The frame and bat bow were from images cut with the electronic cutting machine.
I hope as always you liked what I shared today! I hope you were inspired!
Please come back often as my fellow DT members are full of all kinds of amazing
and share it here often!
Before I go, I wish you a magical October and IF you are into the tricks and treats of it all,
I hope you have the happiest of Halloweens!


                                    ❤ - Desiree'


June 27, 2019

DT: Scrapbooking layout: Meeting Jorge Ramos


Dear scrappers,

This is Veronica, from Vicky's Scrapping Passion sharing my post for CraftWell.
For this post, I decided to make double scrapbooking layout for my father for Father's day. My father got to meet one of his favorite authors (Jorge Ramos, a Univision journalist) last year, and got his book autographed. That was a dream come true for my father, thus, I decided to give him a famed double layout featuring this meeting:

Left page:


Right page:


A closer look at the many details I added:

I used many die cuts left over of other projects made for this blog, like the stamped sentiments used for the teachers bookmakers last year:


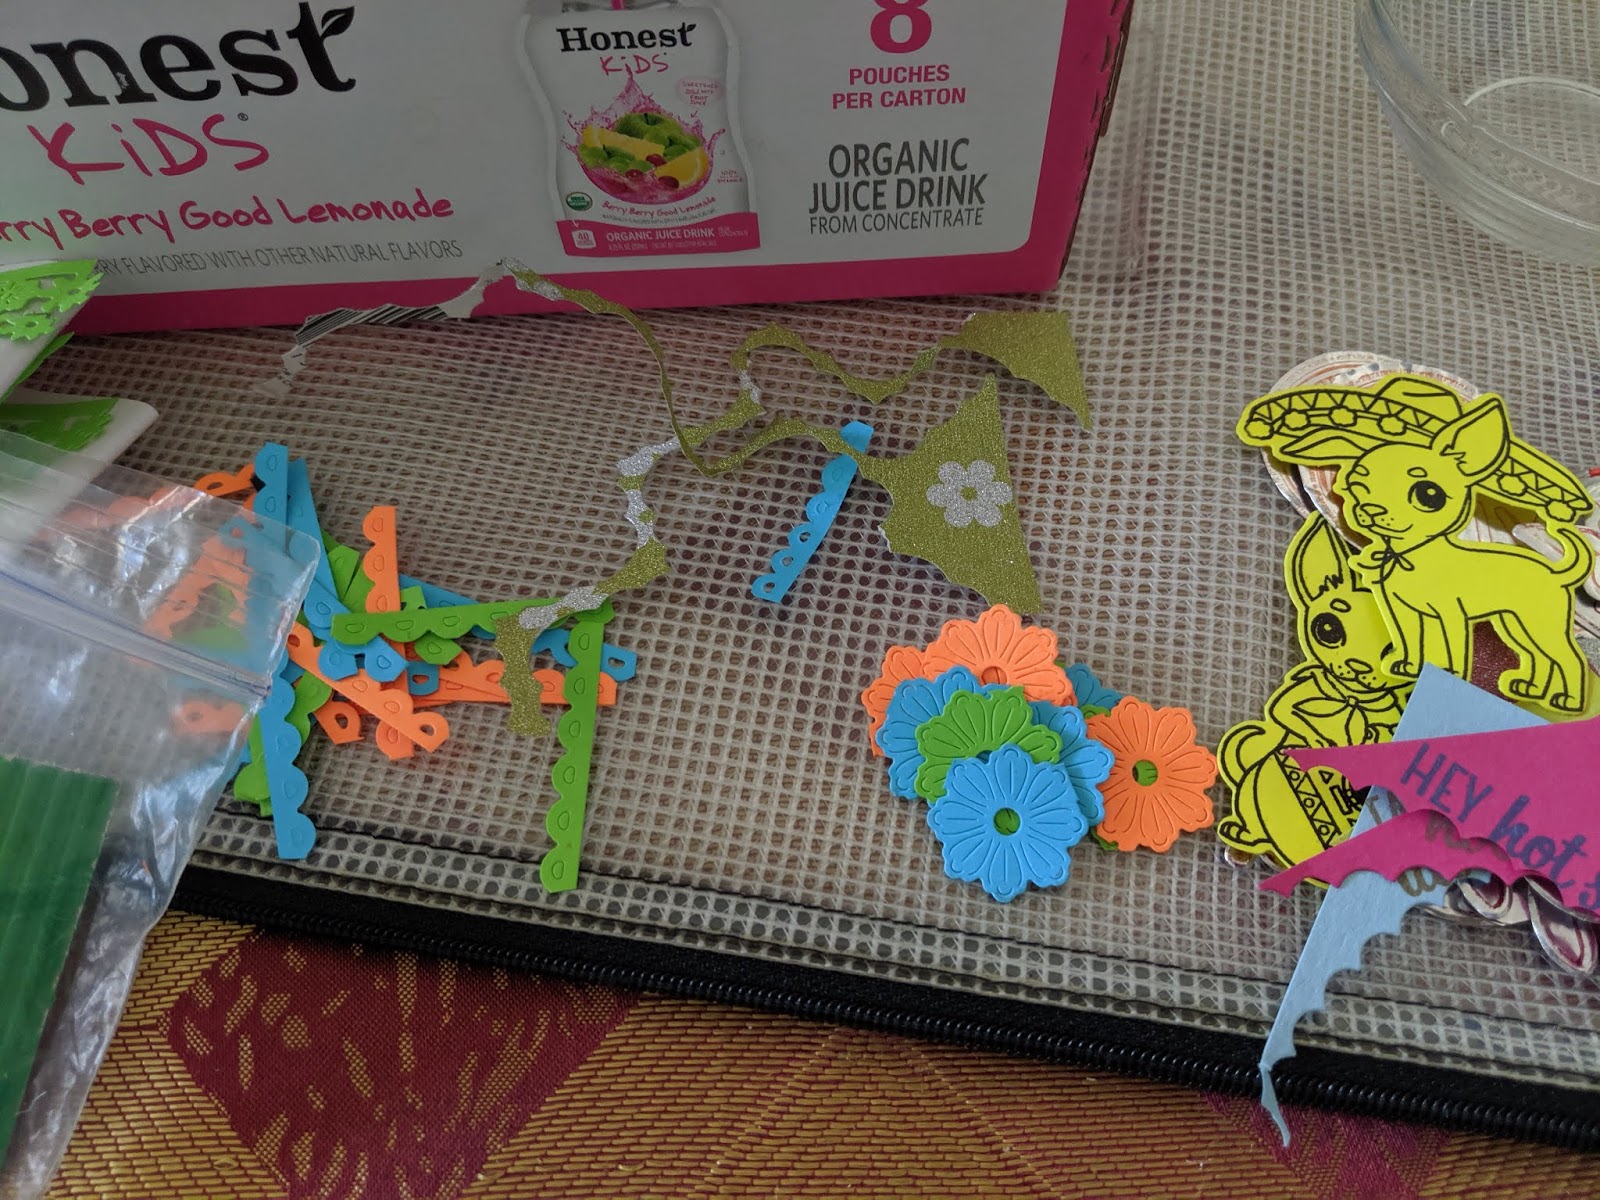
These metallic peppers were also left over stamped and die cut for a class I thought a few years ago:


I cut a piece of a journaling card from this fantastic Ole line from Sabor Papel paper company:


To frame my vertical pictures I used some leftover squares from the teachers bookmarks:


This metallic banner also comes from the left over stamped and die cut pieces from above. The same with the blue flowers from the borders. I also used paper frill from Doodlebug Design for the borders as well as strips from a dulces patterned paper.


My materials:


In hope you enjoyed this picture loaded post  and visit my blog for further ideas:


June 10, 2019

A Daddy Loves

June greetings, all you beautiful crafty peeps!
Today I am sharing a 12x12 layout I created featuring
my youngest son many years ago and my hubby!
I started out choosing my pics that was super easy, I adore this set of pics!
Next was to choose my papers, again that was easy!
The cog paper is from an old DCWV stack that has been in my stash forever.
Next I die cut some of my paper using my beloved Snap machine.


Then I cut my pics down to 4x4 and cut some more paper using my paper trimmer to mat my pics on.
I did a little distressing and inking around my mat edges.
After adhering my matted pics to my background paper, I needed to get an idea of where I wanted to place my die cuts. So far loving this!


Next I picked a few embellishments from my craft stash, and finish this layout!


I took my "What makes a daddy?", sticker and placed it on my label die cut and mounted it to alack shadow cut, I made using my electronic cutting machine.
At the bottom of that I took some Tim Holtz, alphas and adhered the word "Love" the bottom.
I made another small embellishment by placing the word proud on a one inch circle using a circle paper punch, then stacking that on another die cut.
I then clustered my embellishments on top of the "live" bingo card. I also clustered some more cog die cuts and placed a genuine tag and a little brad.
I really love that hat pin by Prima! I was hoarding it forever! LOL


And there it is all finished! As always I hope somehow you were inspired by my project!
I also want to sincerely wish all the dads out there an early, but very blessed and happy Father's day!
Specially to those ones who have to do and be everything on their own!
Please come back to the Craftwell blog and visit often!

    ♡- Desiree'

March 26, 2019

DT: The Atonement Gala- Scrapbooking Layout

Dear Scrappers,

This is Veronica, from Vicky's Scrapping Passion sharing my post for Craftwell:
For this month's post, I made an scrapbooking layout to feature my children's school Gala:


The theme for the Gala was the Great Gatsby and predominant colors were black and gold. Thus, I decided to use this DCWV: Stardust Stack Paper with tons of black and gold foil, and some CTMH vellum with feathers and gold polka dots. I couldn't find my gold alpha stickers, thus I just spelled the title using the negative cuts from the sentiment die cuts. I'm still missing the word Gala, which I will add later with the stickers... ;-)

Right side:


Left Side:


Some close ups to highlight the die cuts I made using my SNAP:


In short:

1- I used my SNAP to cut some die cuts from some Teresa Collins dies for sentiments, tags, and picture frame, CraftWell, and HeroArts, for the retro frame, which I cut in pieces:


2- I used an Sketch from "Let's scrap sketches: sketch-3-15-19":


3- I assembled the pictures and die cuts following the sketch. The swirls and stars die cuts, help finishing the look of the sketch:


4- I still miss some journaling and of course to finish my title.


I  hope you enjoyed this very simple and super easy to make layout and visit my blog for further ideas:


June 10, 2018

Shine Like Stars Layout


Hello! Desiree' here again on the Craftwell Blog!
Today's project is a simple and clean Scrapbook layout.

I used these tools and other goodies:

Craftwell Snap Machine
Craftwell Teresa Collins Pocket Dies Lifestyle Collection
[The Wonderful Tag, Stars, and Photo Corner dies are part of
that collection.]
Craftwell Teresa Collins, Tabs & Tags Project Dies
Scor Tape
Denominational adhesive squares

From my paper stash - 
Paper from the DCWV "The Doodlin' Around Stack"
Gold Foil paper
65 lb. Craft Color card-stock


After choosing my picture for this 8x8 layout and being inspired by it. I love the boys in this pic!
They surely are little stars! I knew I wanted an inspiring quote so after some googling I decided on
the Bible verse Phil. 2:15. I always want them to shine! This was perfect for this layout!!
Choosing the base paper was next. I did not want TOO girly.
I have a bad habit of doing too girly! LOL
After that was done I chose the dies I would use to embellish my layout.


After they were cut out I decided to see if I liked them with the base paper. I did. I in fact loved it! Love these dies.
Here are the beautifully cut results!


It was then time to decide on an adhesive, I chose Scor tape. It is clean, easy to use, and has a strong bond! I used the 1/4 for the most part and for the thinner detail some of the 1/8. 
It fit the bottom of this tag perfectly! 
I decided I wanted the stars to have more dimension, so I popped them up on some pop-up squares? 
I am sure you all know what they are! 😊


Next was to place all the elements on my base paper. I did. Loved it!  I also decided to pop up the biggest star too. More dimension!


 Almost done! I decided before laying EVERYTHING down that this needed more support.I cut down some thin chip board and placed my base paper over the chip board. Then Bam! It's stuck!


And here was the final project. I know it is simple BUT there is a lot of love in it! So grateful to have captured this precious moment in time. To be able to honor it in a scrapbook page is just an extra blessing! 


Thank you for visiting the Craftwell blog and checking out my project today! I hope you were inspired! I know I feel blessed! Hope you all ave a blessed rest of the week! 

'
 
Copyright © 2014 Craftwell Blog. Designed by OddThemes - Published By Gooyaabi Templates