
Beautiful Frosting Technique using Dixie Belle Chalk Paints

This is a glass painting technique you can use for things like candle holders, glass ornaments, picture frames, and more!
Materials:
Ebrush and siphon adapter kit
Dixie Belle Chalk paints
Silver Acrylic Paint
Fine tipped paintbrush
Clear acrylic sealer
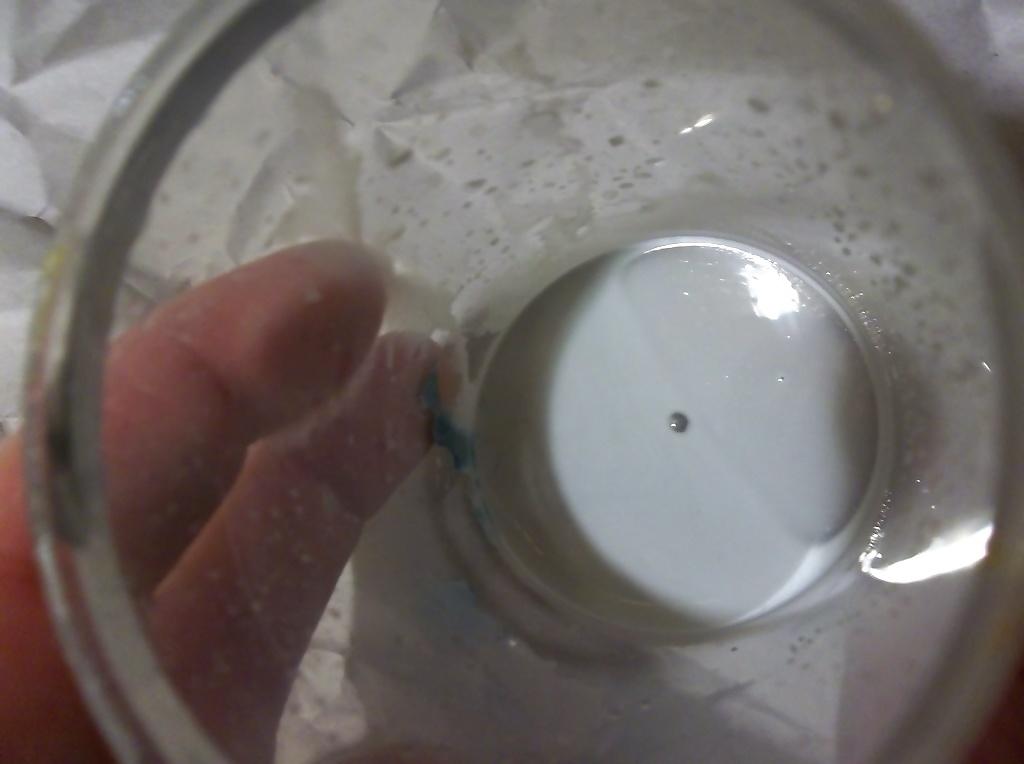
First, you will mix your colors. Start by mixing your Fluff Dixie Belle Chalk Paint with a dab of silver paint, then add a little water and mix. Pour this in one of the glass bottles in your siphon adapter kit.
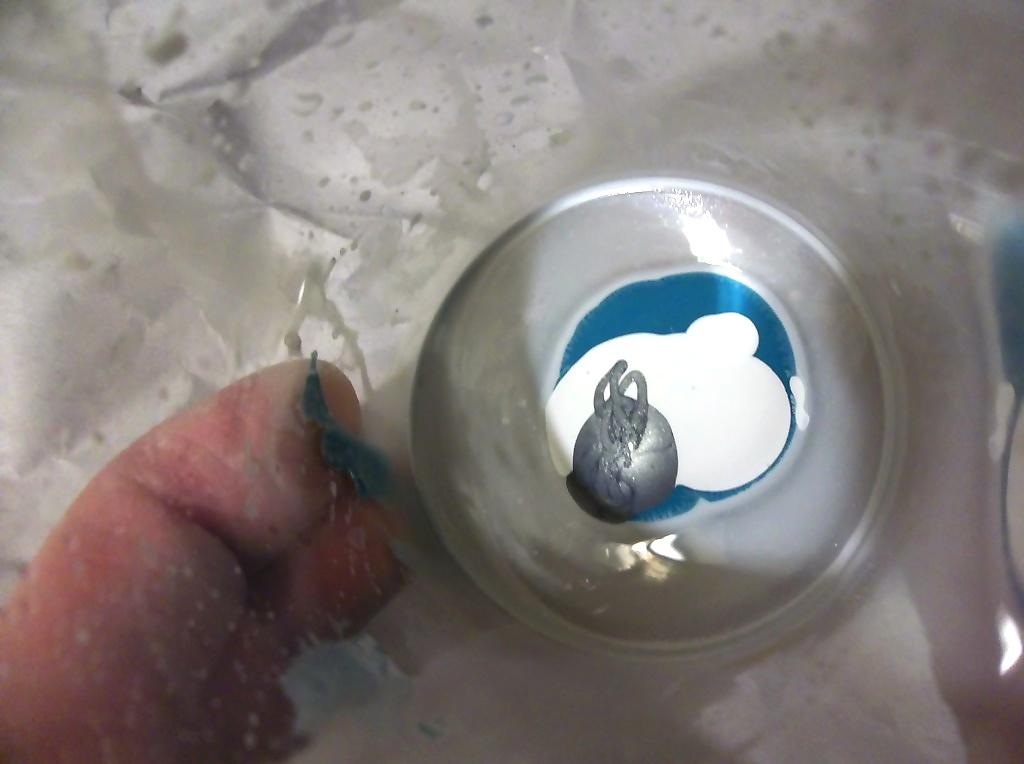
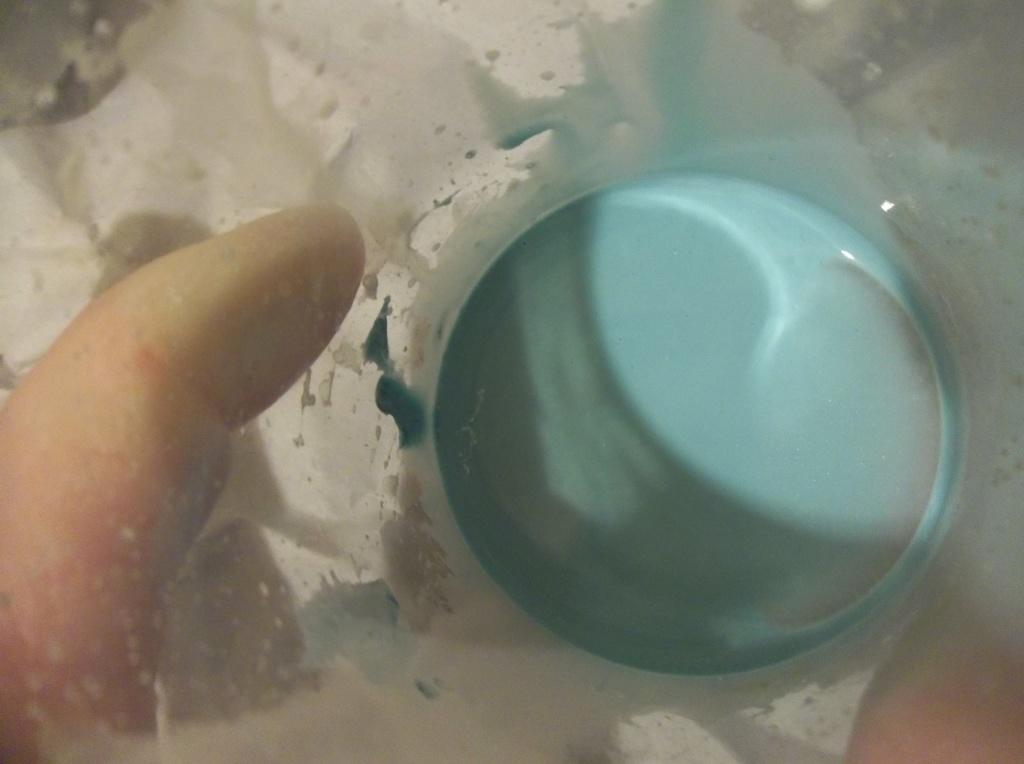
Next, pour in an equal amount of Dixie Belle Ocean and Fluff with a dab of silver acrylic paint. Thin with water and put in another bottle.
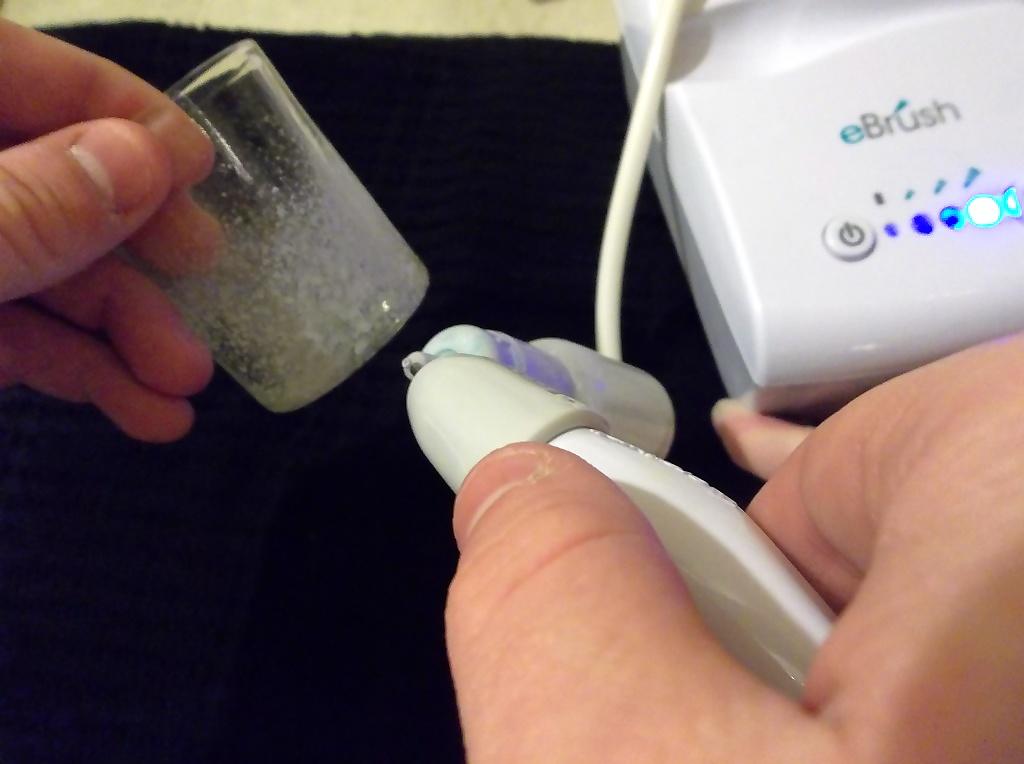
Now set up your eBrush and siphon parts as instructed in your kit. Start by lightly eBrushing the white paint onto the glass. Leave some parts of the glass unpainted.
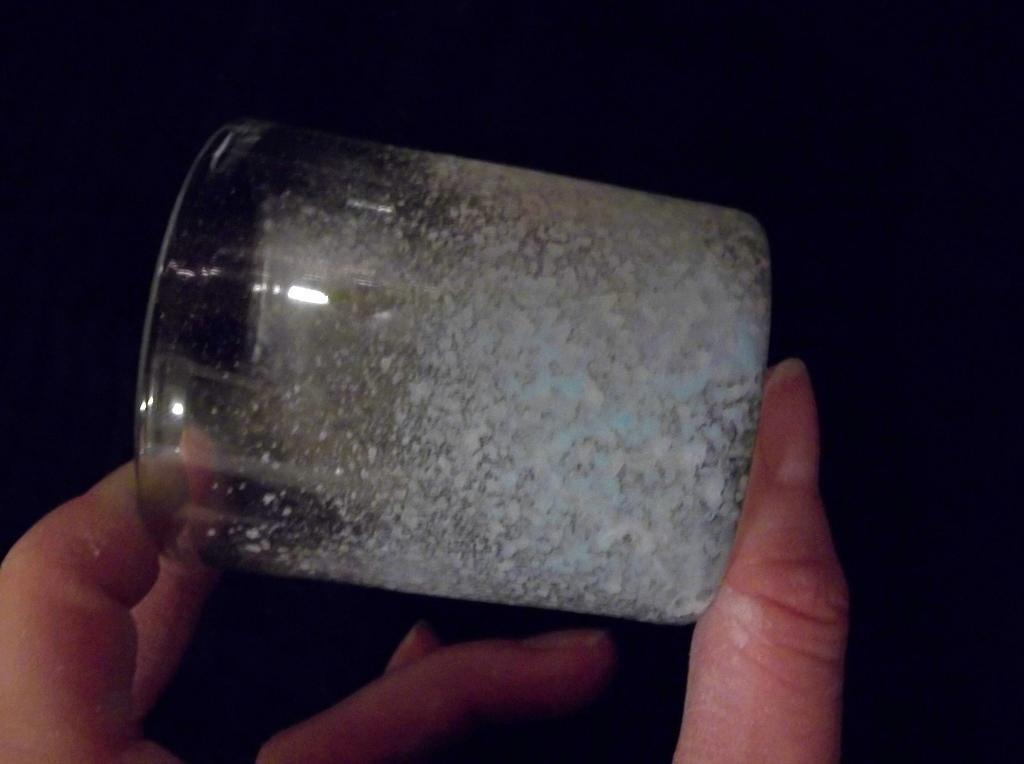
Now attach your bottle of blue paint to the eBrush, and spray some blue in the middle of the whitest parts on the bottle. Make sure to leave the edges white.
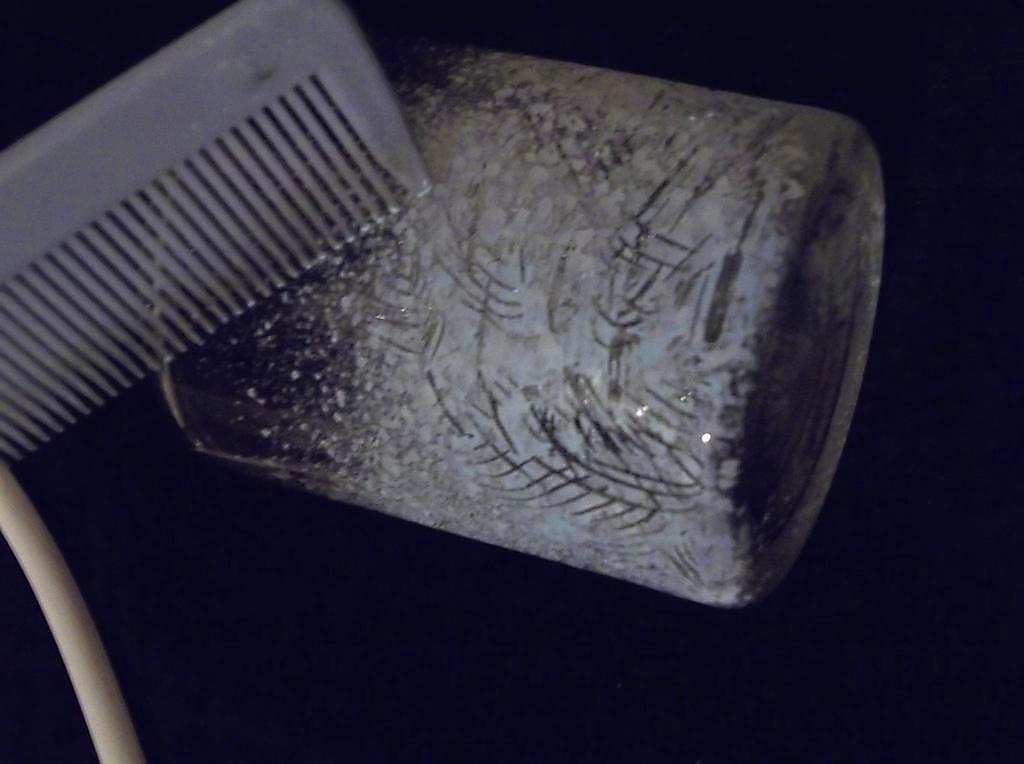
While the paint is still damp, take a fine tooth comb and scratch feathery patterns on the paint. You will need some pictures of frost patterns to use as a reference.
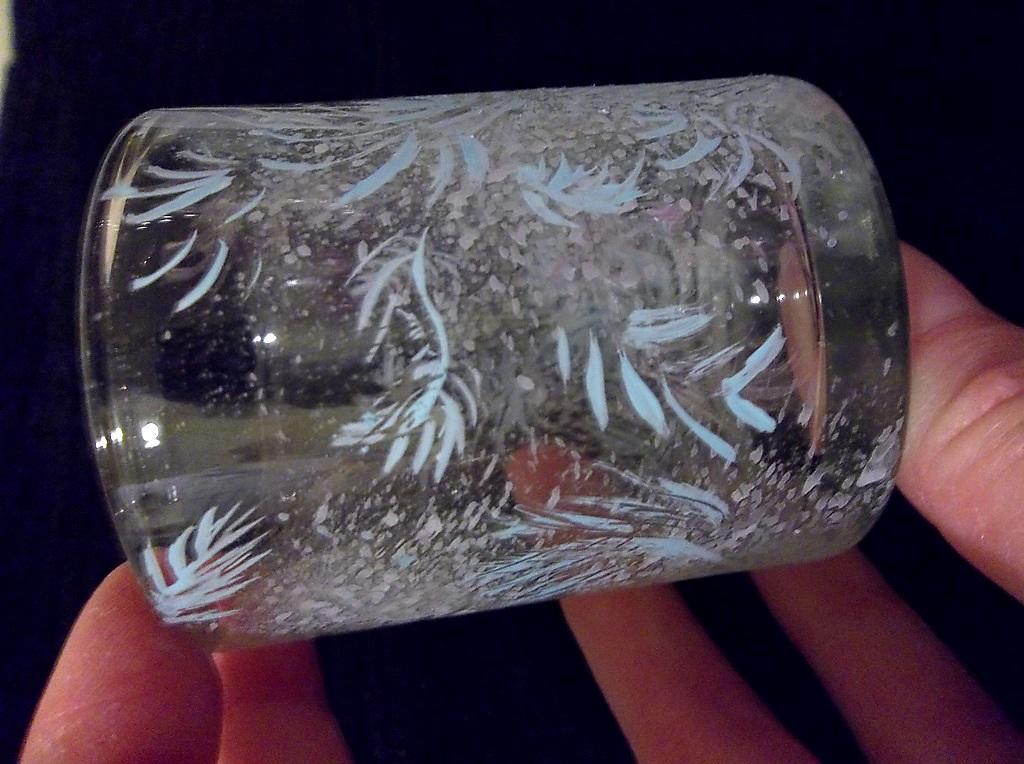
After the background paint has dried, take a fine tipped brush and stroke icy patterns onto the glass with light blue paint, but use the blue sparingly! Put most of these patterns where it has been painted with the eBrush, but let just a few extend over the unpainted parts.
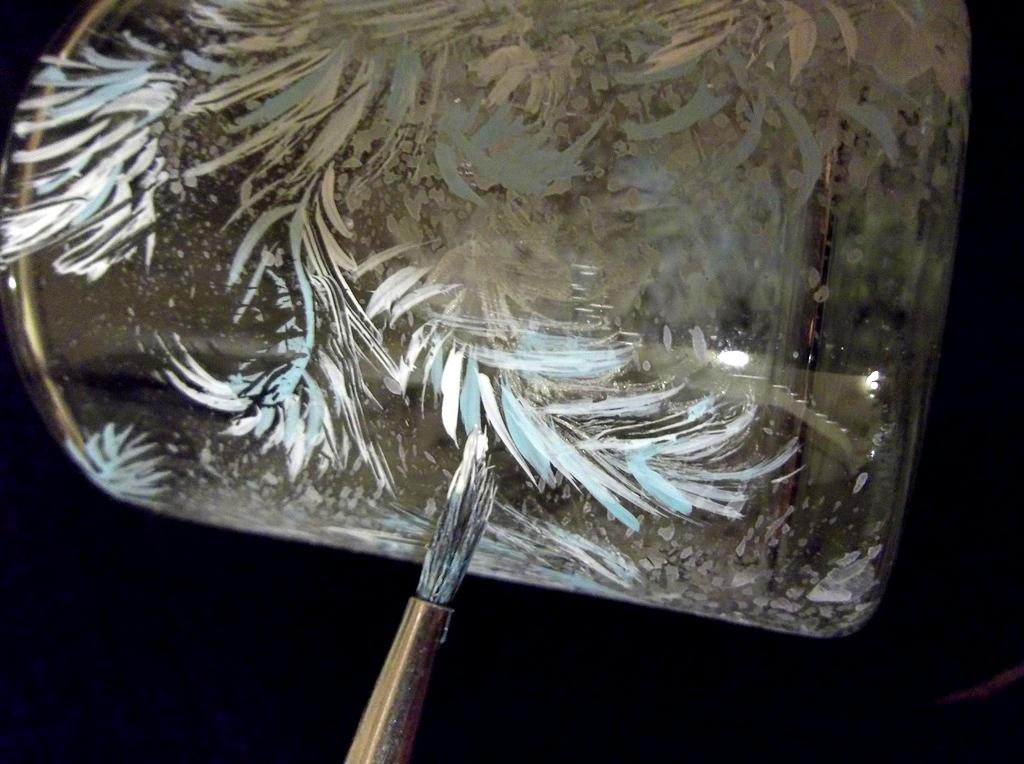
Now paint white strokes next to the blue strokes. Like with the blue, make these patterns where it has been painted with the eBrush, but let some extend over the unpainted parts. Be more generous with the white. If some of your brushstrokes are too wide, take the comb and brush over them to break them up.
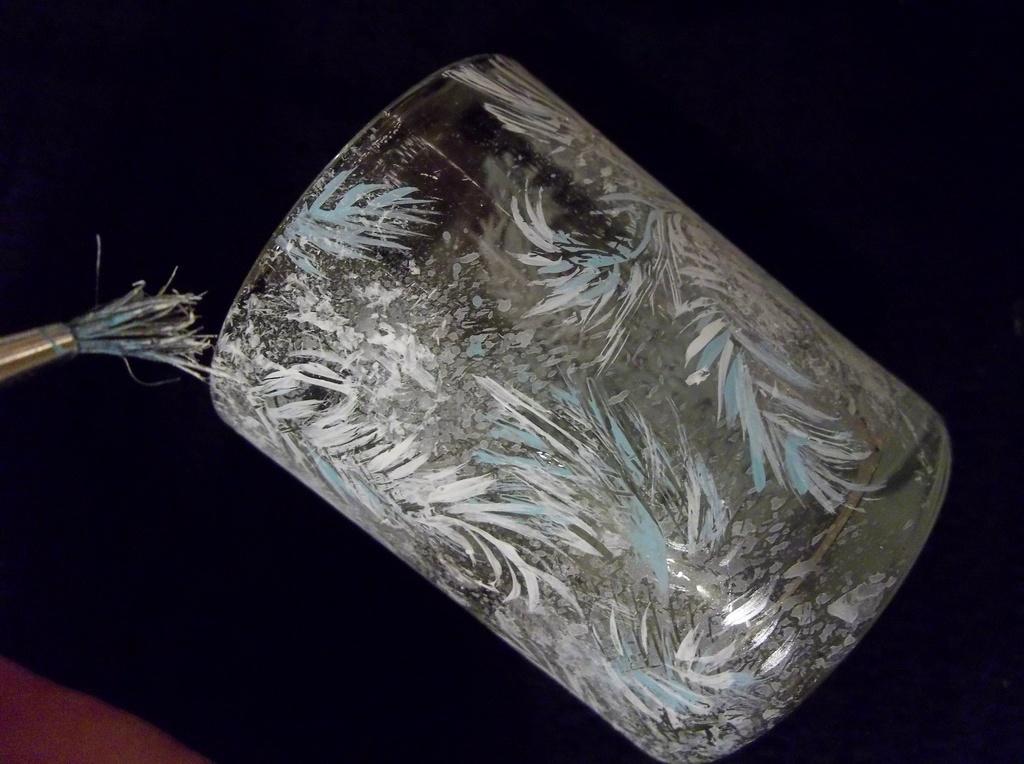
Some of the background paint will need highlighting in places where you began your feathery brushstrokes. Lightly dip your brush in white paint and stipple it onto the glass.
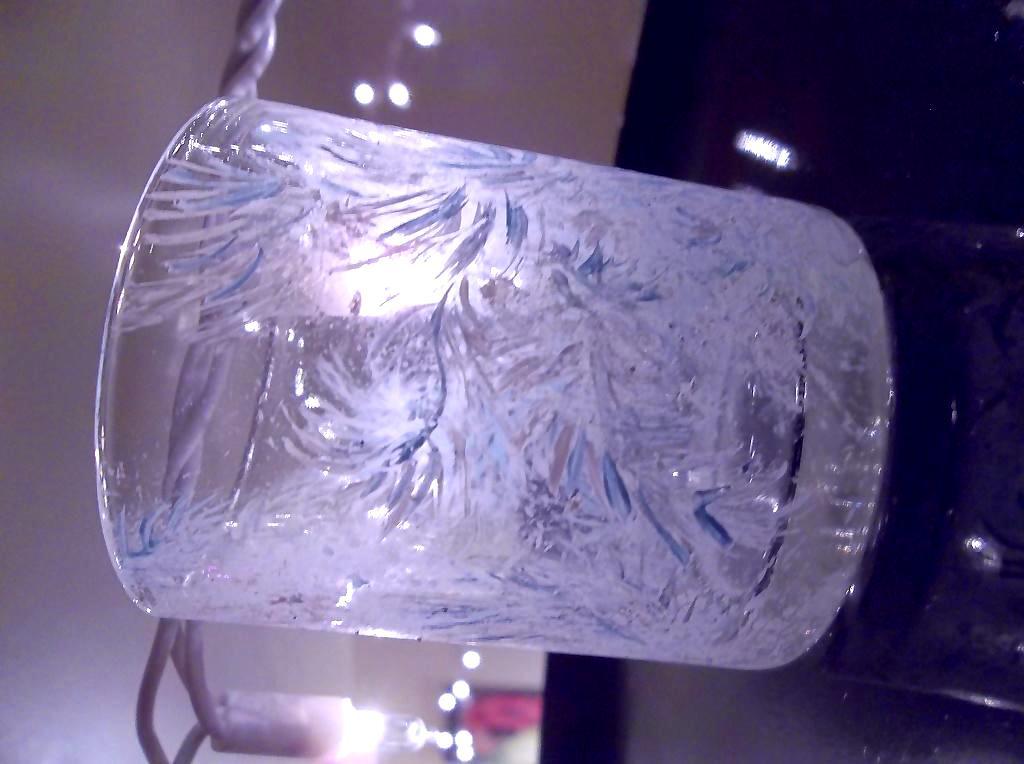
After the paint has dried for several hours, follow the instructions on your can of clear sealant and spray over the glass. Once that dries, you can put a candle or light inside it and display your work on a table or shelf!


 '
'