DO NOT MISS
>>Follow our Facebook page for updates! >>Join our Craftwell Design Team: Apply Now!
Showing posts with label eBosser. Show all posts

April 7, 2023

3D Flower Bouquet

Hi All!! 

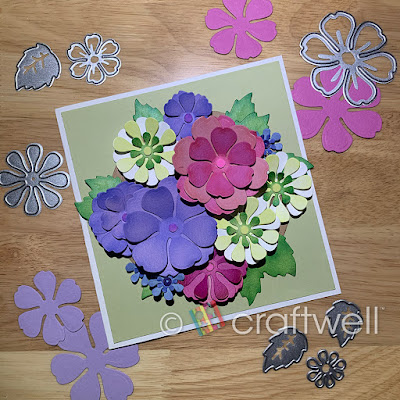
Katie here with my 3D flower bouquet card and can be used for any occasion.

Materials

Craftwell eBosser

Craftwell eBrush Airbrush System

Sharpie markers

Flower die set from Amazon

Nail Art pieces (used the circles)

Cardstocks

Glue gun

Elmer's glue stick


The flowers and colors got inspired by spring flowers I had found on a google search when I needed some ideas. You can do the same.

First, I used the eBosser to cut out all the different flower shapes with different cardstocks that I picked out.
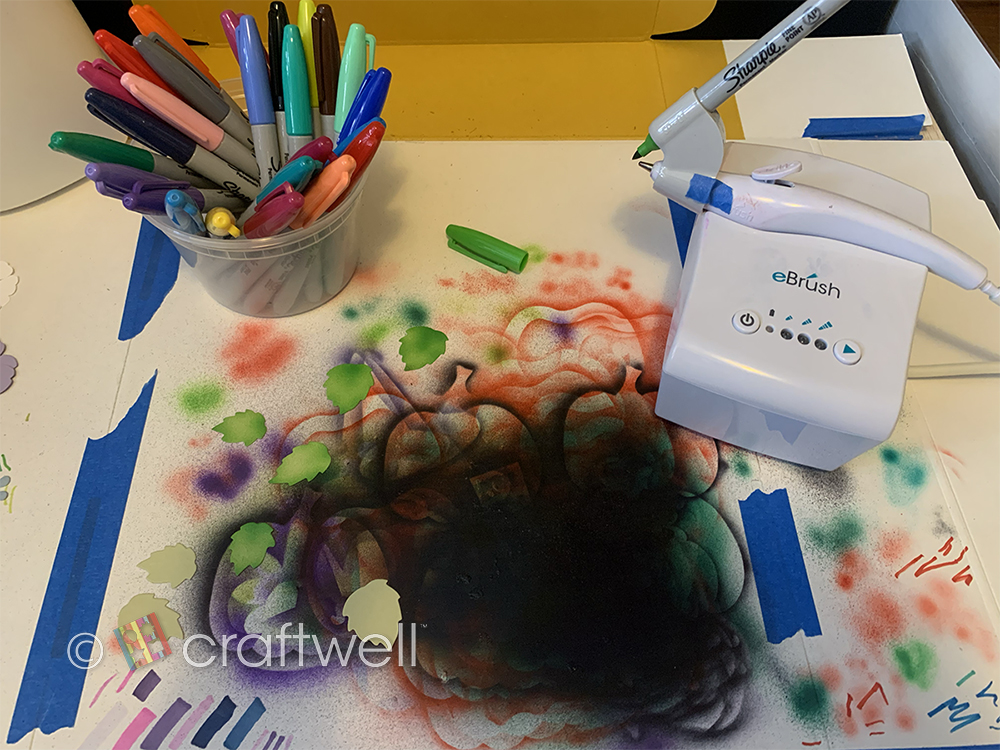
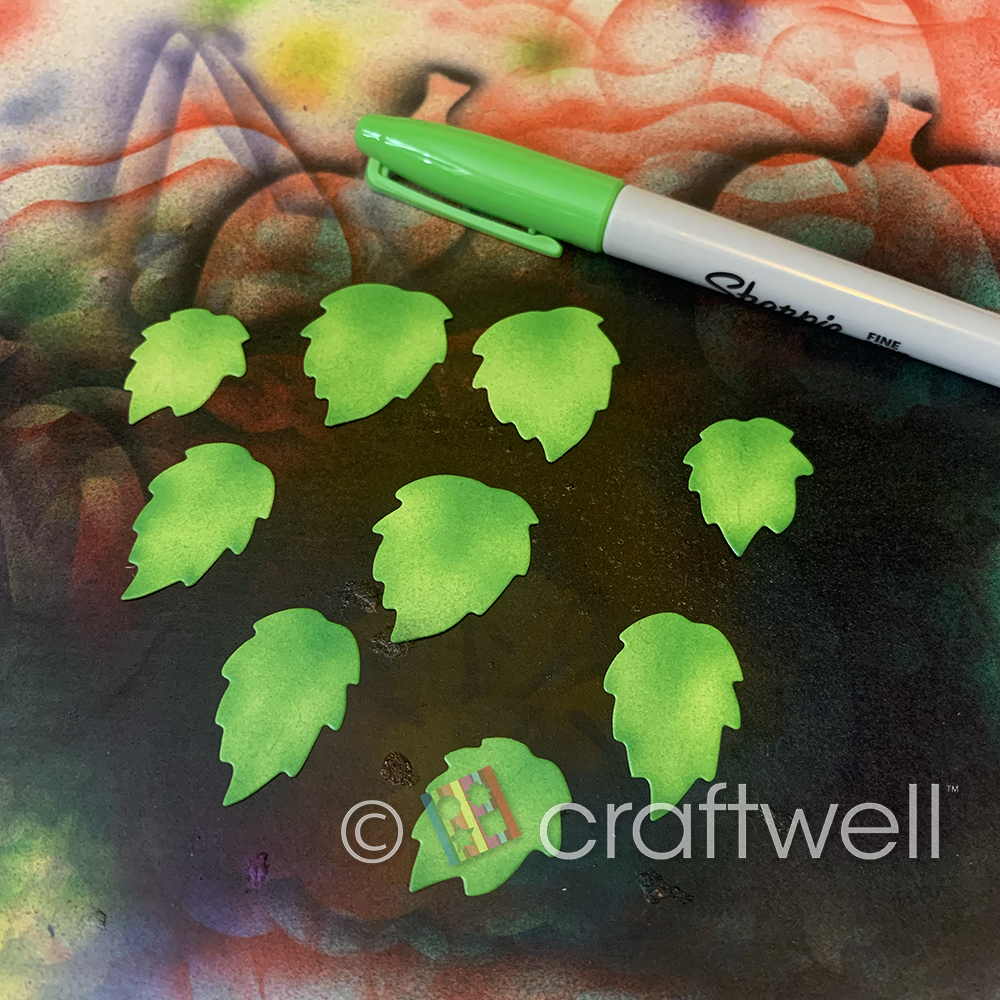
Used the eBrush and Sharpies to color the flowers and leafs.


I had fun playing with the position of the flowers and placing them as desired. 
When placing the flowers near each other, I wanted to have them overlapping each other and made little cardstock cylinder pieces to give some flowers different heights. 
You'll be able to see what I mean in the photos below:


What do you think? 
This card can be used for Birthdays, Anniversary and even Mother's Day.
I hope you all liked my project and got inspired. Until next time!

- Katie

February 14, 2023

Love Donuts

 Hi everyone! Happy Valentine's Day 💕

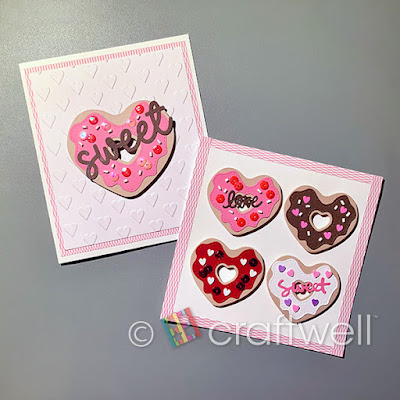
I made some sweet treats just for the occasion. Who doesn't love donuts shaped as hearts?


Materials

Craftwell eBosser

KSCraft Heart Shape Donuts Cutting Dies

Cardstocks from Michaels

Variety of confetti and shapes from Amazon

Foam adhesives

Elmer's glue stick


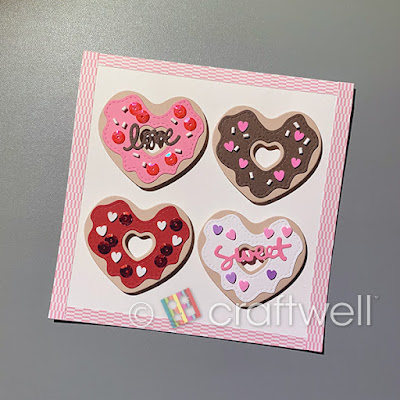
Taking selected cardstocks to cut out shapes using KSCraft heart shape donuts cutting dies and taking So In Love embossing folder to emboss on a plain cardstock. 

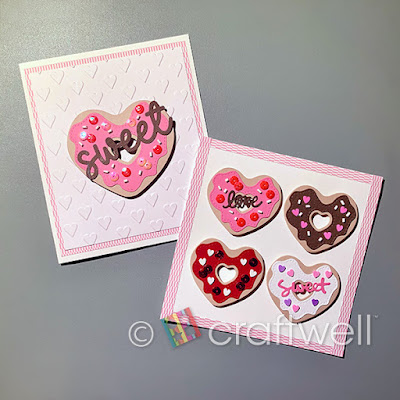
I assembled all the pieces to how I liked it and below is the finished cards. 

I couldn't resist making two cards.


I hope everyone enjoyed my project and got inspired!
Until next time.

From Katie

January 20, 2023

Hot Air Balloon Plant Accents

Plants looking a little lonely by themselves?

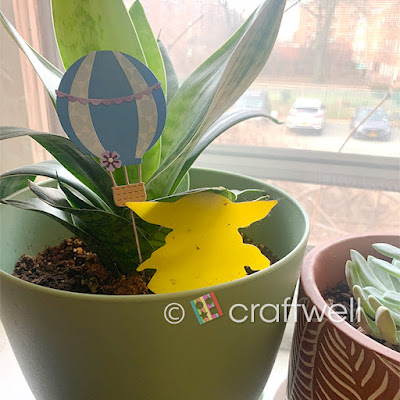
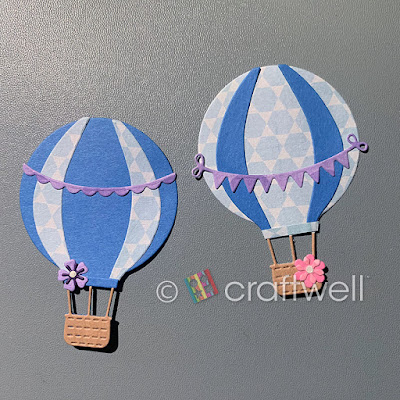
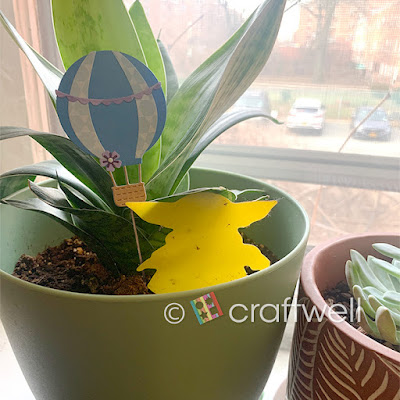
I have just the thing! Made these cute little hot air balloons for my indoor plants.

A nice and simple project anyone can do, and also great for kids.


Materials

Craftwell eBosser

Sizzix ThinLit - Hot Air Balloon Die Set

Leftover cardstock paper

Hot glue gun

Wooden skewers


I'm the type that likes to use what leftover cardstock paper or scraps for my projects. So I figured I do that for this project since the pieces were going to be pretty small. 

I started off using both patterned and solid color paper of a blue shade for the balloon part. The other pieces I chose purple, craft paper and pink. Some pieces were also leftover from other project (like to keep them just in case).

Fun part! Assemble all pieces together and below you can see a photo of the hot air balloons before attaching the wooden skewers.


Finished project!


Hope you all liked my project and got inspired!

Till next time.

- Katie


December 12, 2022

Cute Christmas Gift Tags

 Hi All!!

Katie here with my cute Christmas gift tags and I'll have you ready for gifting!


Materials:

Craftwell eBosser

Craftwell Stardust Embossing Folder

Making Friends and Snowball Fight Die & Stamp set from Amazon

Christmas Dies & Stamp set from Michaels (might be from Recollections)

Christmas variety stamp set from Michaels

Craft & white cardstock

Tiny foam snowflakes and stars (Used for nail art)

Prismacolor color pencils

Ink pads from Colorbox

Adhesive foam squares

Twine


I started by die cutting all the tags with the craft paper and embossed them with the Stardust embossing folder then made four smaller plain cut-outs with the white cardstock.

Stamped and cut-out the furry friends onto the white cardstock and shaded them in with my Prismacolor color pencils.

Assembling all the items together, arranging them how I want and came out pretty cute.

Take a look at the results.


These are quite versatile and could be used as little ornaments as well.

I hope everyone enjoyed my project and got inspired.

Happy Holiday!!


From Katie  

August 26, 2022

Happy Women's Day!

Hi everyone! 

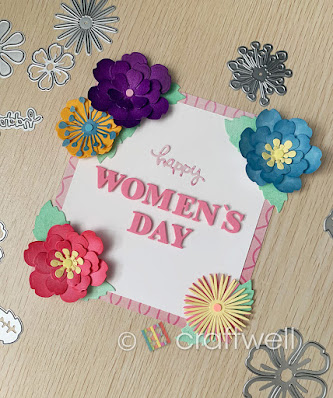
Katie here with another post and wanted to make something for "Women's Equality Day".


Materials

Craftwell eBosser

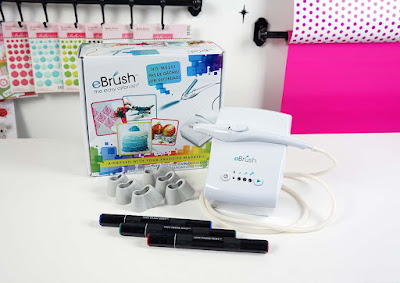
Craftwell eBrush Airbrush System

Spectrum Noir markers

Flower cutting dies from Amazon

Alphabet cutting dies from Michaels

Cardstock (whatever I had leftover)

Small color foam circles from Amazon


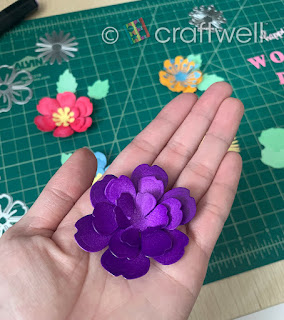
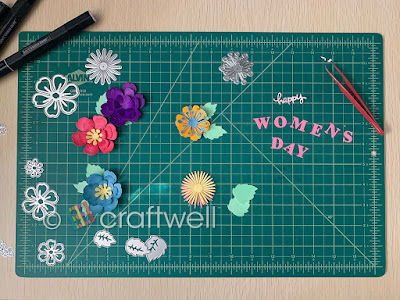
Some colors I didn't have so I used my handy eBrush with Spectrum Noir markers to airbrush the colors on plain white cardstock and die-cut the flowers out. Below you can see what they look like and came out pretty well.


Start assembling all the flower pieces together, which you can see below:


Here's the finished product! 


I hope everyone enjoyed my project and celebrates Women's Equality Day your way.
Until next time!

Katie

July 8, 2022

Airbrush Photo Frames

 Hi everyone!

Katie here with a fun project of making custom airbrushed photo frames to which can be great gifts. 

They can be made custom to whoever you give it to or maybe just for yourself 😉


Materials:

Craftwell eBrush and eBosser

Sharpie markers

Rectangle square frame cutting dies from Amazon

Sizzix Thinlit Hot Air Balloon (used the flower dies)

Bristol board paper

Double-sided square foam tape

A variety of cardstock


Chose 2 sets of Sharpie markers and used Craftwell eBrush to airbrush on Bristol board paper. 
Took the airbrushed papers and die cut into them with the rectangle square frames.


Used the eBosser to die cut into my cardstock papers of flowers and stars, slowly started to assemble everything. 
I'll just say I would sometimes misplace the flowers since their so small 😂


Below are the finish project:


What's great about these is you can place them into actual photo frames and then gift it.


Get your very own eBrush Airbrush System from our shopping website!


I hope everyone enjoyed my project and put your own touch on it.
Until next time.

From Katie


June 7, 2022

National Chocolate Ice Cream Day

 Hi everyone!

Today is National Chocolate Ice Cream Day!! 

Who doesn't love them some ice cream especially when it's chocolate?

I know I do! I just couldn't pass on the opportunity to make a card for today.


Materials:

Craftwell eBosser
Ice cream from a Summer Treats Die Set (don't remember the brand)
Sizzix Thinlits Die Set (used the banners)
Sweet word die from KSCRAFT
Prismacolor Colored Pencils
Staedtler Fineliner Markers
Small pad of pattern paper (from Michaels)
Double-sided foam stickers

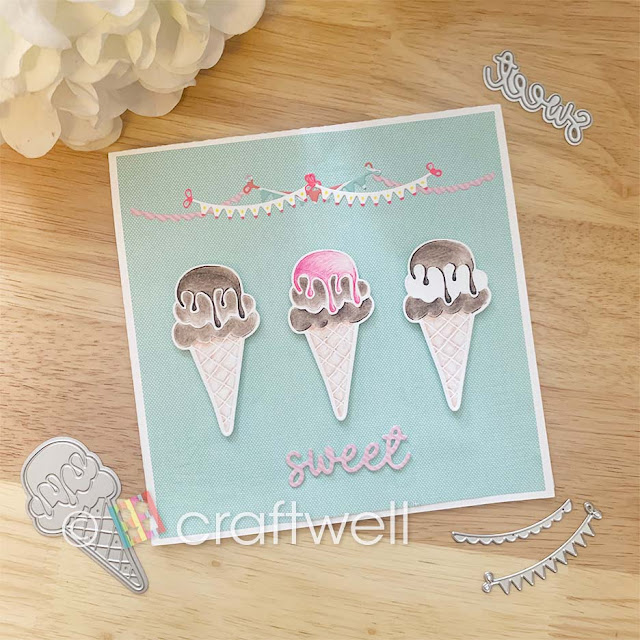
Used the ice cream dies and cut into some white cardstock and hand colored each ice cream. Took some of the pattern paper and used the banners to cut into them. Did the same with the sweet word and assembled everything together. What great about this card is that it can be used birthdays or even as a thank you card. 


Hope you enjoyed my project! Until next time.

From
Katie

December 17, 2021

Christmas Ornament

 Hi Everyone!

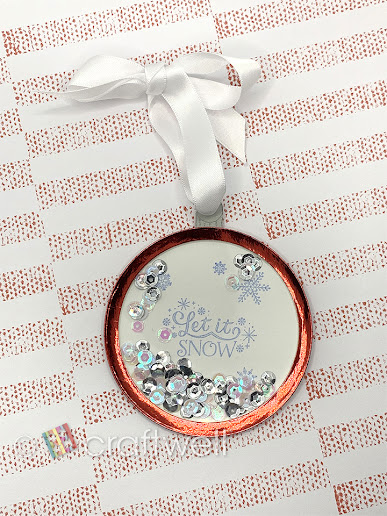
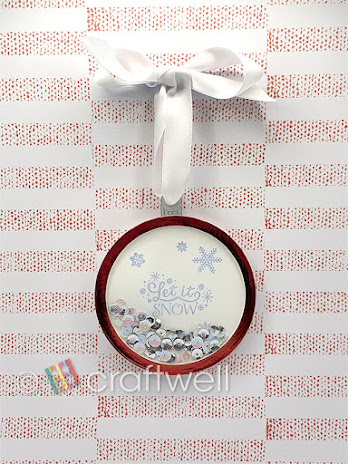
Christmas is closing in and I thought it would be fun to make a shaker ornament to place on your tree.

Or it can be used as a gift tag as well.


MATERIALS:

Craftwell's eBosser

Metallic Red, White and Grey Cardstock from Michaels

Hygloss Overhead Projector Sheets Acetate Transparency Film

Waffle Flower Nesting Basics Dies Bundle from Amazon

Christmas Themed Stamps from Michaels

Sequins from Amazon

ColorBox Assorted Colors Ink Pad

Single Hole Punch

White Ribbon

Clear Glue


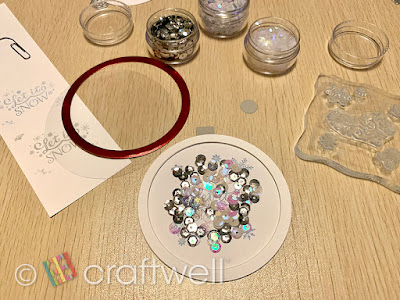
First, I chose one of the large round dies and cut-out a base layer. 
Then took both the previous large die and another round die that was 2 size smaller to cut about 6 layers with the white cardstock, and one layer with the metallic red cardstock. I die-cut a small square and circle with the grey cardstock.

Taking the base layer, I stamped Christmas words and additional decorations together. 

When gluing the layers on the base, on the 3rd layer glue the grey square at the top and then glue circle near the edge of the square. Then continue gluing the remaining layers except the red one.

I added the silver, clear and white sequins and kept them in the center.

Cut and glue a round circle from the acetate film then take the red cut-out layer and also glue on.

While the layers are drying, punch a hole at the small circle then place ribbon through hole and tie a bow.

And there you have a Christmas Ornament thats also a shaker.


Hope you enjoyed my project! 

From Katie


'
 
Copyright © 2014 Craftwell Blog. Designed by OddThemes - Published By Gooyaabi Templates