DO NOT MISS
>>Follow our Facebook page for updates! >>Join our Craftwell Design Team: Apply Now!
Showing posts with label colorbox. Show all posts

December 12, 2022

Cute Christmas Gift Tags

 Hi All!!

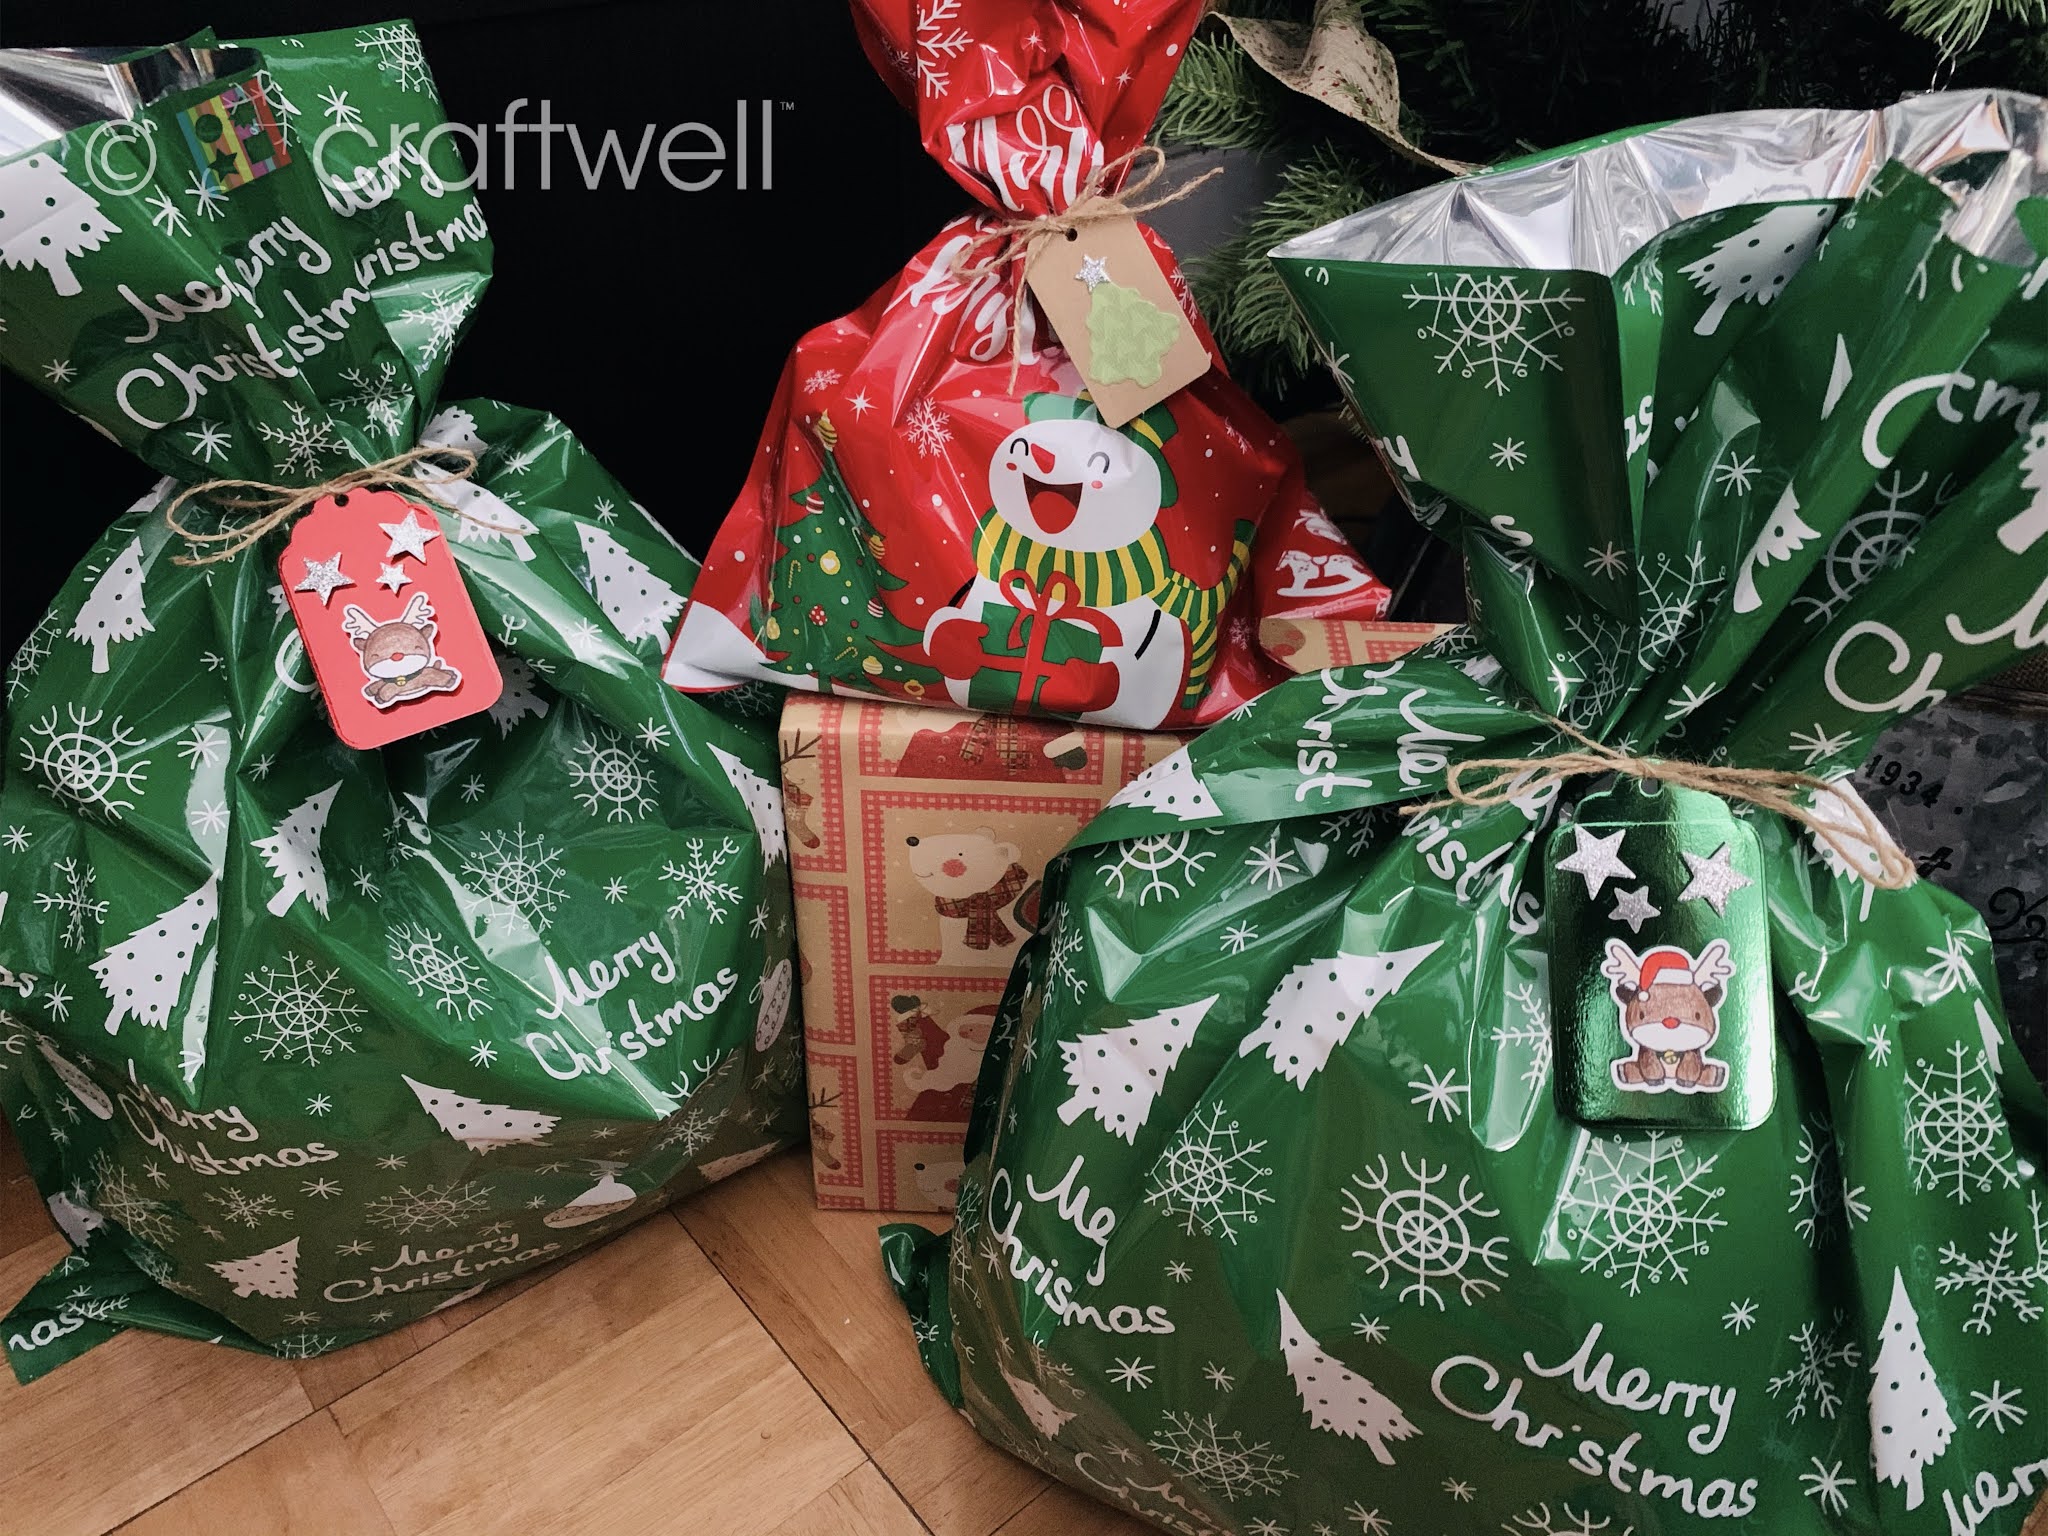
Katie here with my cute Christmas gift tags and I'll have you ready for gifting!


Materials:

Craftwell eBosser

Craftwell Stardust Embossing Folder

Making Friends and Snowball Fight Die & Stamp set from Amazon

Christmas Dies & Stamp set from Michaels (might be from Recollections)

Christmas variety stamp set from Michaels

Craft & white cardstock

Tiny foam snowflakes and stars (Used for nail art)

Prismacolor color pencils

Ink pads from Colorbox

Adhesive foam squares

Twine


I started by die cutting all the tags with the craft paper and embossed them with the Stardust embossing folder then made four smaller plain cut-outs with the white cardstock.

Stamped and cut-out the furry friends onto the white cardstock and shaded them in with my Prismacolor color pencils.

Assembling all the items together, arranging them how I want and came out pretty cute.

Take a look at the results.


These are quite versatile and could be used as little ornaments as well.

I hope everyone enjoyed my project and got inspired.

Happy Holiday!!


From Katie  
December 17, 2021

Christmas Ornament

 Hi Everyone!

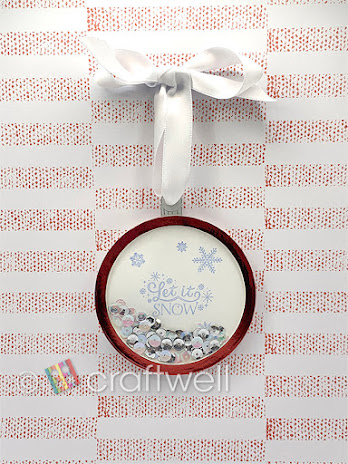
Christmas is closing in and I thought it would be fun to make a shaker ornament to place on your tree.

Or it can be used as a gift tag as well.


MATERIALS:

Craftwell's eBosser

Metallic Red, White and Grey Cardstock from Michaels

Hygloss Overhead Projector Sheets Acetate Transparency Film

Waffle Flower Nesting Basics Dies Bundle from Amazon

Christmas Themed Stamps from Michaels

Sequins from Amazon

ColorBox Assorted Colors Ink Pad

Single Hole Punch

White Ribbon

Clear Glue


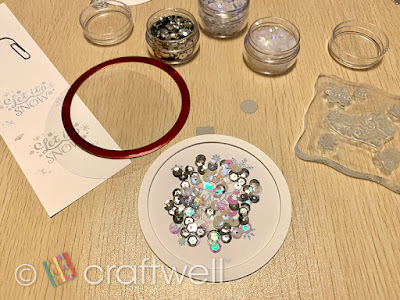
First, I chose one of the large round dies and cut-out a base layer. 
Then took both the previous large die and another round die that was 2 size smaller to cut about 6 layers with the white cardstock, and one layer with the metallic red cardstock. I die-cut a small square and circle with the grey cardstock.

Taking the base layer, I stamped Christmas words and additional decorations together. 

When gluing the layers on the base, on the 3rd layer glue the grey square at the top and then glue circle near the edge of the square. Then continue gluing the remaining layers except the red one.

I added the silver, clear and white sequins and kept them in the center.

Cut and glue a round circle from the acetate film then take the red cut-out layer and also glue on.

While the layers are drying, punch a hole at the small circle then place ribbon through hole and tie a bow.

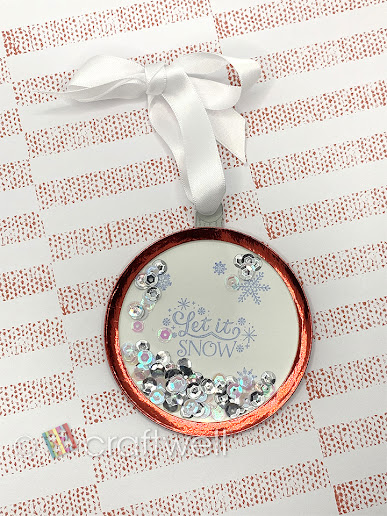
And there you have a Christmas Ornament thats also a shaker.


Hope you enjoyed my project! 

From Katie


April 26, 2021

DT: Stay Home Card


 Dear Scrappers,

This is Veronica, from Vicky's Scrapping Passion sharing my post for Craftwell:
For this post, I made a CAS card for a friend, who got sick with COVID-19. And I just noticed that I misspelled it 😓, embarrassing... mostly because I gave her the car already.
Here the original misspelled card:


The inside of the card:


I used the following materials and dies:


and 
My SNAP for the die cuts
Michaels embossed cardstock in white
CTMH champagne cardstock
Spellbinder nested square dies

Steps:
1- I stamped the HOME word and the chart using the Color Box and FSJ inks.
2- I died cut each letter using the square die and the stamped chart image.
3- I inked the edges of each square with a paint brush with the coordinated color.
4- I glued each square using 3D dots for dimension.
5. Finally, I glued the medical chart-square to the inside of the card and stamped the coordinated sentiment.

I brought the card with some tortilla soup to my friend's house and left it at the door after ringing the bell and sending her a text.

I hope you enjoyed my quick and easy project and please make sure to visit my blog for more inspiration and to follow me

and stay safe from this pandemic.


December 22, 2020

DIY Holiday Tags

Hi everyone! Been while and I wanted to share my project.

Katie here with a fun and simple DIY Holiday Tags that anyone can do.

Who needs to buy tags when you can just make your own, right?


Here's what I used to make my tags:

- Craftwell's eBosser

- Recollections Christmas Tags stamp & die set from Michaels

- Hampton Art Mama Elephant Reindeer stamp & die set from Michaels

- ColorBox black stamp dye

- Color pencils

- Recollections Traditional Foil cardstock from Michaels

- Glitter cardstock

- Plain white cardstock

- Kraft paper

- Twine

- Foam adhesive squares


Reindeer Tags:

I started off by stamping the reindeers in black dye onto the plain cardstock then cutting them out from the stamp & die set from Recollections and colored them. Taking the tag die, I cut into one of each of the red & green foil cardstock. I also die cut some stars with the glitter paper. With all the pieces all cut-out and colored in, I used the foam adhesive squares behind each and placed them however I wanted on the tags. Attach each tag onto the gifts with twine and your gifts are ready! Don't worry, on the back there's space for messages.


Finished tag with the red foil cardstock


I also made the Christmas tree tag and it was about the same process, but used some leftover pattern paper for the tree and kraft paper for the tag itself.

I hope you all liked my project and it might not be that fancy, but could be great for those who are beginners. Feel free to left comments and feedback.

Until next time! Happy Holidays! Stay safe and warm.

- Katie


April 23, 2019

DT: May You Weather This Storm - Wall Hanging


Dear Scrappers,

This is Veronica, from Vicky's Scrapping Passion sharing my post for Craftwell:
 I got inspired by some Hero Stamps I had from last year:


I was feeling anxious and under the weather, so this is my uplifting creation:


Some closeups:


Also how I made it:

I used my last kit from Clear Scraps, which contained a cute mini wooden palette and this stencil raining hearts stencil:


It also included this pearl modellier creme, so I decided to do some resisting inking:


While the paste was drying, I did inked some leftover pieces from a Swirlydoos kits from long time ago: 


I used my SNAP machine from Craftwell to cut some stamped images:


And used some Dylusions inks and Tattered Angels spray and "lifted" the resisted ink with a paper towel from the stenciled shapes: 


Finally, I stamped randomly some "rain" with silver colorbox ink and used 3D dots to add all pieces and voila I got my mood lifted...
I  hope you enjoyed this very simple and super easy to make layout and visit my blog for further ideas:


'
 
Copyright © 2014 Craftwell Blog. Designed by OddThemes - Published By Gooyaabi Templates