
eBrush Design Team: Lisa Somerville Week 1 Cycle 3
Hello and welcome to the Craftwell Blog, Lisa here today, sharing a Christmas Bendi Card using using the eBrush, along with Sharpie and Spectrum Noir Markers and a SVG File from our Sponsor -


Supplies: (some supplies not shown above)
Silhouette Sheet
Silhouette Die Cutting Machine
Other - White Card Stock, Homemade Stars Stencil, Silver Gems, Dreaming Tree Silent Night Bendi Card SVG Kit (Please note that this SVG File also comes in the Christmas Card Bendi SVG Bundle), Adhesive

Using the Silhouette Cameo, cut all of the pieces from the Silent Night Bendi Card SVG Kit from White card stock. I don't know about you, but I always have a lot of White card stock, and the eBrush makes it easy to add color to the White so I have whatever card stock color I may be looking for!

Using the eBrush and a Silver Sharpie Marker, add color to the stars stencil on the large background cut panel.
Add color to the other cut panels as shown. I like to work on an old Silhouette cutting mat, because it holds my card stock in place while I use the eBrush.


Supplies: (some supplies not shown above)
Silhouette Die Cutting Machine
Other - White Card Stock, Homemade Stars Stencil, Silver Gems, Dreaming Tree Silent Night Bendi Card SVG Kit (Please note that this SVG File also comes in the Christmas Card Bendi SVG Bundle), Adhesive

Using the Silhouette Cameo, cut all of the pieces from the Silent Night Bendi Card SVG Kit from White card stock. I don't know about you, but I always have a lot of White card stock, and the eBrush makes it easy to add color to the White so I have whatever card stock color I may be looking for!

Using the eBrush and a Silver Sharpie Marker, add color to the stars stencil on the large background cut panel.
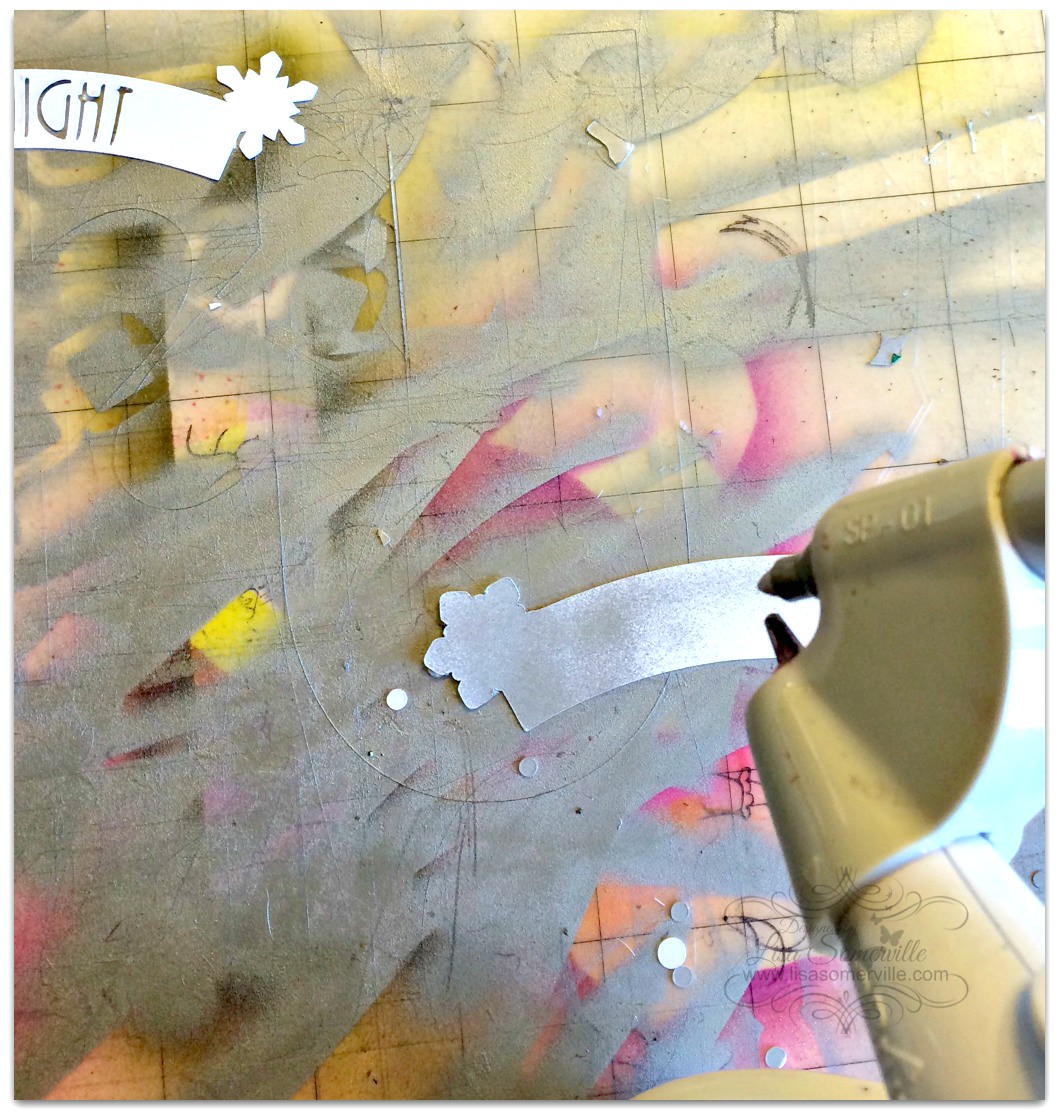
Add color to the other cut panels as shown. I like to work on an old Silhouette cutting mat, because it holds my card stock in place while I use the eBrush.

Continue to use the eBrush and Markers to add color to the cut panels.

Assemble colored panels as shown.

Using the Dreaming Tree SVG Files along with the eBrush, makes creating multiple holiday cards a breeze!
Thanks for stopping by the Craftwell Blog, I hope I've inspired you to create Art!
For more inspiration, please visit my blog.


 '
'