DO NOT MISS
>>Follow our Facebook page for updates! >>Join our Craftwell Design Team: Apply Now!
Showing posts with label So In Love. Show all posts

February 14, 2023

Love Donuts

 Hi everyone! Happy Valentine's Day 💕

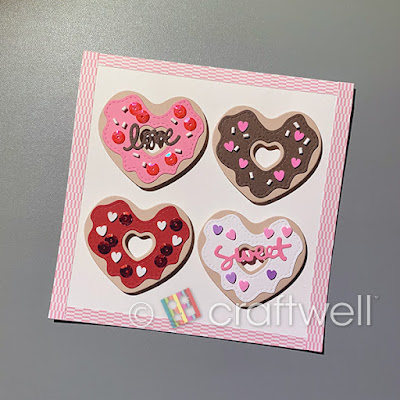
I made some sweet treats just for the occasion. Who doesn't love donuts shaped as hearts?

Materials

Craftwell eBosser

KSCraft Heart Shape Donuts Cutting Dies

Cardstocks from Michaels

Variety of confetti and shapes from Amazon

Foam adhesives

Elmer's glue stick


Taking selected cardstocks to cut out shapes using KSCraft heart shape donuts cutting dies and taking So In Love embossing folder to emboss on a plain cardstock. 

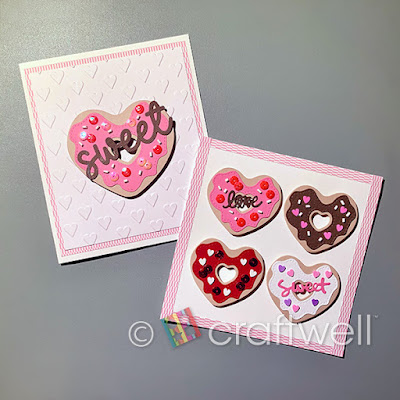
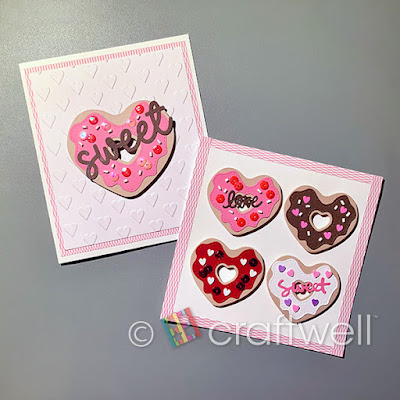
I assembled all the pieces to how I liked it and below is the finished cards. 

I couldn't resist making two cards.


I hope everyone enjoyed my project and got inspired!
Until next time.

From Katie

March 27, 2018

"Life is Good" Wall Art Decor by Karen Jiles


Hi there,

It’s Karen, sharing this “Life Is Good” Wall Art Décor created with the “So In Love” embossing folder and the Cut N Boss machine. I coordinated the embossing folder with a sanding bar to expose the deep embossed impressions of the hearts in the folder. I also added a bling layer, flower and die cut from the Lovers’ Lane Pocket Dies Collection. The “Life is Good” Wall Art Décor measures 6 x6.  I’m adding a tutorial below.
Supplies:


Wall Panel

Pink White Core Cardstock

Bling Adhesive Sheet

Sanding Bar

Beaded Bottle Cap

Gesso

Flower

Antique Gem Pins

Hemp

Silver Paint

Trimmer

Mini Attacher


 Step 1: Place full sheet of cardstock into the “So In Love” embossing folder. Close the folder and insert into Cut N Boss by Craftwell. 


Step 2: Remove the embossed cardstock from the Cut N Boss and the embossing folder and trim it down to layering size for your panel. 


Step 3: Sand the embossed cardstock with sanding bar to expose the white core.

Step 4: Cut bling sheet down to laying size and adhere to panel. Layer the embossed cardstock onto the bling sheet. Set aside.


Step 5: Attach flower layers together with Mini Attacher and apply gesso to flower using a foam brush. Let dry.


Step 6: Adhere beaded bottle cap to center of flower and adhere flower to the wood panel.


Step 7: Die cut the “Life is Good” sentiment from the Lover’s Lane Pocket Die Set using the Cut N Boss machine. 

Step 8: Adhere sentiment to the wooden panel and add hemp to the flower. Continue embellish as desired. 


Thanks so much for stopping by today and I hope that this Wall Art Décor has inspired you!

Karen

'
 
Copyright © 2014 Craftwell Blog. Designed by OddThemes - Published By Gooyaabi Templates