Happy Friday!!
Katie here with another fun airbrushed planter project. Great project on your own or with kids.
Also could make for a nice gift with a plant.
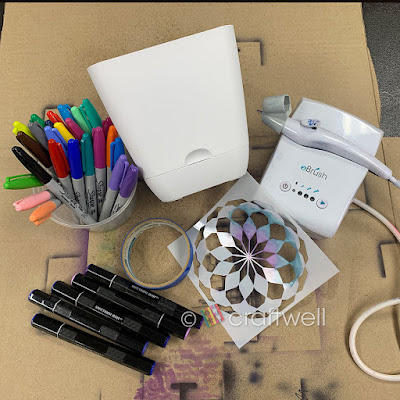
Materials
Craftwell eBrush Airbrush System
Sharpie markers
Spectrum Noir markers
Medium size plastic planter from Target
Pattern stencils from Amazon
Painter's tape
Disposable gloves (optional)
I kept it simple by just using one stencil and keeping the colors in shades of blue and purple.
Very important: always test your colors before using to make sure it's what you want.
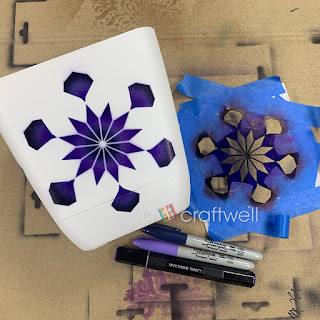
Since I didn't want to use the whole pattern design, I use the painter's tape to cover up the parts I didn't want and position however I want. That's the fun part, you can create however you want and wherever on the planter.
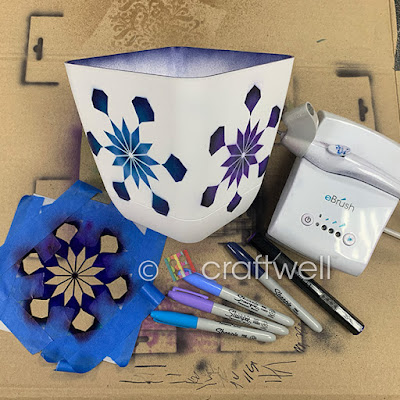
Went with the idea of positioning the pattern differently and making gradients with the colors I chose as well. Below you can see how they came out.
To add a little something, I airbrushed the inside of the planter and you could do the same or even make a pattern there as well.
I hope everyone liked my planter project and got inspired.
Until next time!
- Katie


Post a Comment