

Hi everyone!
My name is Katie and I'm new to Craftwell's Design Team.
For my first post, I made a 1st birthday card using the SNAP machine and here's how it came to be.
My name is Katie and I'm new to Craftwell's Design Team.
For my first post, I made a 1st birthday card using the SNAP machine and here's how it came to be.
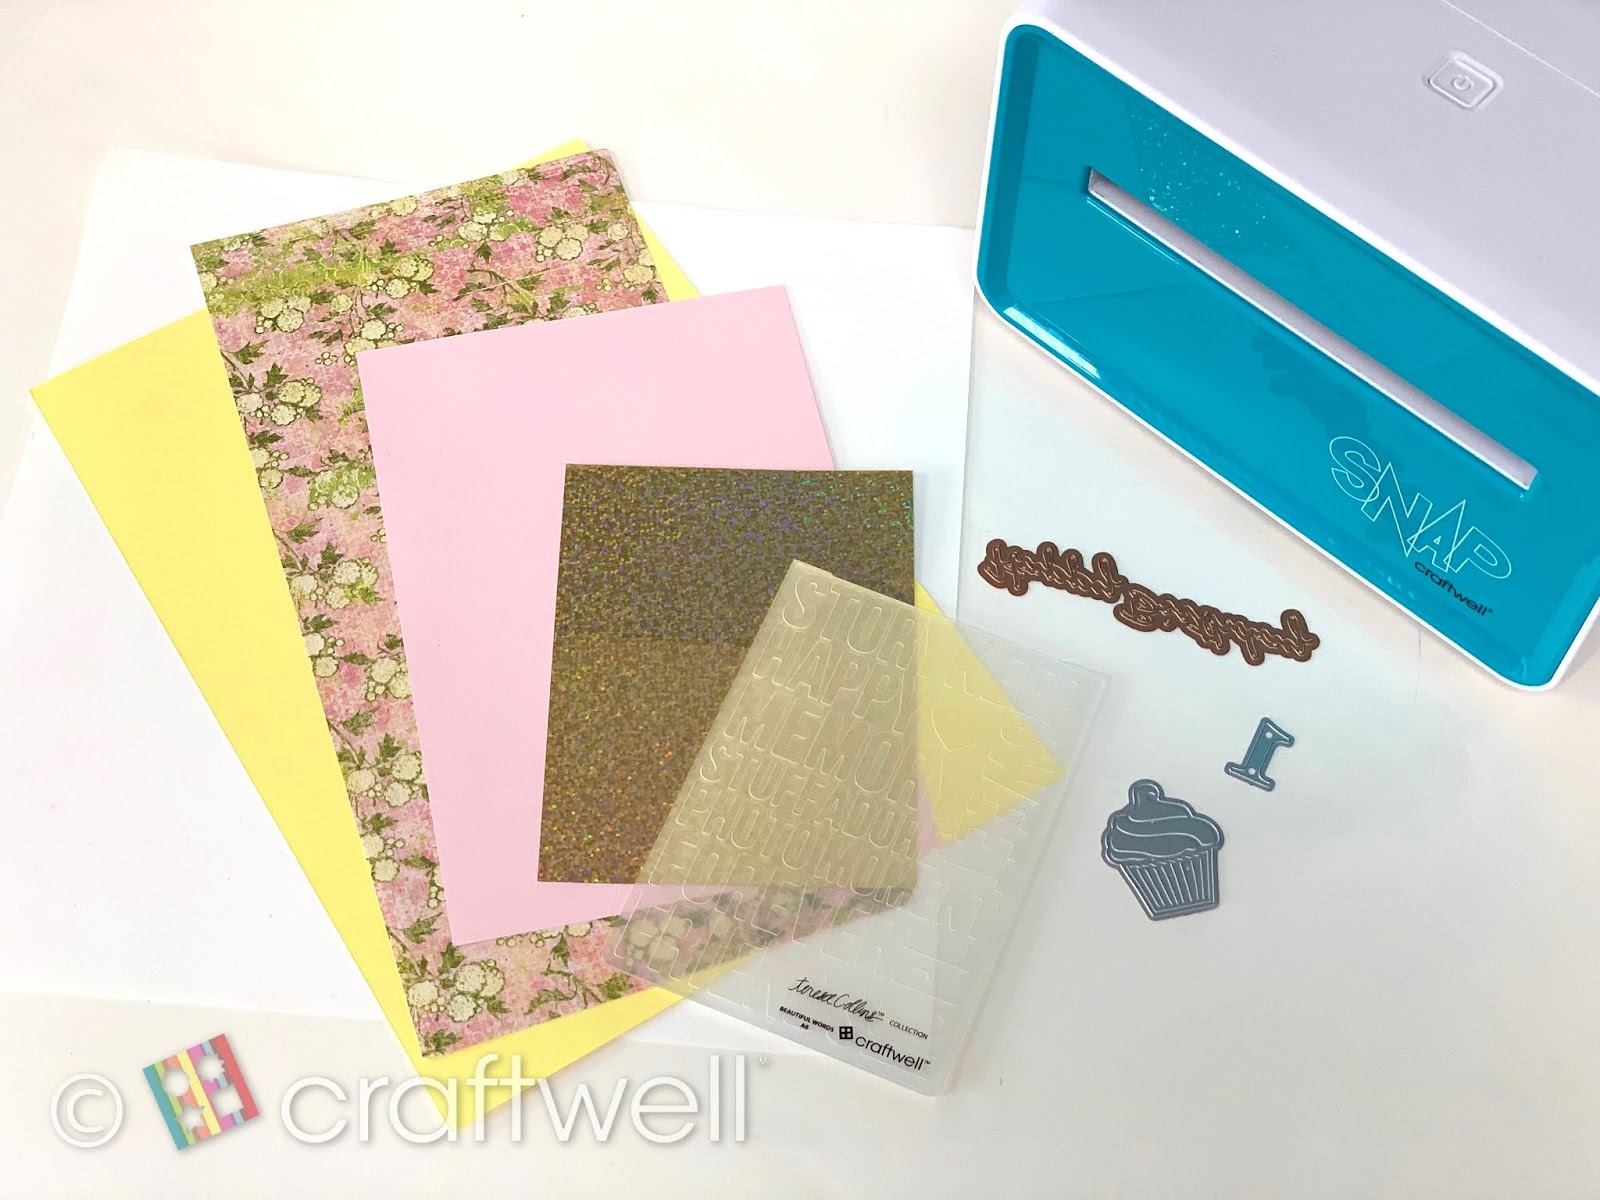
Materials:
SNAP machine
Leftover paper from white, yellow, flower pattern, light pink and glossy glitter.
A6 Beautiful Words embossing folder by Craftwell
Cupcake and number by Recollections
Happy Birthday Die by Spellbinder
Clear Glue by Aleene's
3D Foam Squares
3D Foam Squares
Tweezers
Scissors from Craftwell's tool kit

First, we want to start by making the background to the card and cutting it close to the A6 dimensions. I ran the embossing folder through the SNAP and you have your embossed paper.


Next, we cut into the flower pattern and light pink paper with the cupcake die.
And do the same with the glossy glittery paper use the number 1 die.
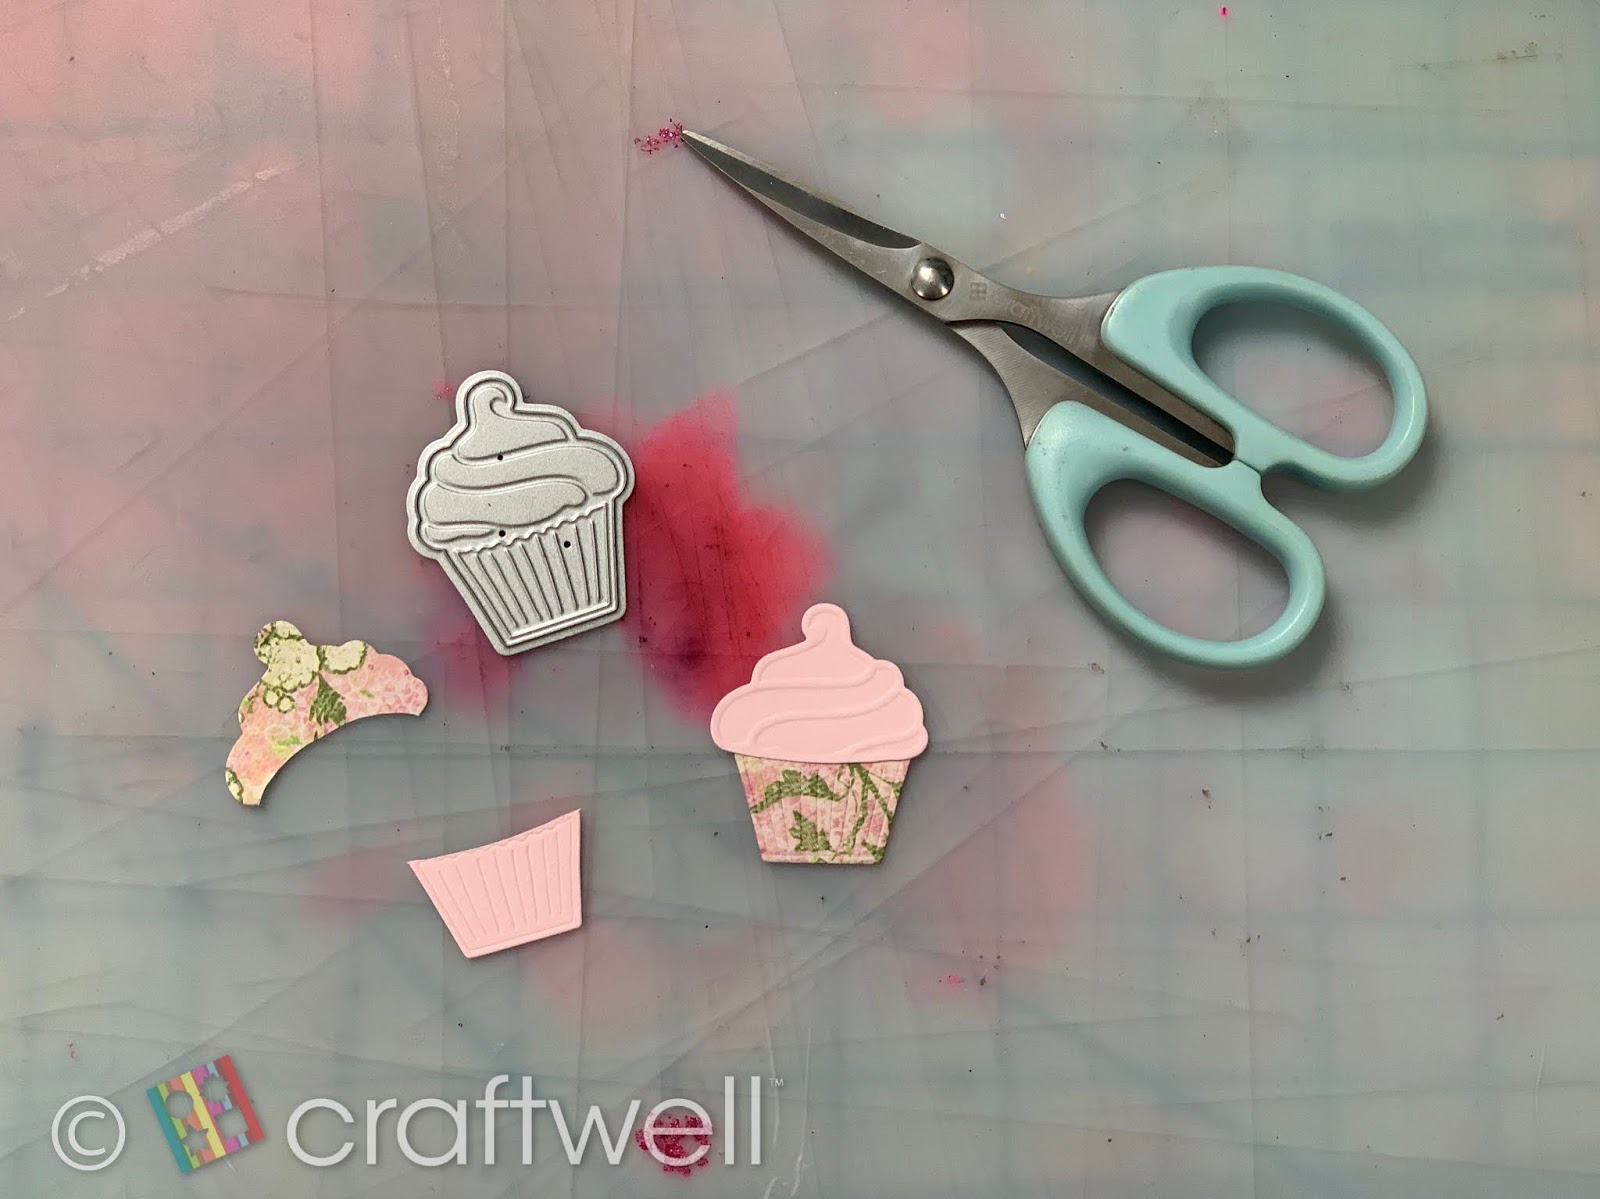
Here comes the fun part! Time to assemble the cupcake, which is really easy and quick.
So I wanted the frosting to be pink and cut above where the cupcake wrapping would be. I did the same with the other cut out, but did the opposite and cut top where the frosting would be. Make sure you leave a little room so you have space to glue the frosting to it.

I took the embossed yellow paper and glued it to a white folded paper. You can cut it to whatever size you desire, but I just cut it about half a quarter inch more and glue them together.
Next, I stuck a 3D foam square behind the cupcake and centered it in the middle. You will notice I place the number 1 last because I couldn't decide if I wanted it floating above or place it into the cupcake. In the end, I just glued at the top of the cupcake and I think it looks pretty good there :)

So... I went a little extra and designed the inside.
Added another layer of yellow paper and a message inside of the card. I used whatever leftover paper I still had and cut out the words "Happy Birthday". And again, you all can design the inside however you want and have fun with it!

The end result of the front and the inside.

I hope everyone enjoyed this tutorial and got inspired for your next card! :)


Post a Comment