

I cut a piece of corrugated cardboard to 11" x 8-1/2". Then, I tore some of the top layer off, exposing the corrugations in some areas. Next, I added some strips of flower printed fabric tape and gave the entire background a rough textured coat of Teresa Collins' modeling paste. Let this dry thoroughly.

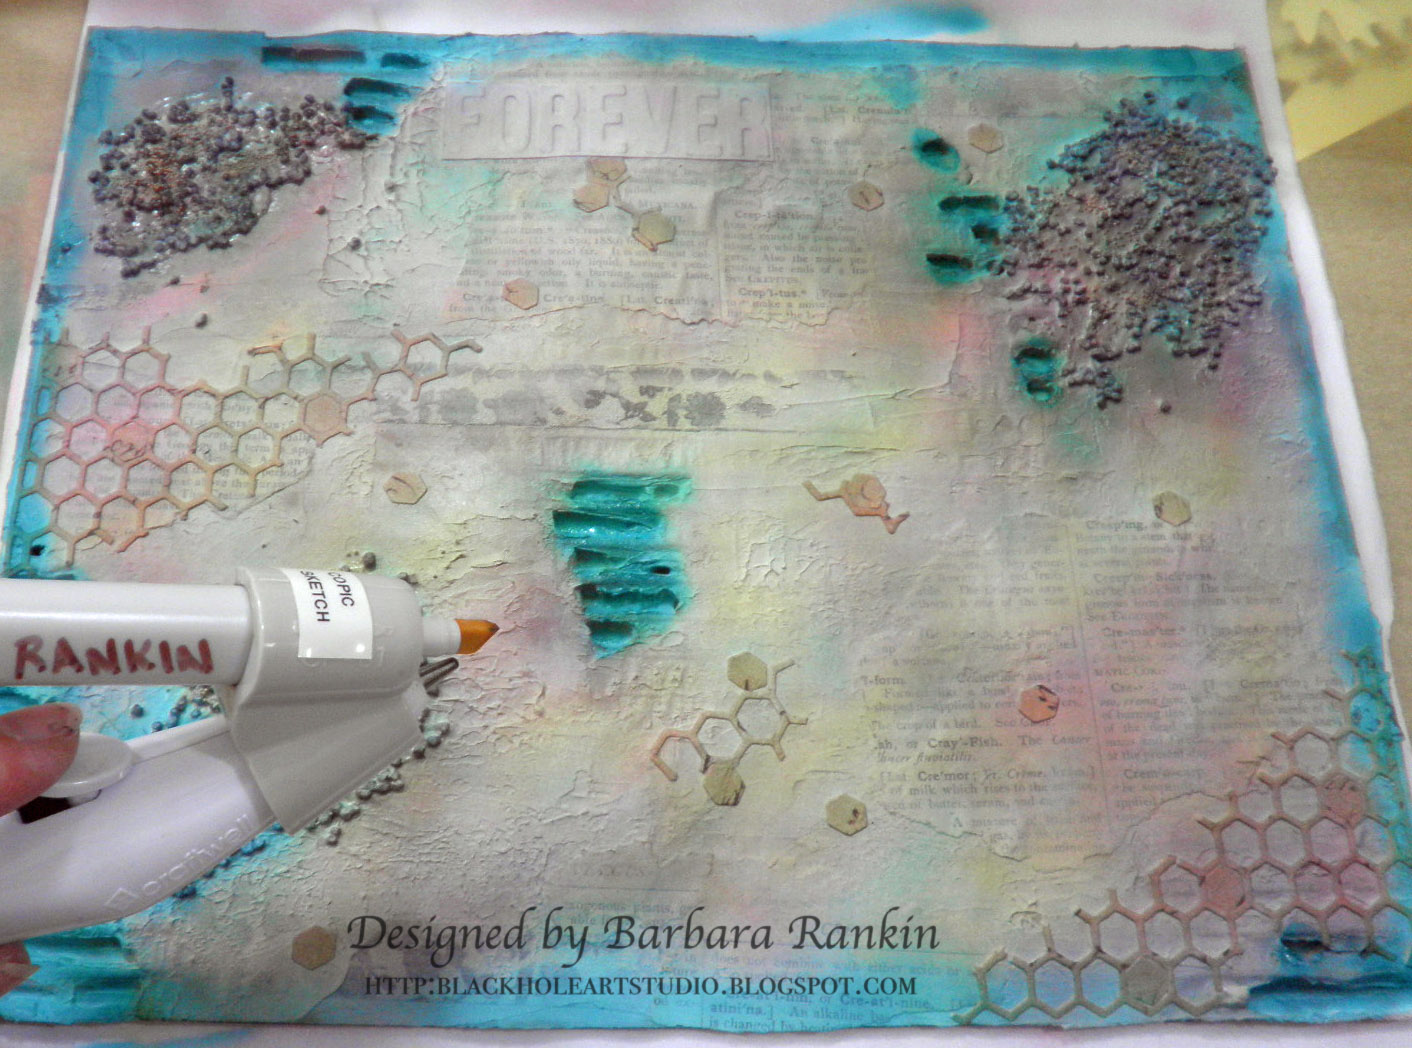
Spread extra course garnet gel in a couple of spots, then sprinkle gold micro beads over wet medium.

Brush random strokes of gel medium over background and lay pieces of torn book pages over it. Let all mediums dry.

Remove any portions of the book pages that did not adhere and you will get this really cool torn effect.

Brush on a wash of white gesso and water to give a nice, light background for the eBrushed colors to adhere to.

I die cut a piece of script paper with Teresa Collins Honeycomb Project Die using my Cut n Boss.

Tear honeycomb apart and adhere pieces to canvas, as shown, along with some of the punched out honeycomb pieces. Let dry.

Emboss white card stock with the Teresa Collins Beautiful Words A6 Embossing Folder and cut out the word "FOREVER". (This was left over from another project, so nothing goes to waste.)

Adhere to canvas, as shown. Let dry. I also die cut and embossed some leaves from thin chipboard and arranged the on the canvas. It is a good idea to do this to get an idea of where you are going with your piece, although it can change.

Now the fun begins. eBrush the first layer with BG15 Aqua, concentrating on the edges and corrugations.

Next layer is eBrushed with R85 Rose Red.

I wanted to warm the background a bit so I eBrushed Y21 Buttercup Yellow over the background, concentrating on the center of the piece.
The yellow leaf was eBrushed with YR23 Yellow Ochre, then E74 Cocoa Brown around the edges.

The two large orange leaves were first eBrushed with YR 23 Yellow Ochre, then YR68 Orange was eBrushed around the edges. A light coat of E74 Cocoa Brown was added over it to tone it all down.

The wider small red leaf was first eBrushed with YR23 Yellow Ochre, then R29 Lipstick Red was eBrushed around the edges, and a light coat of E74 Cocoa Brown was added over all to tone it all down.

The last reddish green leaf was first eBrushed with YR23 Yellow Ochre, then R29 Lipstick Red was eBrushed in the center. Next, the edges were eBrushed with the G09 Veronese Green, and a light coat of E74 Cocoa Brown was added over all to tone it all down. All leaf stems were also eBrushed with the Cocoa Brown.

I found these puffy plastic letters to spell "fall" in my stash, so I eBrushed them with the E74 Cocoa Brown. It would have been impossible to color them straight from the marker because each brush stroke of the marker removed what I put down. So the eBrush is super fantastic for this sort of technique. (Tip: They are stickers, so you want to place them on your craft mat before eBrushing them so that you can remove them.)

Since I had already adhered my "FOREVER" word to my canvas, I used post it notes to protect the area around it from overspray and eBrushed it with the E74 Cocoa Brown.

I removed the post it notes and outlined the letters with a brown Micron pen to add depth.

I used a die cut piece of card stock as a stencil and eBrushed the E74 Cocoa Brown through it in random spots.

I used brown distress ink and a blending tool to edge all of the leaves, as well as the edges of the canvas. I just really like the look.

Supplies Used:
Teresa Collins Beautiful Words and Stars A6 Embossing Folder
Copic Markers - BG15, R85, Y21, YR23, YR68, E74, R29, G09
Teresa Collins Modeling Paste
Gel medium
White gesso
Extra course garnet gel medium
Gold micro beads
Sizzix Tattered Leaves die (Tim Holtz)
Sizzix Layered Leave die (Tim Holtz)
Corrugated Chipboard from boxes
Copic Markers - BG15, R85, Y21, YR23, YR68, E74, R29, G09
Teresa Collins Modeling Paste
Gel medium
White gesso
Extra course garnet gel medium
Gold micro beads
Sizzix Tattered Leaves die (Tim Holtz)
Sizzix Layered Leave die (Tim Holtz)
Corrugated Chipboard from boxes
Vintage book pages
Distress ink - Vintage Photo
Blending tool

Distress ink - Vintage Photo
Blending tool
There will be more fun projects featuring up cycled projects, so make sure to check out the Craftwell Blog all month long for more inspiration from the team.
Thanks for stopping by, and have a crafty day!


Post a Comment