


For each, you'll need:
4" square coaster (a pkg of 6 from the $ store)
Cardstock (2 complimentary colors and white)
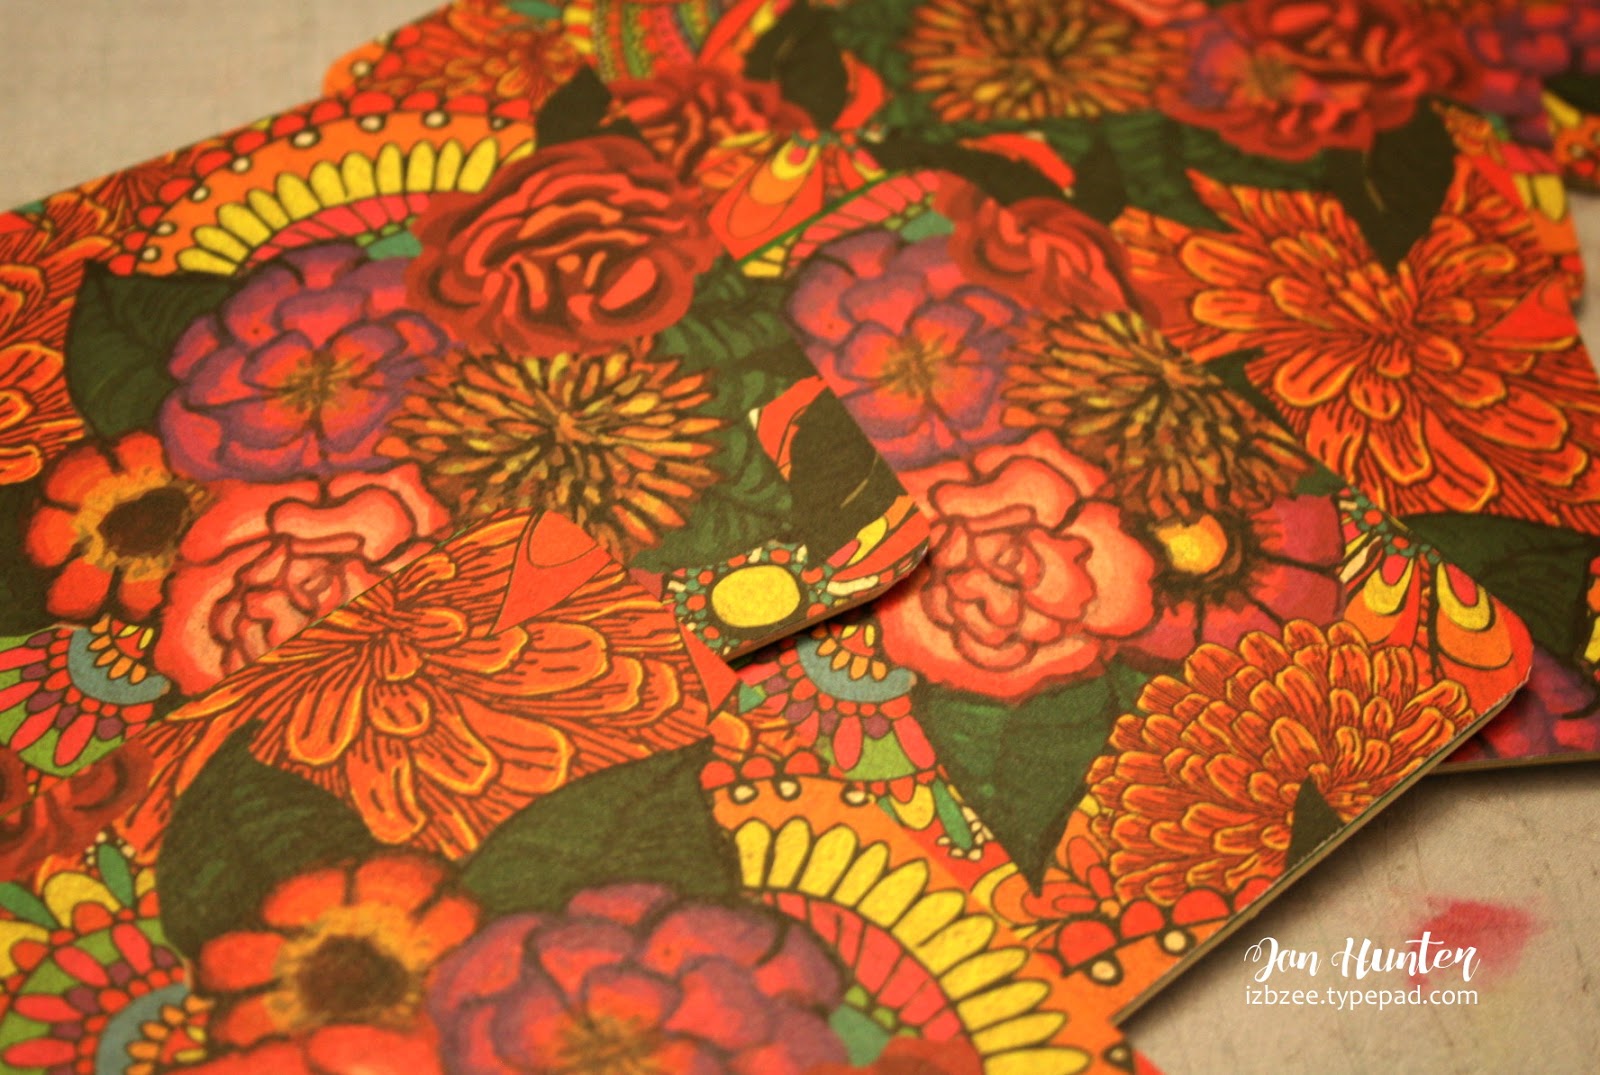
Amour collection - try to choose just one design!
Die Cuts from the Ole Collection
Adhesive (double sided tape)
Pop Up Dots
Byron permanent adhesive
Sentiment stamp
ink pad
Corner Rounder punch
Clip
eBrush and marker adapter
Markers (Sharpies)
Stencil
note pads (3" square)
For each note pad, cut a 4" square from the Amour card stock (a 12 x 12 sheet will make 9 squares)
Round each corner of the square with the corner rounder

Run the card stock piece through the Xyron machine.

Apply to the coaster and if desired seal with a waterproof sealer.
Set the coasters aside and get your eBrush and markers. Cut the colored card stock in the following dimensions: White 2 1/2" square; Middle square is 2 3/4" square; the bottom layer is 3" square.
Using the eBrush and a stencil, color the middle layer. You can also color the bottom layer as well.

Stack the layers, secure with adhesive. Add the sentiment and using the pop dots add a cut from the embellishment package.

Those black clips aren't so pretty -- so to dress them up a bit, cut a few strips of scrap paper. Run through the Xyron and apply to the eclips. You can add a little more bling with some embellishments or a glitter pen.
Place the note pad on the coaster, add your "card" and add the clip to hold it all together. These make fun, easy and inexpensive gifts!

Thanks for dropping by! Hoping your creative time is nourishing! Stay tuned, there's more eBrush fun coming through the summer! Stop by my blog for additional ideas using the eBrush.


Post a Comment