Cut 'n' Boss Design Team: Tyra Babington Cycle 12
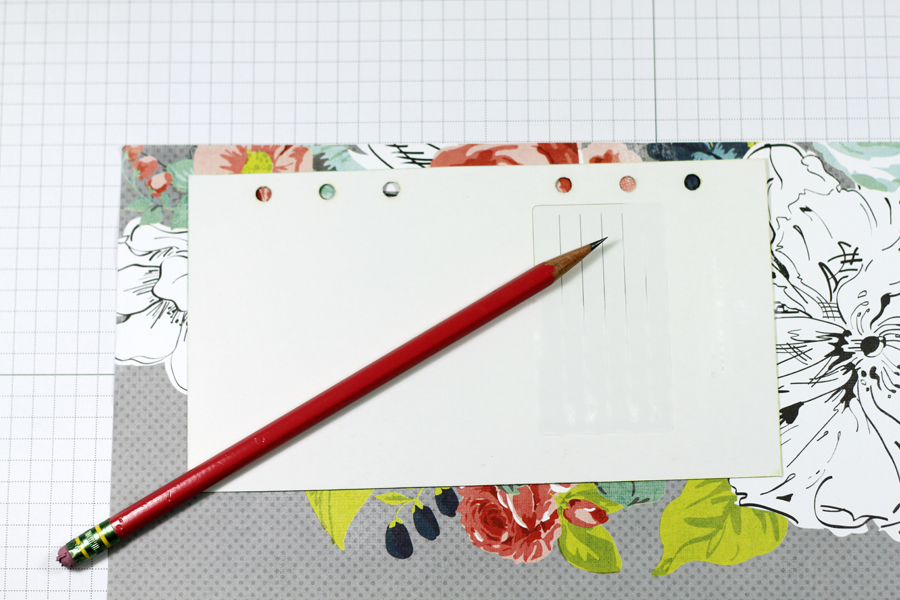
Hi It's Tyra and I'm back share how to create customer dividers for your planner! Supplies: Craftwell Cut 'n' Boss,Teresa Collins A Girl's Best Friend Steel Die Set, Your favorite patterned paper,adhesive, hole punch. Step 1. Trace, trim and cut. Remove an existing binder from your favorite planner and use a pencil to trace an outline of the binder onto your favorite patterned paper. Hold on the the scrap pieces of paper. Trim around the outline using a paper trimmer or scissors. Repeat 1-3 times.

Step 2. Die Cut. Use the Cut 'N' Boss and word steel die (I used 'Sparkle') to die cut each trimmed piece of paper. Die cut several times using the cutting recipe (creating a sandwich from the bottom up):
Hi It's Tyra and I'm back share how to create customer dividers for your planner! Supplies: Craftwell Cut 'n' Boss,Teresa Collins A Girl's Best Friend Steel Die Set, Your favorite patterned paper,adhesive, hole punch. Step 1. Trace, trim and cut. Remove an existing binder from your favorite planner and use a pencil to trace an outline of the binder onto your favorite patterned paper. Hold on the the scrap pieces of paper. Trim around the outline using a paper trimmer or scissors. Repeat 1-3 times.

Step 2. Die Cut. Use the Cut 'N' Boss and word steel die (I used 'Sparkle') to die cut each trimmed piece of paper. Die cut several times using the cutting recipe (creating a sandwich from the bottom up):
D + Cutting Die + Material + A + D+ A

Step 3. Assemble and adhere. The die cutting completed above will yield dividers with a negative of the die cut. adhere a similarly sized uncut divider to highlight the negative space created by the die cut. Cut additional dividers and adhere the die-sentiments to the additional dividers. Complete the divider by using a hold punch to match existing binders.


Step 4. Modifications. Use scissors or a paper trimmer to add an optional pocket or a tab!


Post a Comment