Cut 'n' Boss Design Team: Joy Dickson Cycle 10
Joy Dickson can turn a bland notebook and turn it into something special! Don't believe us? Check out her project below!
Hi Friends! It's Joy from Joy's Life.com here today sharing how to alter a plain notebook & pen to create your own unique look!
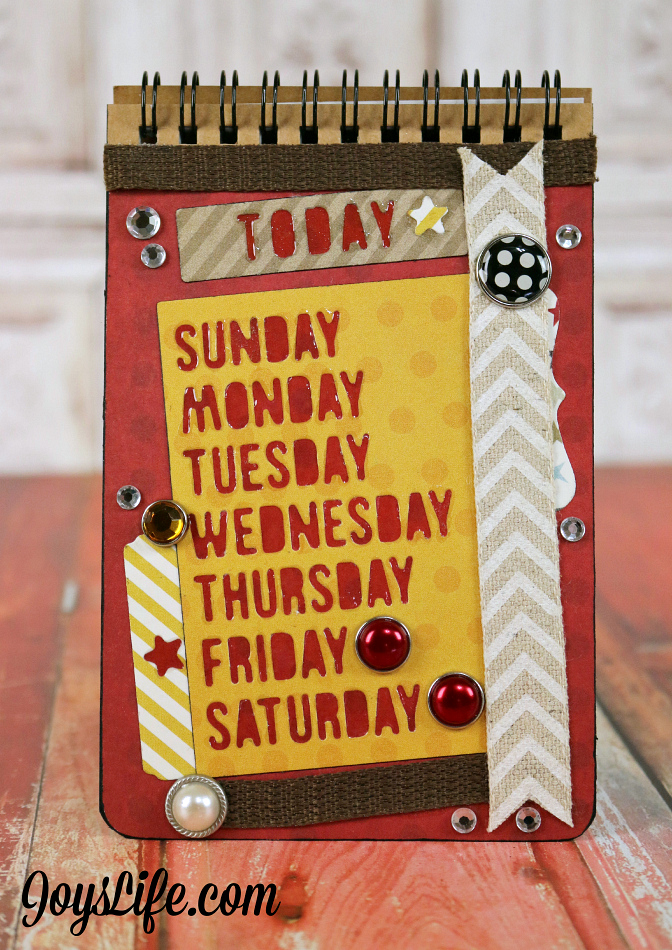
It's so creatively rewarding to give a makeover to an item so that it can reflect your style or to alter something for a gift. I love to do that! This started as a plain brown notebook. Yawn. It would get lost in a sea of other plain brown notebooks, if not for using a few scraps and turning it into my own. You can do this easily!
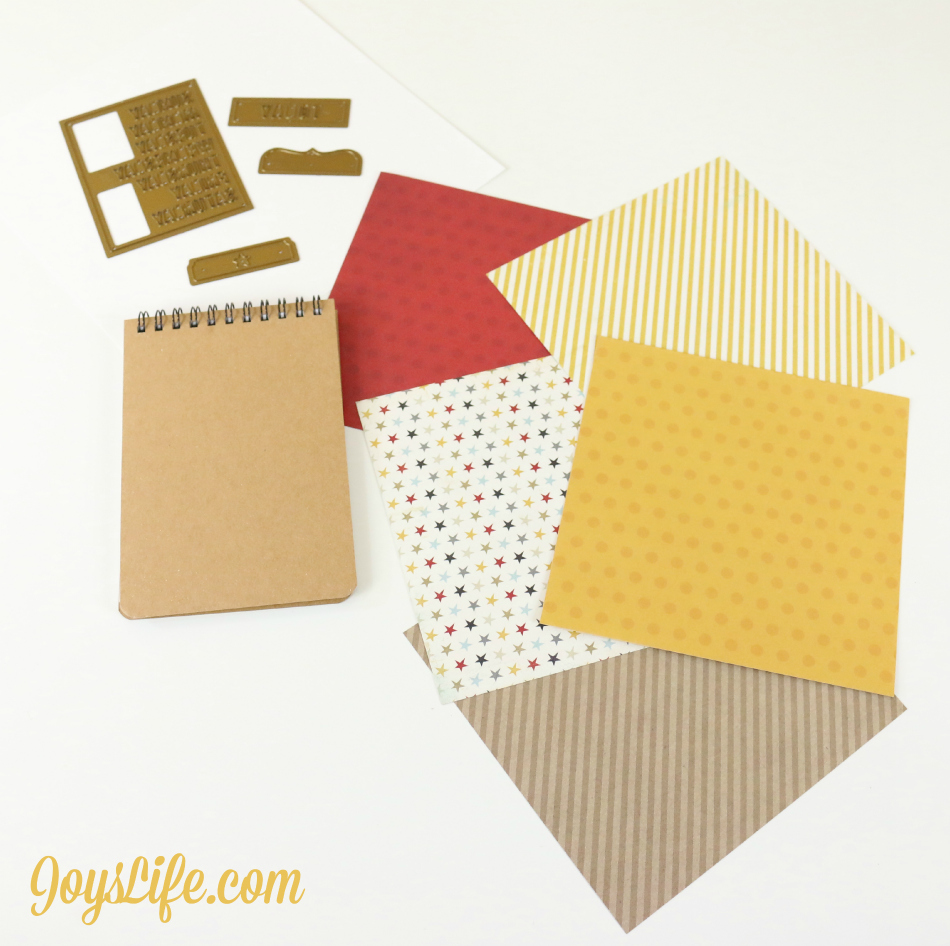
I picked a few papers from the Simple Stories Say Cheese paper pad. You can use scrap paper too, I just really, really wanted to use these.
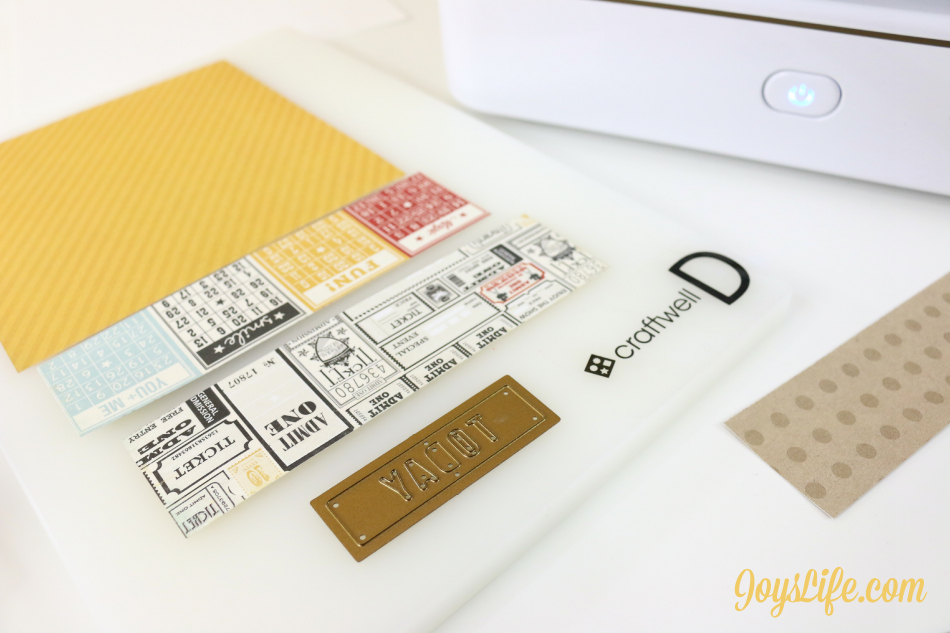
I cut out all the cool paper pieces using the Teresa Collins Memory Die set along with my Cut 'n' Boss by Craftwell. Here's a hint...(and I'm saying this because I need to remember it, LOL!): Put the dies FACE UP on the D platform and put the paper side that YOU WANT TO USE/want to show FACE DOWN. That's how you'll cut out your creation on the side you mean to cut it on. See the bingo & ticket printed paper pieces? I'm not using that side. That's why they are face up over the dies. When they get cut out I'll have the words cut on the side I intended. YAY!
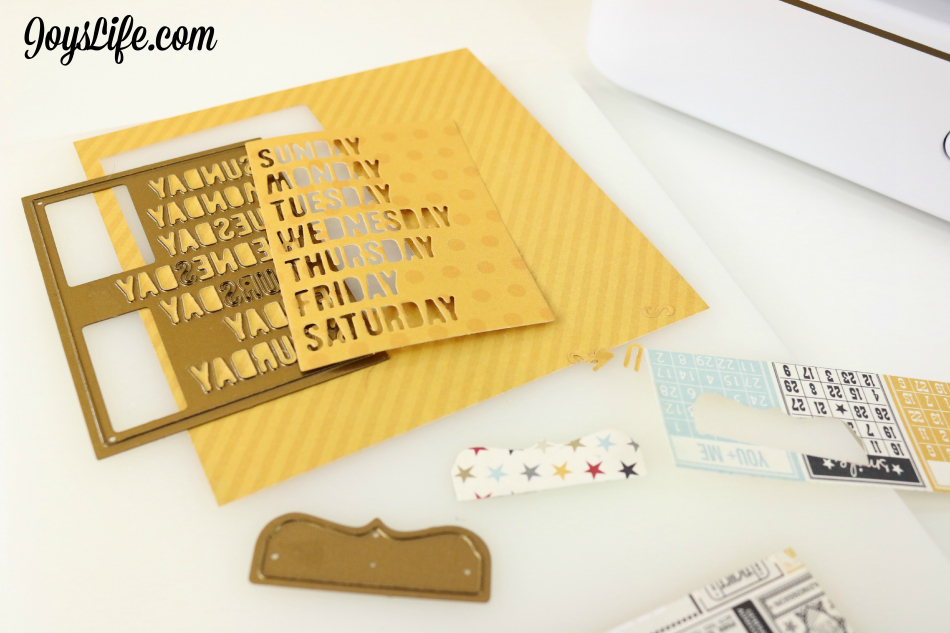
Look how well that cuts. I could have reused every one of those tiny letters. They would be super cute in a shaker card!
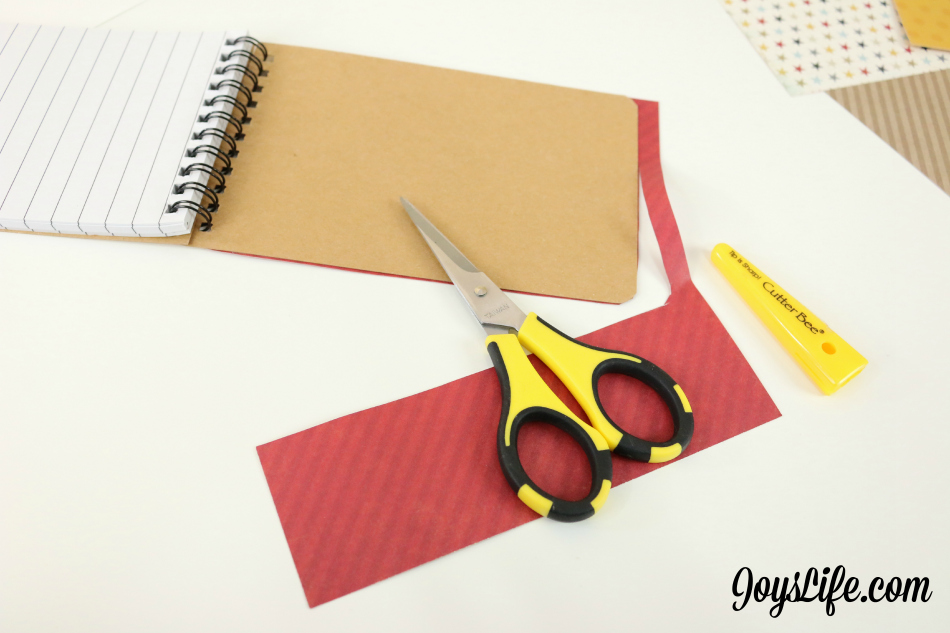
To cover the outside of my plain notebook, I ran some strong adhesive glue over the notebook cover. I stuck the paper down over it and then cut off the excess.
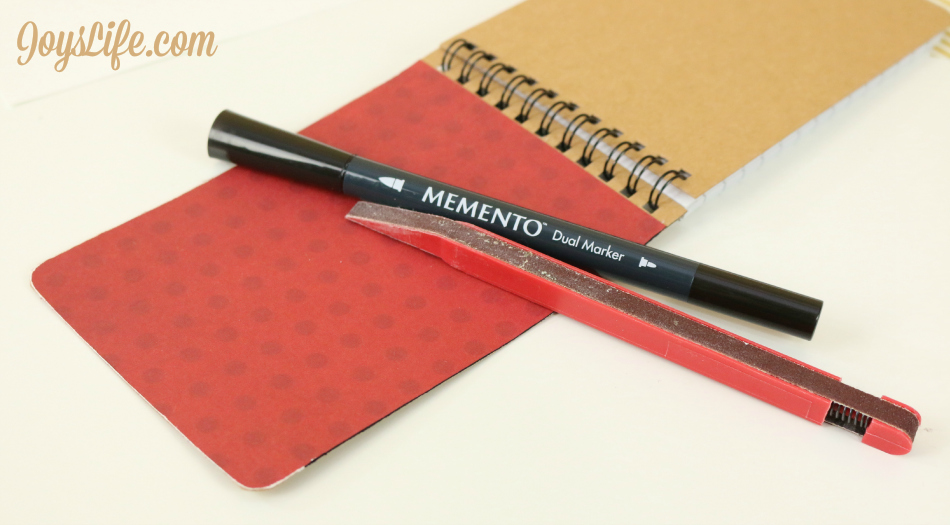
If you don't cut perfect edges (and I never do) then you can sand the edges using a nail file or whatever sanding tool you have. I used a black Memento marker to color the edges of the notebook and some of the paper. I just like that look. It seems a little more finished to me.
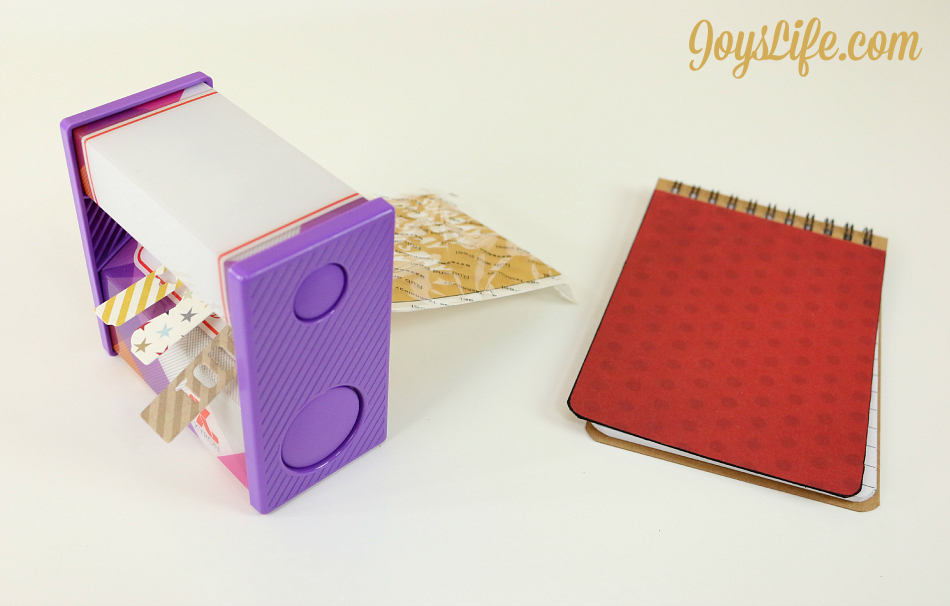
Hello Xyron! This Xyron 3" Sticker Maker was just what I needed to help all the parts of the letters and tabs stick down securely. If you have any leftover adhesive stuck to your papers, which I did, you can use an adhesive eraser to get it off.
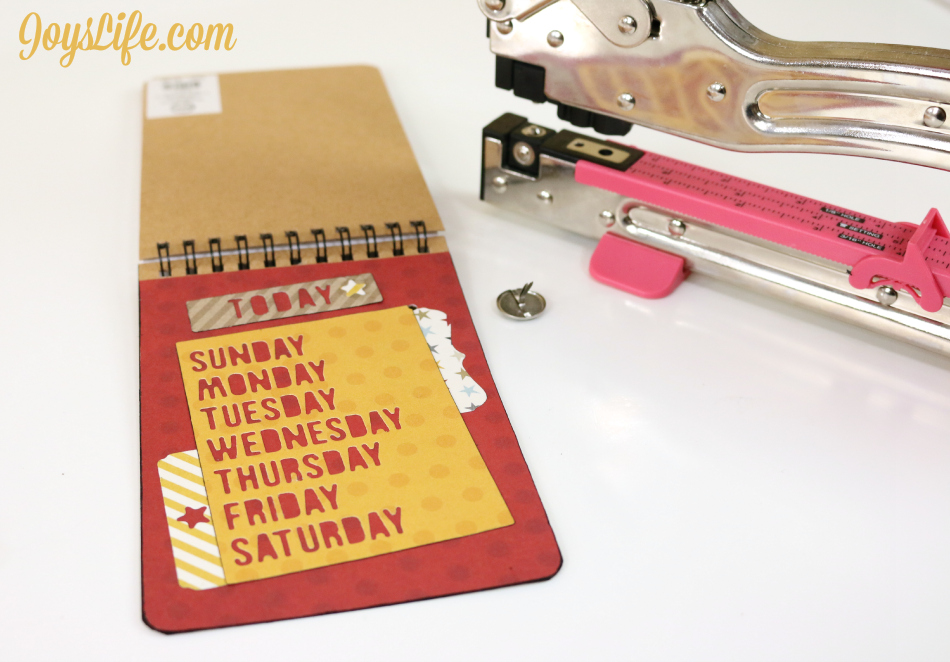
Use a hole punch to chomp a few holes into your notebook and add some brads.
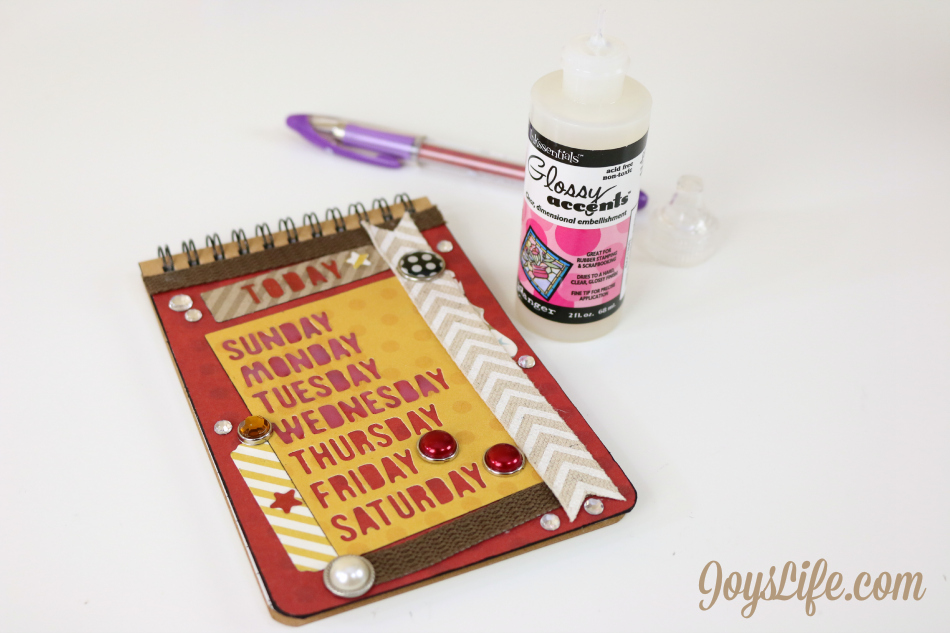
All of the brads, ribbon and rhinestone bling were just leftover pieces I had floating around in my stash. I poured some Glossy Accents into the letters to give them a nice shine. I love that stuff!
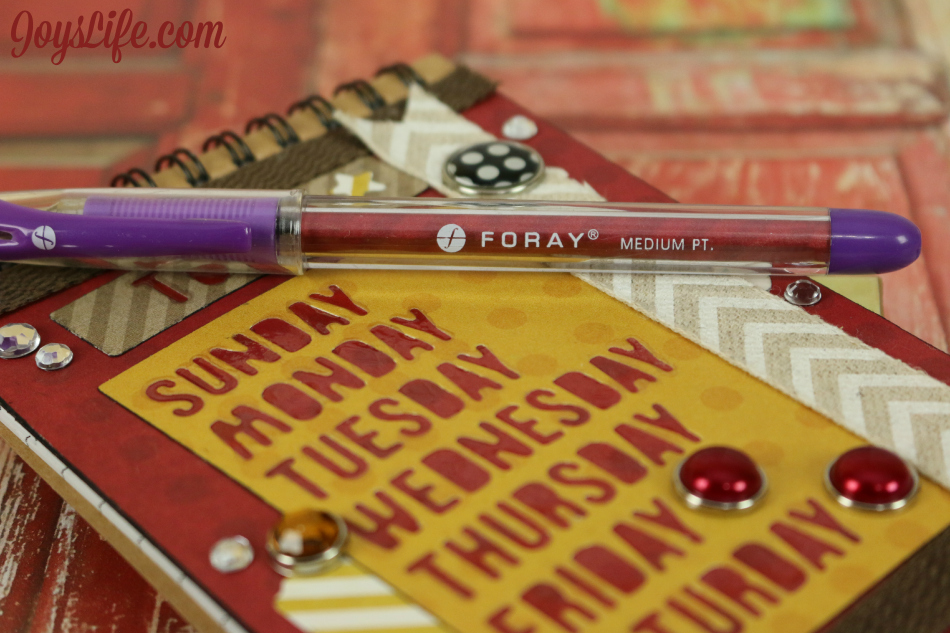
I like to write in purple when I don't have to be super serious. These pens by Foray are easy to unscrew and have a pretty wide barrel. You'll appreciate that if you are trying to make your pen match your notebook. Unscrew the bottom of the pen and take out the ink part. Next, simply roll up a piece of paper and shove it...gently push it into the barrel. Snip off any excess that sticks out. Add the ink piece back in and tighten the base. You're done!
I hope you enjoyed this project. I had a great time making it!
When I'm not here you can find me at Joy's Life.com!
Thank you Joy!
Isn't this the cutest notebook?! Be sure to leave Joy a comment!!
Thank you Joy!
Isn't this the cutest notebook?! Be sure to leave Joy a comment!!


Beautiful Notebook, love the dies and how you incorporated them.
ReplyDeleteLove this altered notebook and the details, so beautiful and unique! Thank you for sharing, Joy!
ReplyDeleteGREAT IDEA :)
ReplyDelete