
Ebrush Design Team: Jan Hunter Week 6 Cycle 1
I was very happy to share this at CHA with so many passerbys! Everyone loved the image and love the thought of being able to embellish their personal totes as well! Thank you Jan for a great item!
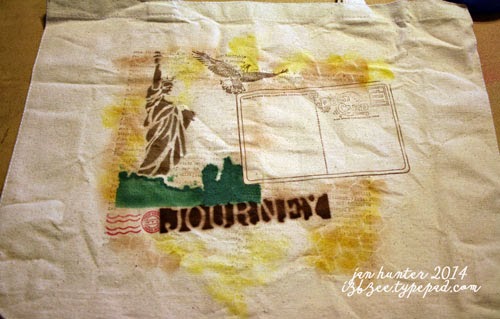
I'm excited to share this project with you. I've had this plain canvas bag for months just waiting to get a new look. Crafter's Companion has provided most of the goodies for this eBrush Design Team project!
1 extra large plain canvas bag
Bubble Jet Set
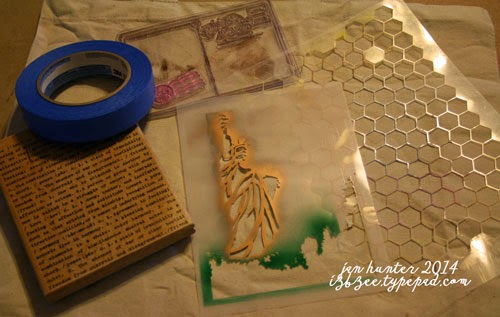
Sheena Liberty stencil
stamps
Staz-On ink
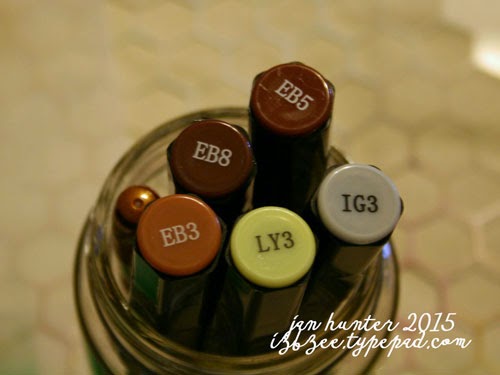
Spectrum Noir Markers (EB3, EB5, EB8, IG3, LY3)
Sharpie (metallic copper)
Additional stencils as desired (includes Tim Holtz Journey Die Cut)
Craftwell's eBrush
painter's tape
Scrap paper for masking
cardboard covered with plastic wrap - or a t-shirt paint board
Prepare your canvas bag for "painting." I used Bubble Jet Set following the manufacturer's direction to prepare the canvas. Once the canvas was dried, I ironed it - there are still a few wrinkles here and there, but they added lots of additional texture and weren't hard to work with.
Insert the t-shirt board between the front and back of the canvas. Secure with large rubber bands if desired for a smoother work surface.
I had a basic idea of how I wanted things to look, so I started by getting my background in place using a large background stamp (from Stampin' Up!) and the postcard stamp (masking that while I sprayed and used the background stamp across the face of the bag's design area. Be sure to mask off any areas that are likely to get some minimal overspray. Once that was done, I started using the stencils. Using painter's tape, I secured the Liberty stencil by Sheena in place and using a grey marker in the eBrush tool, began spraying. I wanted to add a little more depth, so I added a layer of copper marker on top of the gray. The lower portion of the stencil is shrubbery and trees, so I used some green there and then added some brush strokes after removing the stencil for a little more depth and dimension. (my oops, I didn't show the color in picture I used - JG3, JG5)

I had some stamps I purchased from Oriental Trading several years ago and felt those would be perfect additions for this artsy project. So I used the postcard and a cancellation stamp using Staz-On ink. The image still need more, so I added a honeycomb stencil and sprayed a bit more using a couple more markers in browns and adding a spritz of yellow on top. It was perfect.
Set colors according to the manufacturer's directions using Bubble Jet Rinse.
This is an easy and very adaptable project for any stencils you may have on hand... Sheena's stencils are great and I hear that there will be several more released this coming year! Can't wait to see them all!
Be sure to stay tuned, there's lots more coming using the eBrush! Feel free to visit my blog for more eBrush ideas!


Post a Comment